If you only see your students once a week, preserving clay projects between classes can present some major challenges. If you’re in this situation, you may want to consider planning a few one-day clay projects, especially for your very youngest students.
Today I’m sharing a foolproof one-day project that can even be done if you teach from a cart – slam molds!
Yes, you read that right- not slump molds, slam molds! The process is essentially the same as using a traditional slump mold with an extra exciting step. Instead of just draping the slab into the mold, the students SLAM it on the ground to force the clay into the mold. What kid doesn’t love slamming!?
Here are the steps.
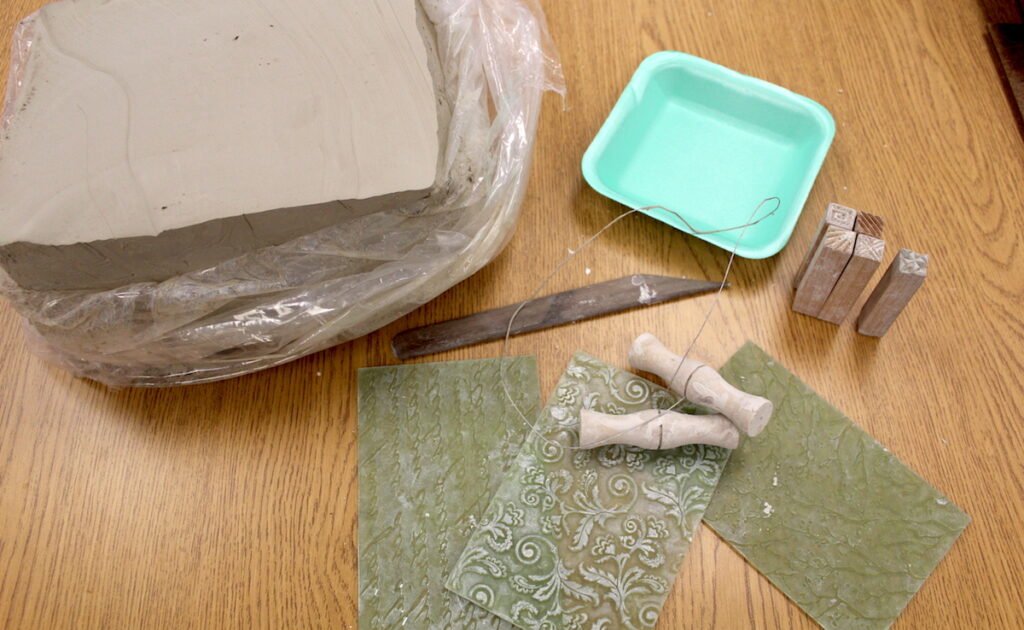
1. Find Your Molds
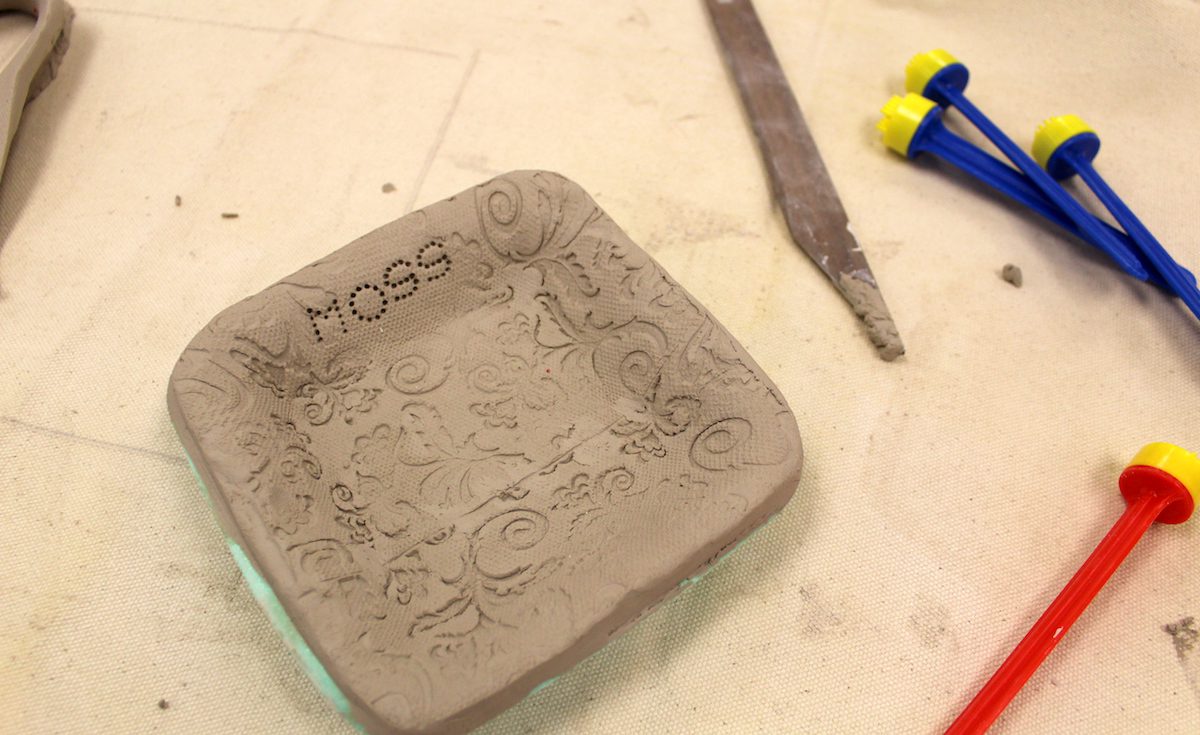
A good slam mold has a few key characteristics; it isn’t breakable, it has a very basic shape, and it comes in a large quantity (because each kid’s project needs to dry to leather hard while still in the mold). Therefore, Styrofoam trays are a natural choice.
You could solicit donations, contact a local meat market, or buy them from Amazon. The finished piece is more impressive if it has a little depth, so I recommend hunting for trays that are at least a half inch deep. (The pictures in this article show a set of 5.25-inch square trays that are .88-inch high… yup, from Amazon).
2. Roll Your Slabs
Whether you have rolling pins or a slab roller, the first step is to have your students roll out semi-uniform slabs. Then, students need to cut out shapes that are slightly larger than the mold itself.
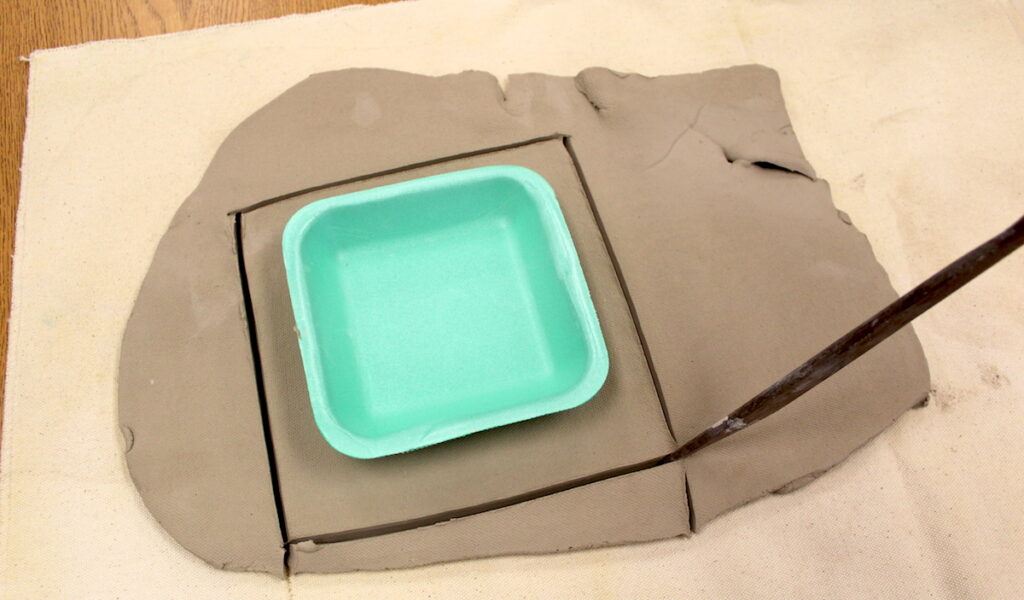
Explain that this extra clay will be needed to form the sides of the piece, as the clay is slammed into the mold.
3. Decorate Your Slabs
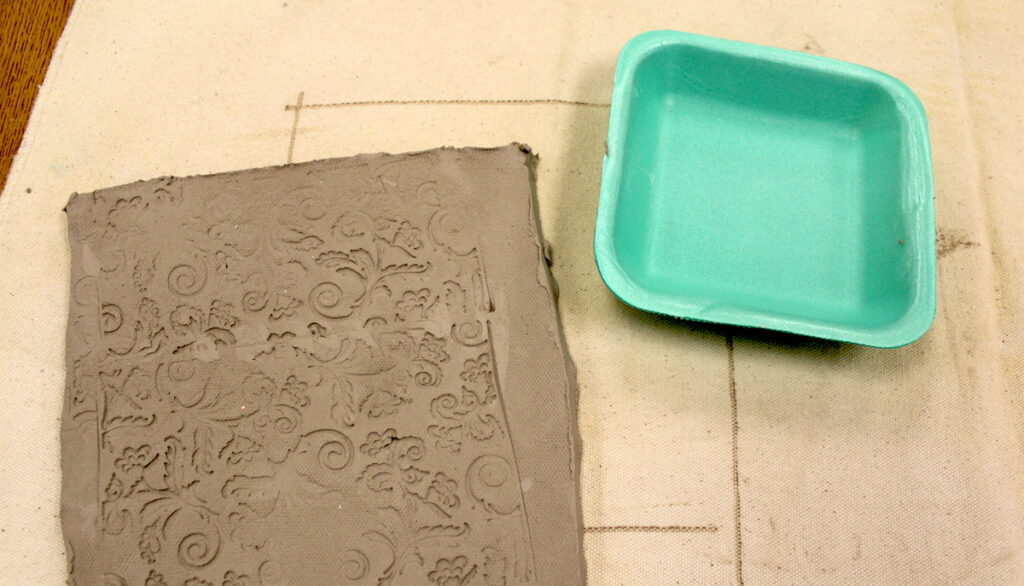
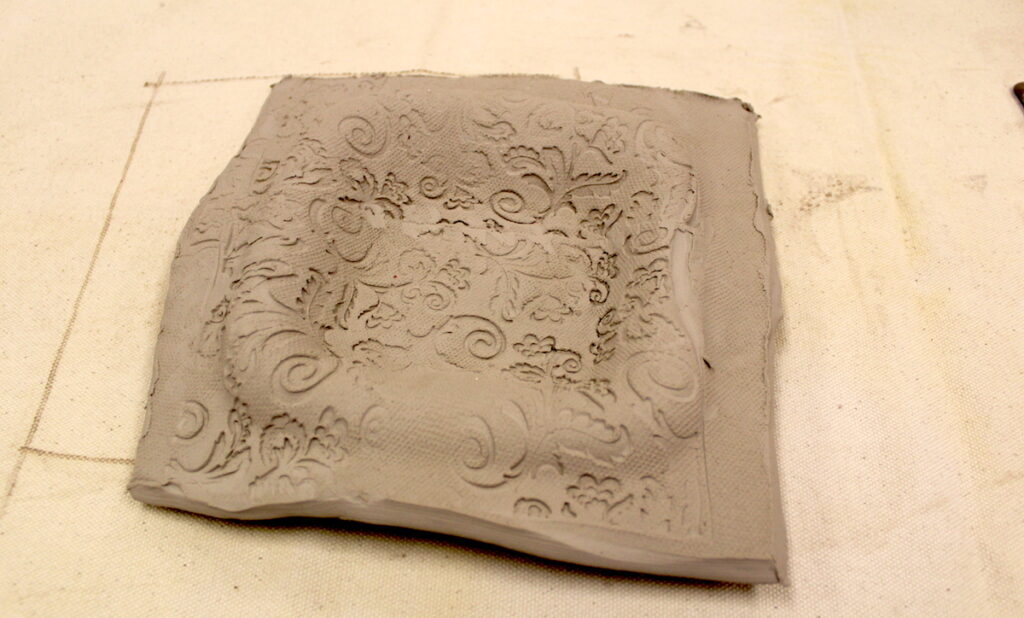
You can use a variety of decorative techniques. Use texture plates or objects to press into the clay, have kids carve into the surface, or even use alphabet pasta as a way to incorporate text. Don’t worry, it burns off in the firing process!
4. It’s SLAM Time!
Prepare yourself for organized chaos, because it is time to slam the clay… and your students are going to think it is hysterical. Come on, you are throwing art on the ground or the desk!. Have your students drape the clay over the mold and drop it from a small height. You will need to practice this to determine what height is going to work for your kids. I dropped mine from approximately 24 inches for this project. A lot of factors can affect how the artwork falls. Be prepared for a few misfires. I think it’s better to drop it from a lower height repeatedly, to ensure success, but that’s a little less dramatic and exciting.
5. Trim and Dry
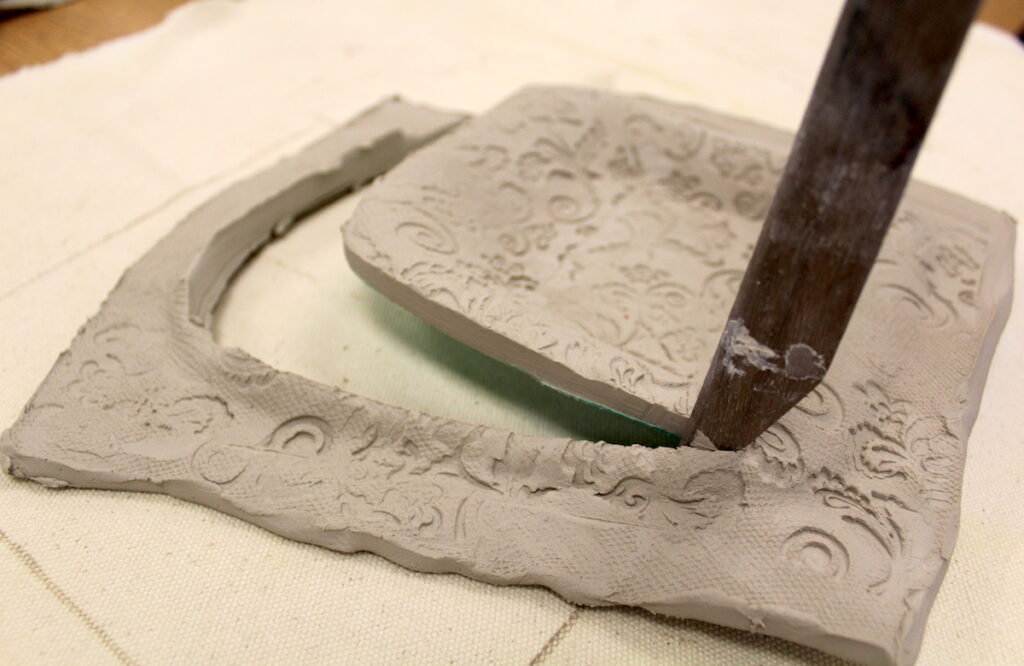
After the clay has been forced into the mold, demonstrate how to trim the excess clay off of the edges to make a final product. Then, collect the trays. If you are on a cart, you can even temporarily stack these as you move them to a secure location. That’s the beauty of this project, you get a ceramic firing experience, still contained in a tray for easy transport.
6. Fire and Finish
Leather hard pieces shrink ever so slightly, as the moisture evaporates out of the clay. At this point, you can carefully pop them out of the molds while preserving the molds for another year.
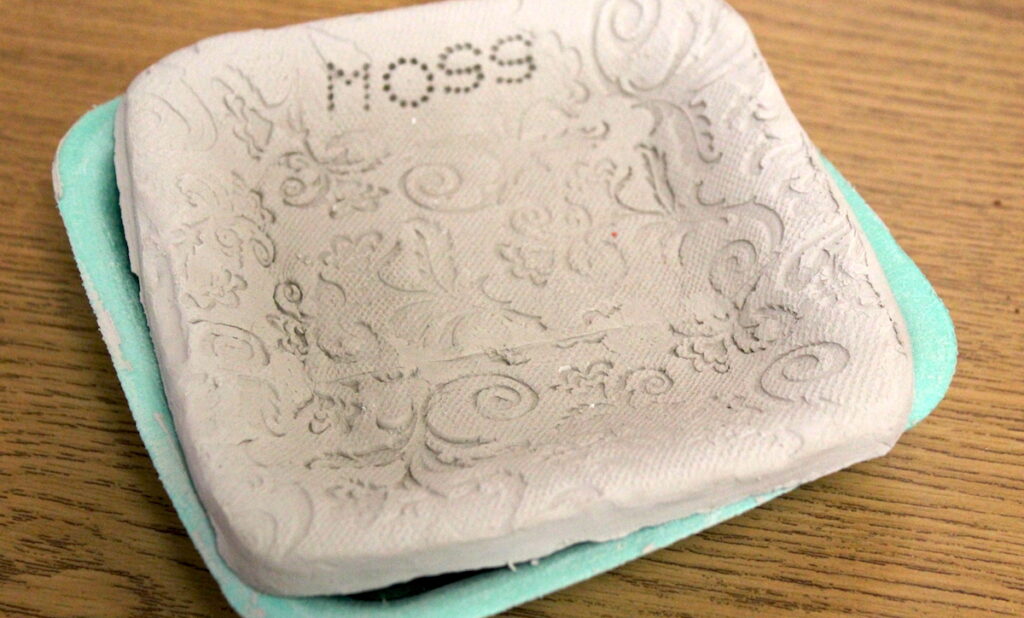
You or the students can use a ribbon tool to quickly smooth any rough edges. Finally, follow your normal procedures for a bisque firing. Your slam mold project is complete!
What other one-day ceramics projects do you use with your kids?
How do you provide a ceramic experience while on a cart?
Magazine articles and podcasts are opinions of professional education contributors and do not necessarily represent the position of the Art of Education University (AOEU) or its academic offerings. Contributors use terms in the way they are most often talked about in the scope of their educational experiences.

