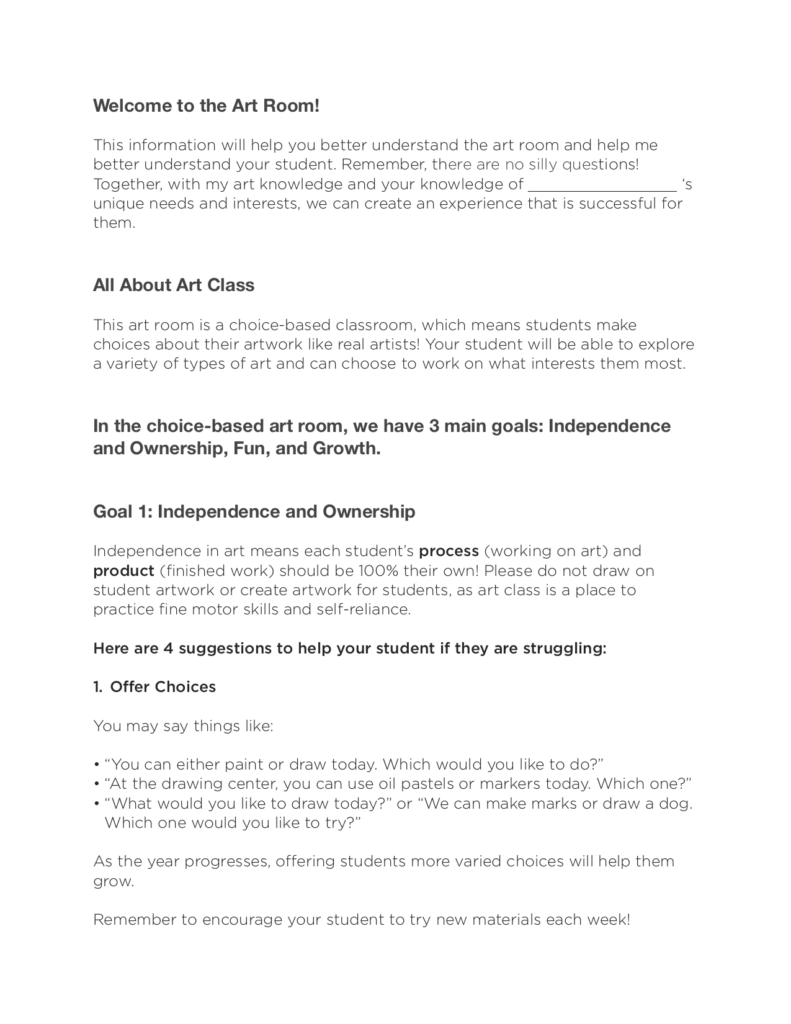
Figuring out how to meet the needs of all the students in the art room is a tall order for any art teacher. However, a choice-based classroom can present some unique challenges for students with special needs.
On the flip side, choice-based classrooms allow unique students to truly blossom and find their voices as artists. Offering choice means modifying the process, content, and/or product in art class, so every student can work at their own pace and ability level. That means each student naturally can feel successful and included.
Here are 6 tips and tricks to make sure your students with differing abilities are successful in your choice-based art room.
1. Make your space welcoming.
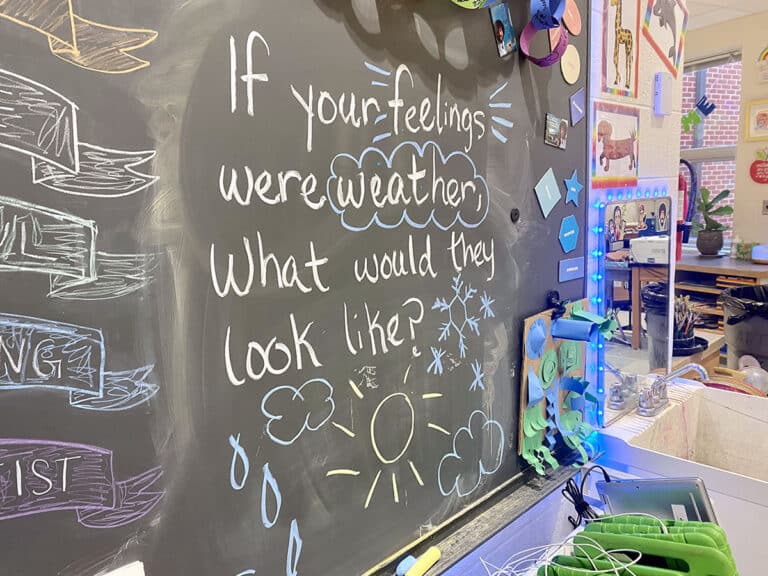
Many students with unique needs may struggle with the noise level and high energy of an art room. Providing a safe and comfortable physical environment in your choice classroom is a great way to welcome students.
Here are some things to think about when planning space for students with unique sensory needs:
- Provide students with a consistent workspace. This space should be away from noise and distraction, as much as possible.
- Give the student the option to wear noise-canceling headphones or to listen to relaxing music with earphones during work time.
- If there are no vision issues, lower the lights.
- Provide a five-minute mindfulness block at the beginning of class to promote a quiet environment.
- If possible, offer adaptive seating such a textured seat cushion, an adaptive chair, or standing desk (using bed risers under a normal desk is a cheap solution).
When in doubt, check in with support staff and administrators on space modifications. They may be able to provide you with materials or suggestions. See how the student functions in the space and note changes that may help.
If you’re looking for even more information about creating an inclusive classroom, be sure to check out the Essential Strategies for Teaching Adaptive Art Learning Pack. You’ll gain the essential tools, techniques, and lesson ideas to help meet the needs of all your students.
2. Scaffold choice.
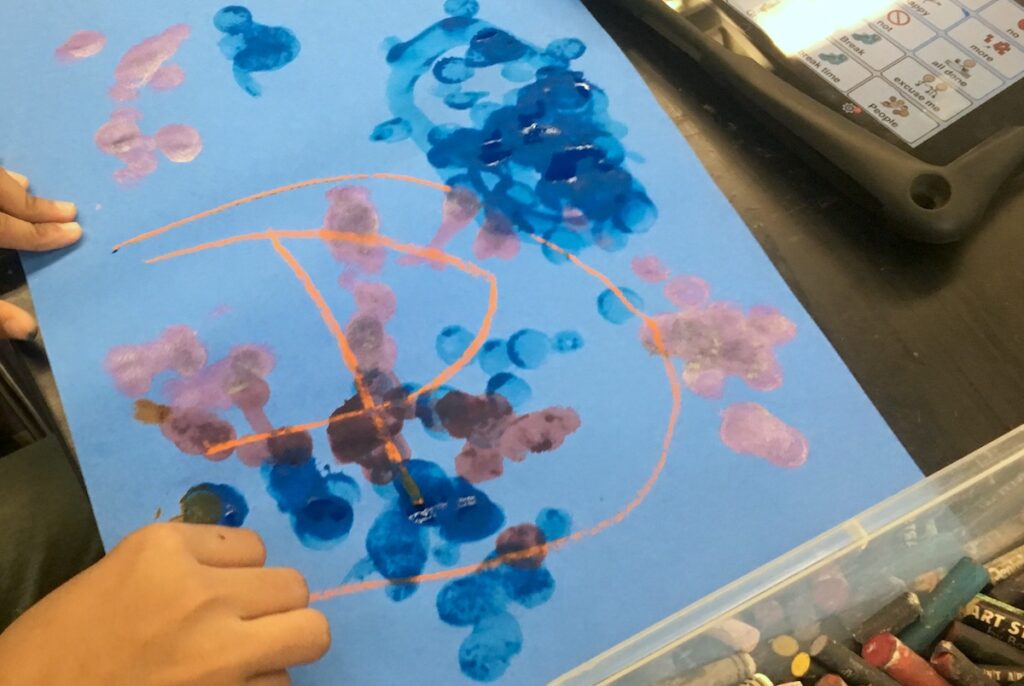
For students who struggle with self-starting, scaffolding choice is the key to success in a choice classroom. This can be as simple as asking students to choose between two or three subjects or media choices.
You might try questions like:
- “Would you like to paint or draw today?”
- “ Would you like to use oil pastels or crayons?”
For non-verbal students or ELL/LEP students, offering a visual choice board can allow them to point to choices. Attach pictures of materials or ideas with velcro to easily modify the choice board throughout the year.
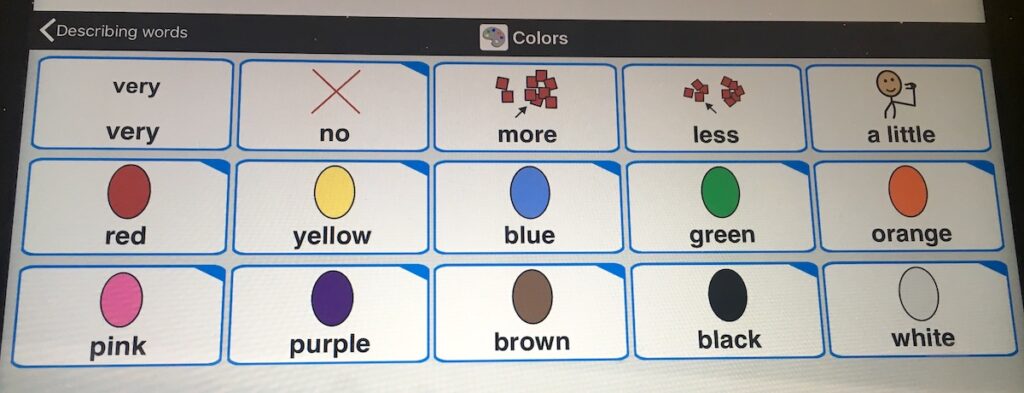
Creating a choice board or choice cards with project ideas can also be a great resource when students are struggling with too many choices.
Scaffolding choice is an important way to prevent students from feeling overwhelmed.
3. Work closely with support staff.
If you’re lucky enough to have support staff come with students, don’t assume they know how your art room works. Draft a welcome letter letting them know how your choice classroom runs. Thank them for their support and ask for their feedback and input. Stress that a choice classroom is a space where independence is a priority and provide them with ways to modify the task of making choices or fine motor skill tasks.
You can download the letter that I use in my classroom below as a starting point for creating your own.
For fine motor skills, stress that support staff should never touch a student’s work but can offer modeling, hand-over-hand support, or verbal encouragement.
It’s important to set clear expectations and open communication with support staff, as the art room can be intimidating for non-artists.
4. Adapt tools and materials.
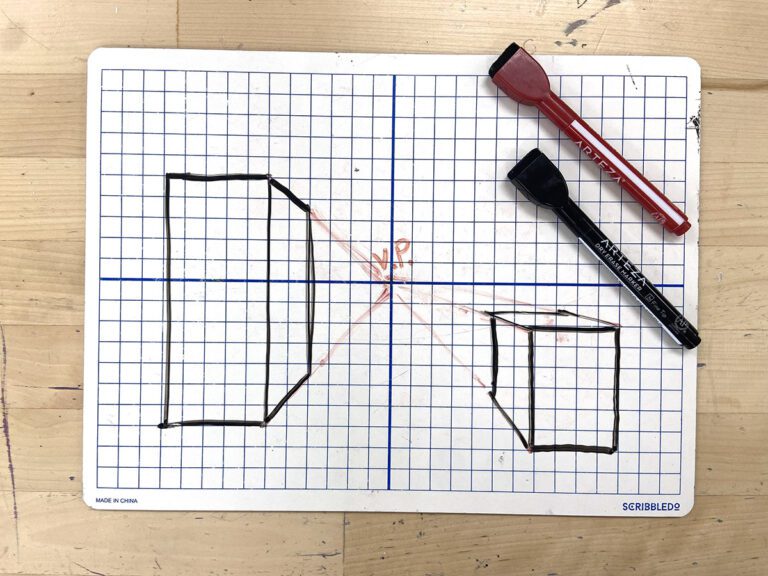
Choice classroom materials and tools can be varied. That means adaptive tools can be provided directly in centers for all students to use. Label these items with a symbol or brightly colored tape to make them easily visible. This can make it easier for students with unique needs to work alongside their peers.
If leaving adaptive materials out is not an option, create an easily accessible spot for you or support staff to pull from when needed. Simply assign a space in the room for an adaptive tool cart or box, and teach students or support staff how they are used. Include a visual menu, so non-verbal students can ask for materials by pointing. This is also a great place to store folders with printed materials related to students’ preferred interests.
On the flip side, be aware of any tools that may prove unsafe for certain students and keep them in a safe area during class. If you are working in an integrated setting, you will need to monitor these tools more closely, have students sign them out, or limit their use to one area of the classroom.

5. Modify goals and assessments.
Although a choice classroom is already differentiated in many ways, keep in mind your objectives may not be accessible to all students. To modify, first boil your lesson down to the most important concepts students will need to understand.
For instance, you may want to have students write artist statements to reflect on their artwork. The goal for this is not writing itself but the fact that students should be able to reflect on and share their artwork. This may mean having an adult scribe for a student while they talk about their artwork or providing them with a voice to text program. If a student is non-verbal, ask them to point to colors or items in their artwork or have them describe their artwork using a picture board. For motor skills tasks, students may need to revisit a goal many times throughout the year to show growth. Keep in mind the goal for some students may simply be participation and practice.
By keeping your assessments accessible, all students will be able to show understanding regardless of their needs.
6. Be reflective and keep notes.
The reality is each student is unique and it’s difficult to know what will work from one student to the next. Luckily, choice classrooms honor unique needs and interests, but you need to pay close attention to what is working and what isn’t.
One way to keep track of successes and areas of growth to meet the needs of all students is to use a one-page grid for each class. Label the boxes with your students’ names. Denote (*) which students need extra support. Print multiple blank copies and place them in a folder or binder. During or after each class, make notes on students’ successes and needs. This simple method will help you to reflect on changes you need to make or supplies to purchase and can be a helpful asset during meetings.
For many students, the art room can be the only place in school where they consistently feel successful. By offering choice, we can allow students to advocate for their interests, ideas, and needs while exploring what it means to be the master of their own learning.
Share a strategy that helps you include all learners in a choice classroom.
Have you ever struggled to differentiate for a student? What did you learn from that experience?
Magazine articles and podcasts are opinions of professional education contributors and do not necessarily represent the position of the Art of Education University (AOEU) or its academic offerings. Contributors use terms in the way they are most often talked about in the scope of their educational experiences.

