You know you have a great lesson when you keep coming back to it, refining it, and changing it up year after year. That’s how I feel about this bike study drawing lesson. I’m always excited to introduce it to my students, and they always anticipate doing it!
Like many good lessons, this lesson is challenging. I save it for the end of the semester in my Art II class, so I know they are well-prepared.
Why bikes?
There are 3 main reasons I like to have my students draw bikes.
- It helps develop their skills even further.
Although my students draw from life daily, drawing bikes takes their skills to the next level. There are so many details to observe and capture. - The assignment can help build students’ portfolios.
Some art colleges require bike studies as part of their application process. - It can lead to scholarships.
This lesson can also be a great way to get your students to create a scholarship-winning piece because, let’s face it, drawing bikes is tough! Students have to look, measure, and be exact. And, they have to pay attention to details that often go unnoticed.
The Lesson
I’ve been teaching this bike study lesson for ten years. I’d love to share how to get started as well as some ways to take the lesson to the next level.
Step 1: Contour Studies
I always have students start with several contour studies of a bicycle. These are quick sketches to loosen them up and calm their artistic nerves.
Step 2: Graphite
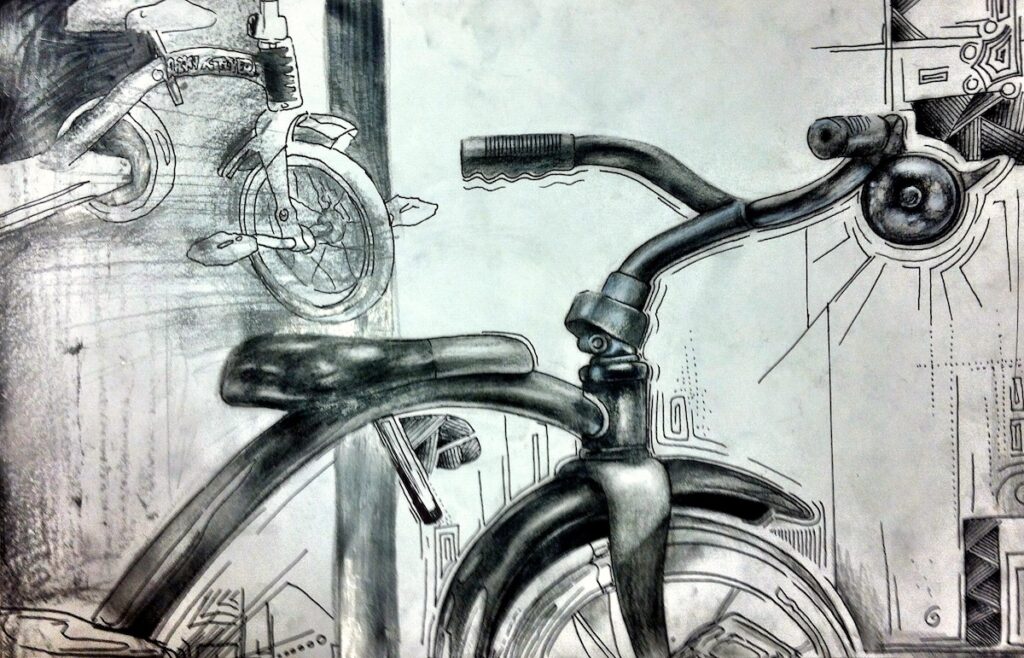
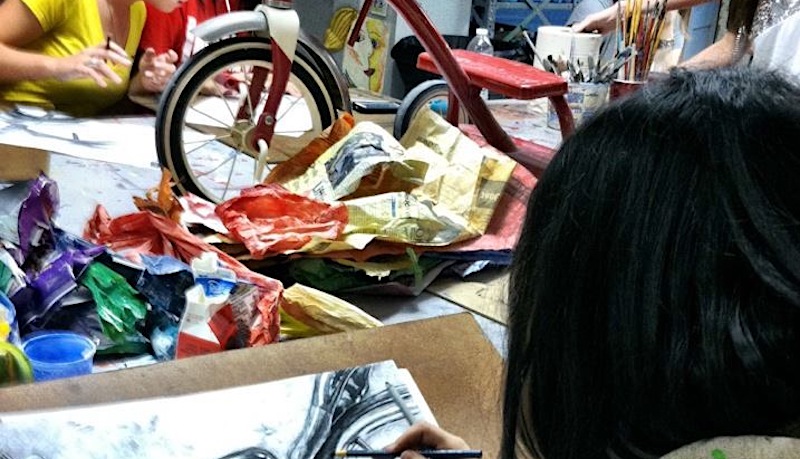
Once the contour studies are complete, students begin focusing on specific areas of the bike and draw with graphite in full detail. We discuss how the light reflects off the metal and how to capture that reflection through drawing.
Step 3: Pen and Ink
Once their graphite study is finished, students move onto drawing another area of the bike. This time, they are challenged with using pen and ink. Once again, we talk about how they can capture the reflective nature of the bike and all the details with this new medium.
Step 4: Charcoal
Finally, students finish up their study by working in charcoal.
Throughout the first four steps, students are encouraged to take photos of the bike. They draw both from life and their photos. This method gives them the ability to evaluate the details needed to make these drawings believable.
Step 5: Putting It All Together
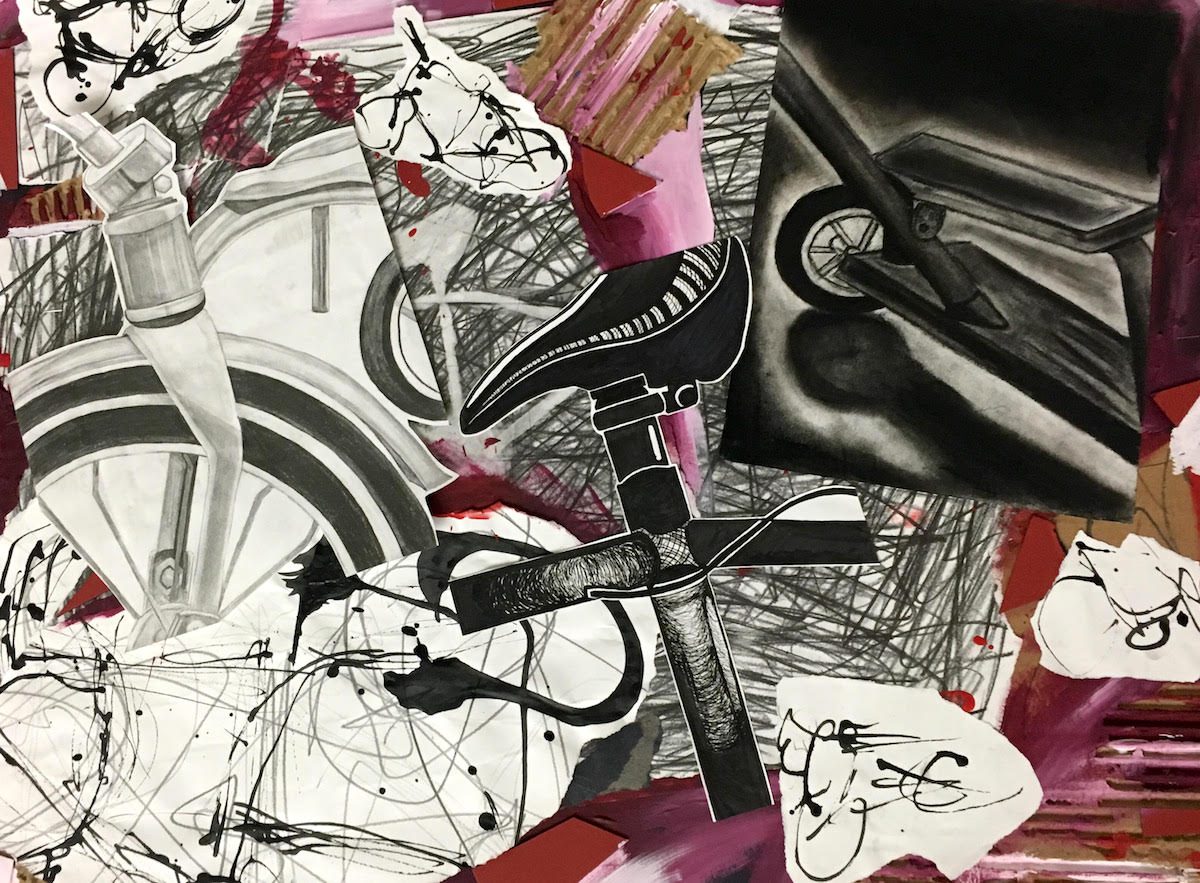
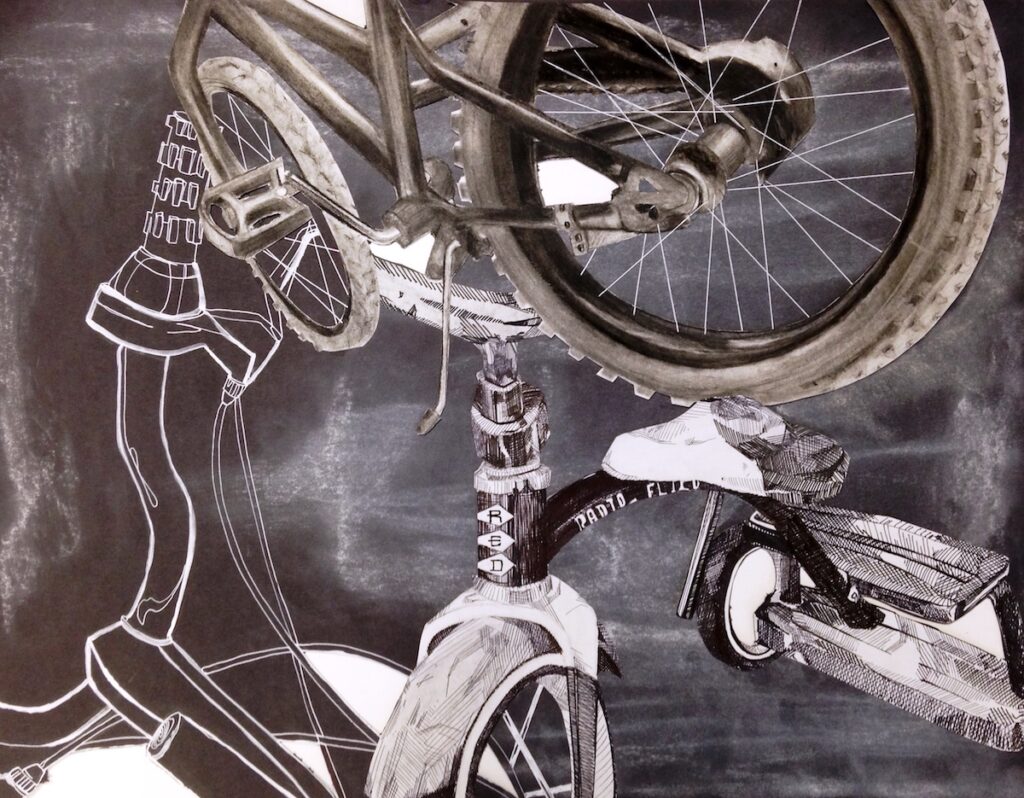
The most fun part of this lesson comes right when they think they are finished. This is when I give them three days to create a composition using their bike studies creatively. I set the art room up as an open studio. Students can create reliefs, collages, and add mixed media into their negative space. Of course, throughout this process, they are considering how these additions will help emphasize the bike work. These works remain black and white and are always a big hit when we display them!
Taking it to the Next Level
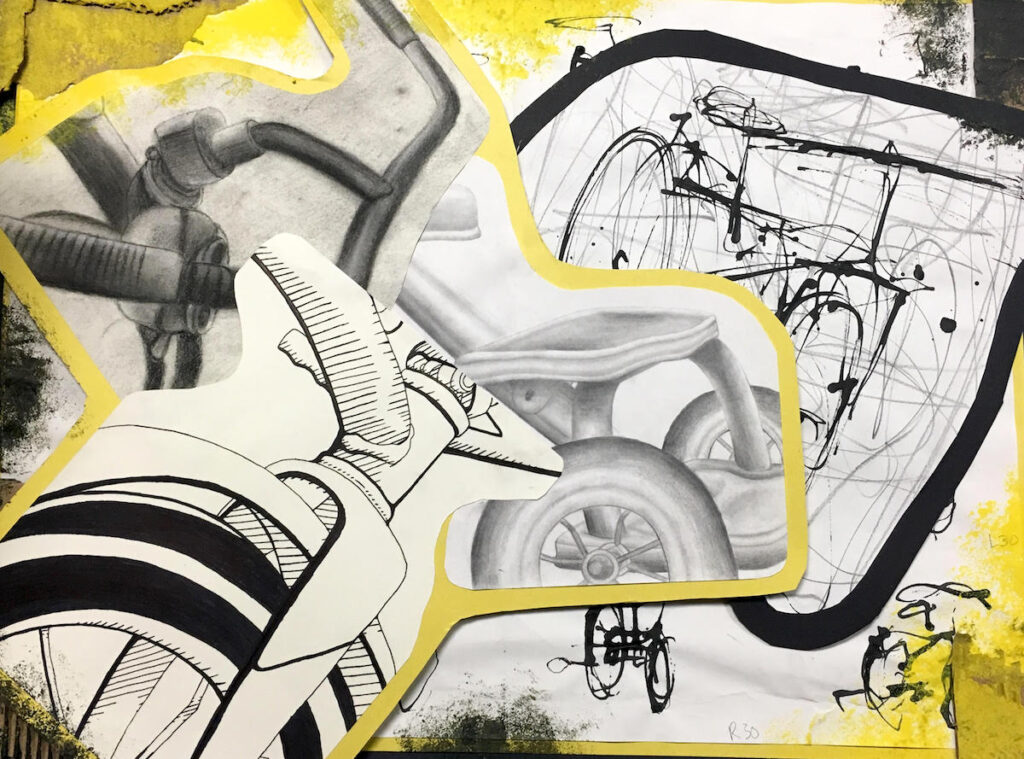
You could amp up this lesson in so many ways. This past year, instead of having just one bicycle, I added a few more. Our setup even included an antique Radio Flyer tricycle I found at a local thrift shop.
In addition, I had a colleague visiting from overseas who helped me brainstorm another way to make this lesson even more engaging. Dr. Lexi Lasczik is a mark-making master artist who came to my school to work with my students for several days.
Her idea was to have students use their whole bodies as they drew quick studies of the bike on 24” x 36” drawing paper in sixteen timed sections. We challenged students to complete studies in ten to thirty-second bursts. We even made them switch hands!
It was beyond exciting to watch the students! They were so energized. After the first few studies, they lost their fear of failure and began to realize this exercise could be an amazing learning tool!
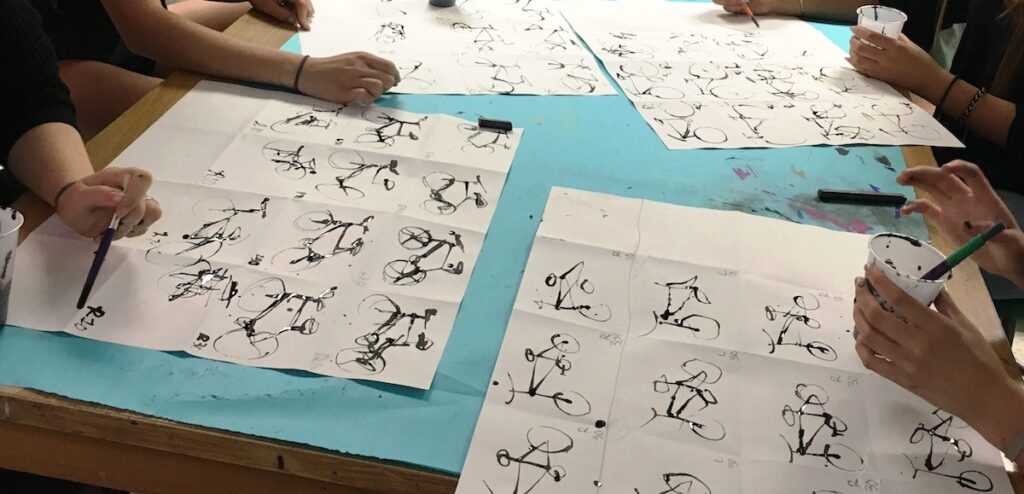
Once they completed the first sixteen timed studies, they turned their papers over and did another sixteen, but this time they used ink and sticks and again, the room palpitated with artistic excitement!
In this case, for the final project, students took their three detailed studies as well as their mark-making studies and combined them into a new composition. I also had them incorporate one color into their piece, and the results were spectacular!
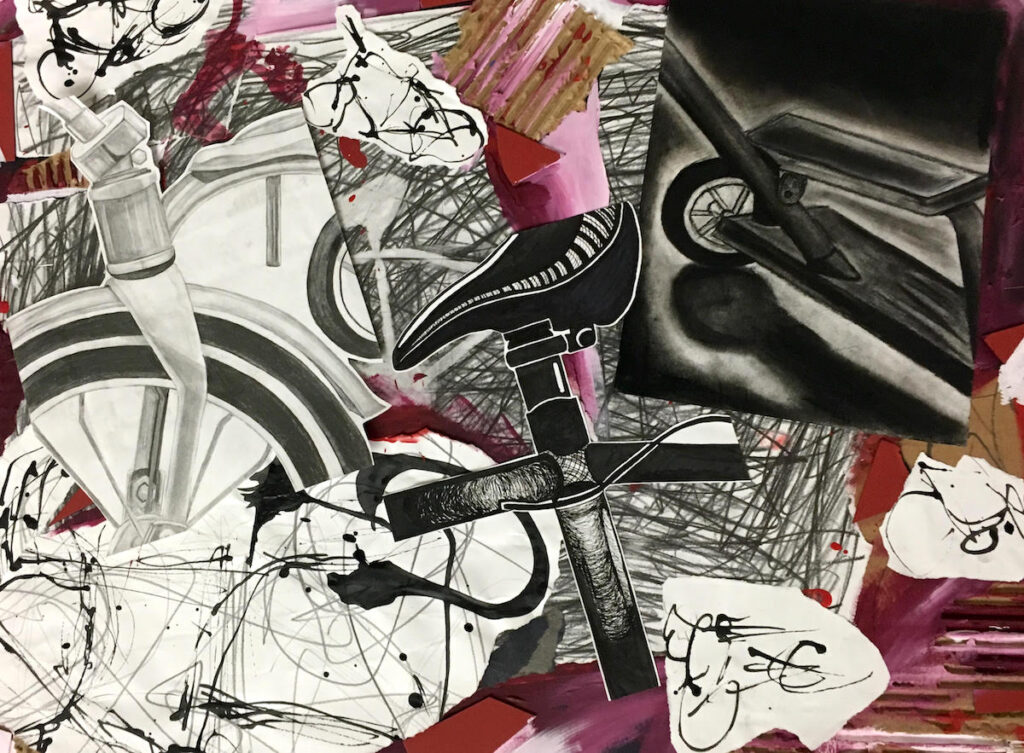
It’s always fun to see how the learning process shows up in the final work. I believe it’s learning at its best!
What objects do you use to teach your students still life?
Have you used bikes to teach your students to draw?
Magazine articles and podcasts are opinions of professional education contributors and do not necessarily represent the position of the Art of Education University (AOEU) or its academic offerings. Contributors use terms in the way they are most often talked about in the scope of their educational experiences.
