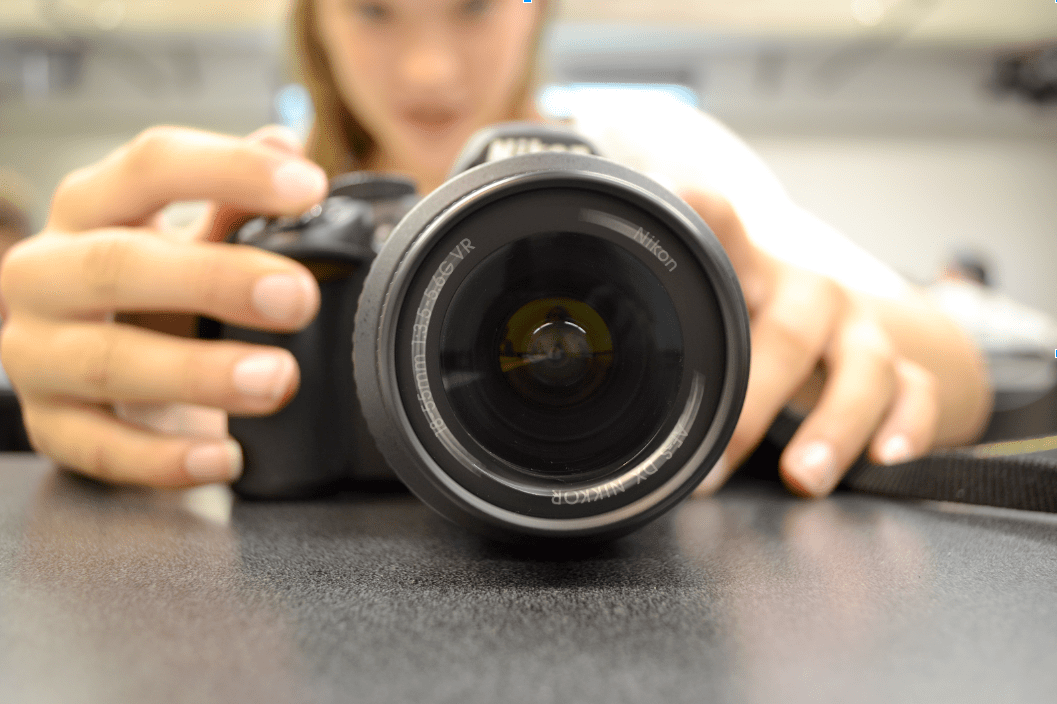
My first year teaching, I handed students a worksheet that diagrammed the camera and went over the function of each part. Although the students took copious notes, as soon as they had the cameras in their hands, it was like I’d taught them nothing.
This is because many students learn best by doing. The next time I taught photography basics, I let the students handle the cameras right away.
Here are 5 steps to getting started with digital photography.
1. Review the basics, and make no assumptions.
You might assume your students know or can figure out some camera basics. Don’t.
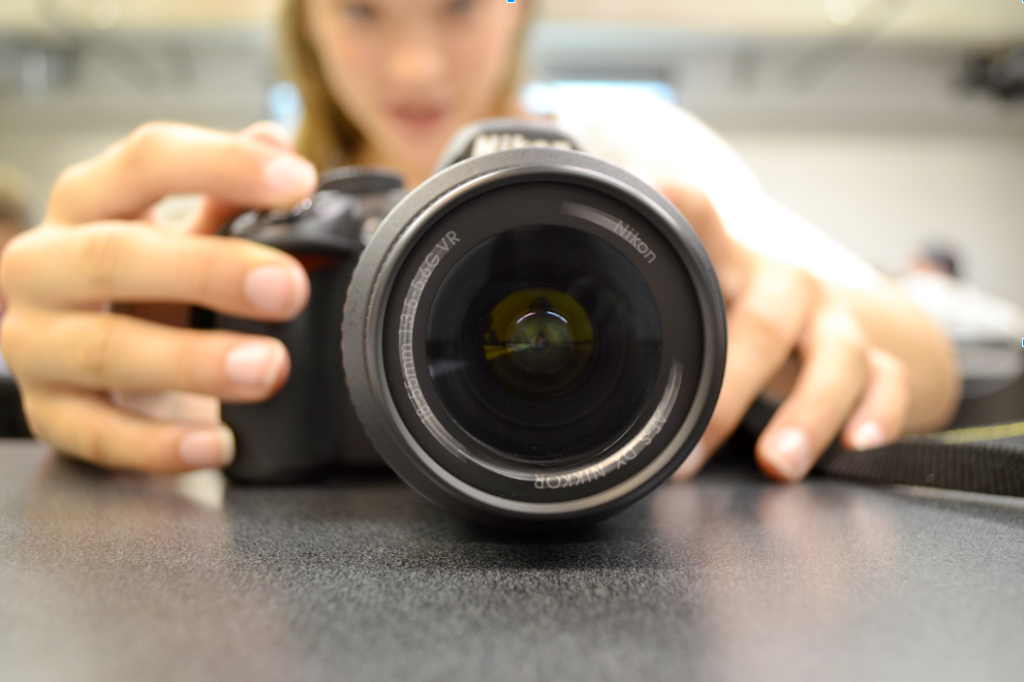
If you have enough cameras, provide each student with a camera. If not, split them into groups. Once in groups, review camera basics.
You’ll want to make sure your students know about the following 3 things:
The Battery
Start with the battery, letting students know it’s usually located on the bottom of the camera. Demonstrate how the battery has an arrow and only fits into the camera going one direction.
The Memory Card
After locating the battery move onto the memory card. Memory cards are often either on the bottom with the battery or located on the side. Demonstrate how to remove and re-insert the memory card. Remind students if they’re having trouble removing or inserting the battery or memory card, they shouldn’t push harder. Instead, they should pause, look for arrows, and try again.
The Power Button
Finally, make sure all students know how to turn on the camera. The button or switch is usually located on the top right. Have all students snap a few photos to make sure their camera is working. Now they’re ready to start exploring.
If you’re teaching a photography class and need to brush up on the basics yourself, take a look at the Digital Photography Basics PRO Learning Pack. You’ll walk away with the confidence to teach your students about aperture, shutter speed, rules of thirds, and so much more.
2. Experiment with the settings.
Provide students with a set amount of time and have them begin taking photos. I usually find thirty minutes works well. As they take photos, they should adjust the camera settings and observe what happens.
At this point, most students don’t have any idea of what the settings do. That doesn’t matter. The purpose is to get them to start using the camera and notice the impact of adjusting the settings.
Once students have had time out of their seats and observed the impact of the settings, they’re curious. But still not curious enough to listen to you lecture and record vocabulary words.
3. Have students research their particular camera models.
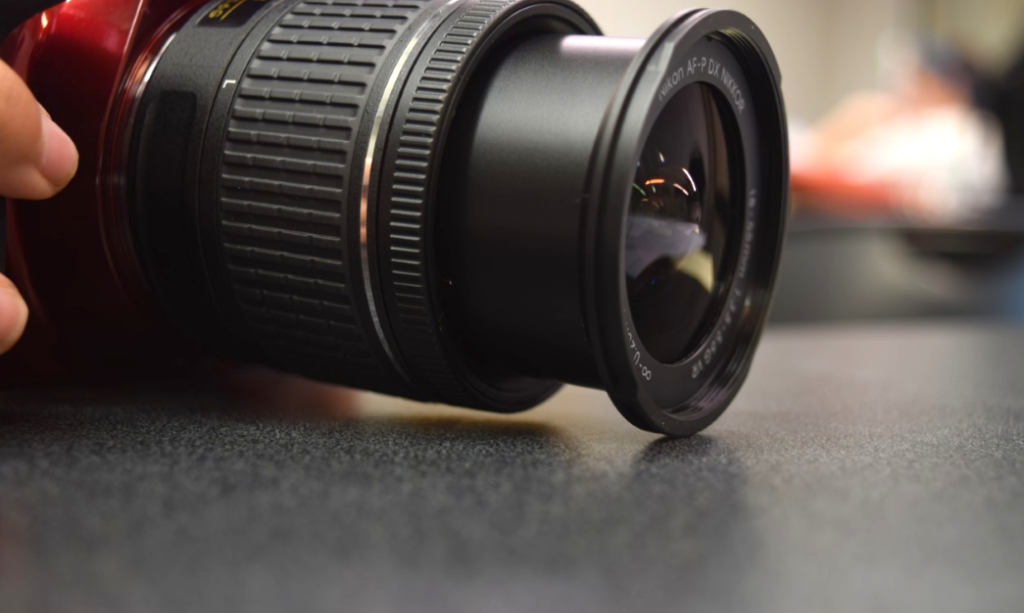
Next, break students into groups with a packet of questions to guide their learning. I’ve taught photography in schools where cameras were provided, and others where students provided their own. Having a room filled with a wide range of makes and models adds a layer of complexity to your instruction.
If your students are working with a variety of cameras, try to group them by those that are the most similar. For example students with Nikons in one group and students with Cannons in another.
Once you have students in groups, give each group member a specific task, to help keep them focused.
Here are job descriptions that I like to use.
Secretary
- Should have neat handwriting
- Records responses to questions
- Writes down extra questions students uncover during the discovery phase
Chief Explorer
- Tests ideas on their camera
- Is willing to push buttons
- Takes feedback and ideas from peers
Treasure Hunter
- Enjoys reading
- Loves finding answers
- Searches through the manual and camera menu
Connection Maker
- Likes puzzles
- Master of connecting the dots
- Thinks about how each part of the camera works with the other
After students are in their groups and assigned their jobs, they’re ready to start exploring. Provide students with questions to answer. Select questions based on your students’ needs. Questions should also address settings all DSLR cameras have.
Below are some questions I like to include. To keep students from getting frustrated, you might consider allowing them to skip up to three questions.
- What is the purpose of white balance?
- How do you change/adjust the white balance on your camera?
- How does the ISO setting affect your photos?
- What and when would you want to adjust the ISO?
- How do you control (DoF) Depth of Field?
- How do you control the shutter speed on your camera?
- Why would you want to control the shutter speed?
- What shutter speed allows more light into the camera? 1/200 or 1/2000?
- Which shutter speed would require you to use a tripod? 1/400 or 1/15?
- How do the shutter and aperture work together?
- Draw a picture of your camera and label the following parts: lens, viewfinder, shutter release button, control dial, menu, focus ring, camera body, and hot shoe.
As groups work on answering the questions, move around the room. Help groups that feel stuck, and answer questions that pop up as students explore.
4. Hold a question and answer session.
Once groups complete their packets, come together as a class, review responses, and address questions. Now, students are asking you questions, instead of you standing and dishing out seemingly boring and confusing information.
Remind students as you review answers, they should add and adjust information. The packet of questions isn’t meant to be a quiz; it’s a resource guide.
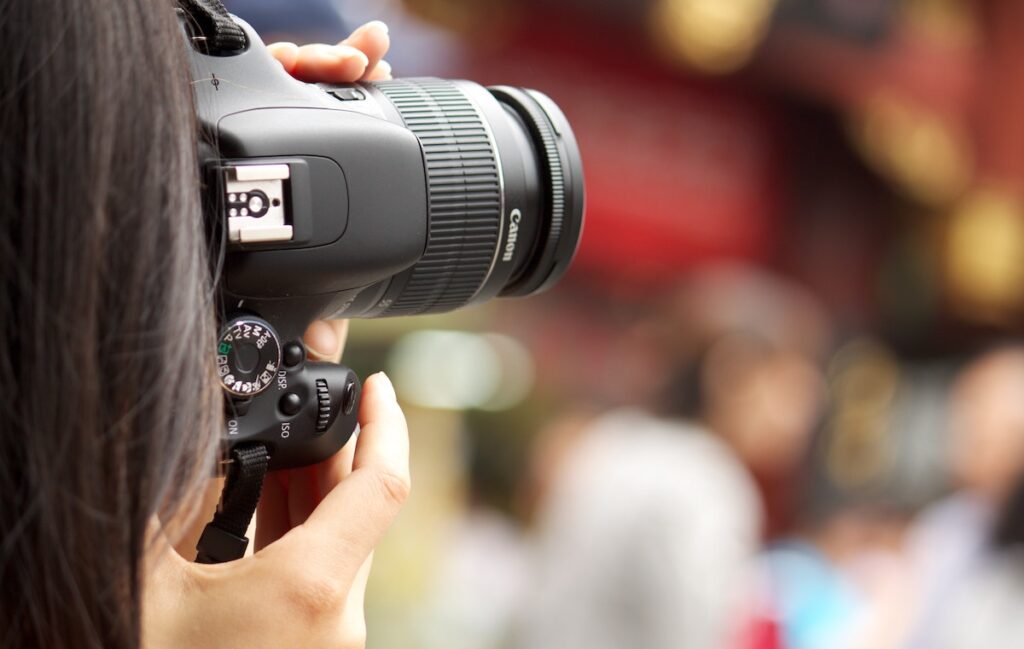
5. Try a scavenger hunt for the first project.
Armed with new knowledge, students are ready to start taking photos. Yet, they’re still likely to encounter problems and be unsure of how to use the new settings they’ve discovered.
This is why I like to start with a scavenger hunt. It is a great way to check for students’ understanding, while also giving them freedom. For the first few projects, I also tell students they won’t be editing their photos. Instead, they submit photos straight from the camera. The purpose is to have them learn how to take good photos. Removing the option to edit keeps them from taking poor, rushed photos.
In addition, create buy-in by making the scavenger hunt feel personal. In each class, ask students to write down their favorite word along with an object that they love. Then, use the words and objects as your class scavenger hunt.
Students love guessing who wrote each word or object. For the objects, students must try to find the actual object. For the words, students work to take photos that represent the word. The goal is for students to find as many as possible in a class period. Usually, my students get so excited they ask if they can continue the assignment for homework.
DSLR cameras are powerful tools. It pays to take the time to let your students become familiar with all their features. Try the method above to ease your students into the process!
What’s your favorite photography project?
What do your students have the most trouble understanding when it comes to digital photograph?
Magazine articles and podcasts are opinions of professional education contributors and do not necessarily represent the position of the Art of Education University (AOEU) or its academic offerings. Contributors use terms in the way they are most often talked about in the scope of their educational experiences.
