If you’ve ever taught watercolor in your classroom, you’ve undoubtedly practiced watercolor techniques. Chances are you’ve had students create rectangles on a piece of paper and label each one with a corresponding technique. Sounds exciting, right? Exploring watercolor techniques is important, but this approach doesn’t always grab students’ attention.
Instead, why not try creating an artwork as students explore watercolor techniques? Students tend to take more risks when they are practicing a process, and the following approach to watercolor takes the pressure off.
Learn how your students can explore the watercolor process while creating a masterpiece!
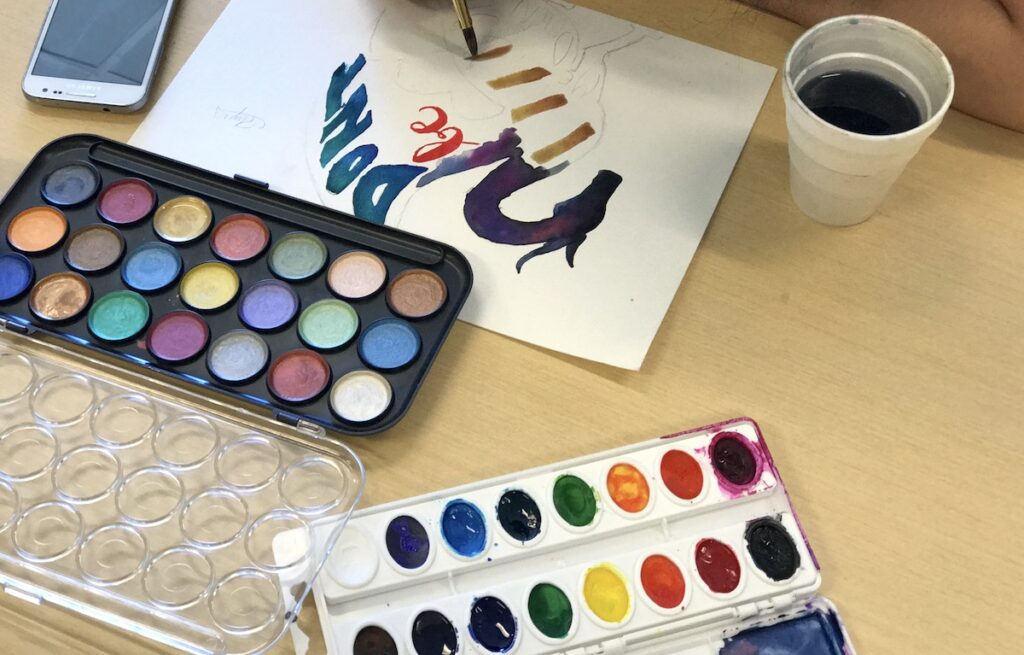
Materials Needed
- Watercolors
- Watercolor paper
- Water cup
- Brush
- Salt
- Plastic wrap
- Masking tape
- Rubbing alcohol
- Crayons
- Markers
While the project described here is a great introduction to watercolor, you might be wondering how to take students beyond the basics. If so, you’ll want to check out the course Studio: Painting – Watercolor. Topics include brush selection, material management, color theory, visual journaling, and basic and advanced techniques for the art room.
Or, if you’re looking for a quick review, try the Watercolor Painting Basics PRO Learning Pack! You’ll gain the confidence to introduce basic techniques and beginning processes of watercolor paint and discover specific tips for what materials to use, how to prep surfaces, and how to keep materials and paints organized.
Setting Up Your Watercolor Paper
To begin, students will use masking tape to section off a design. To provide more options, allow students to create a tape design of their choice. Make sure you clarify how many different watercolor techniques you will be exploring. If you are sharing nine different watercolor techniques, make sure your students have at least nine sections on their paper. Encourage students to create more sections, so they have the chance to repeat techniques for their final piece or to invent new ones.
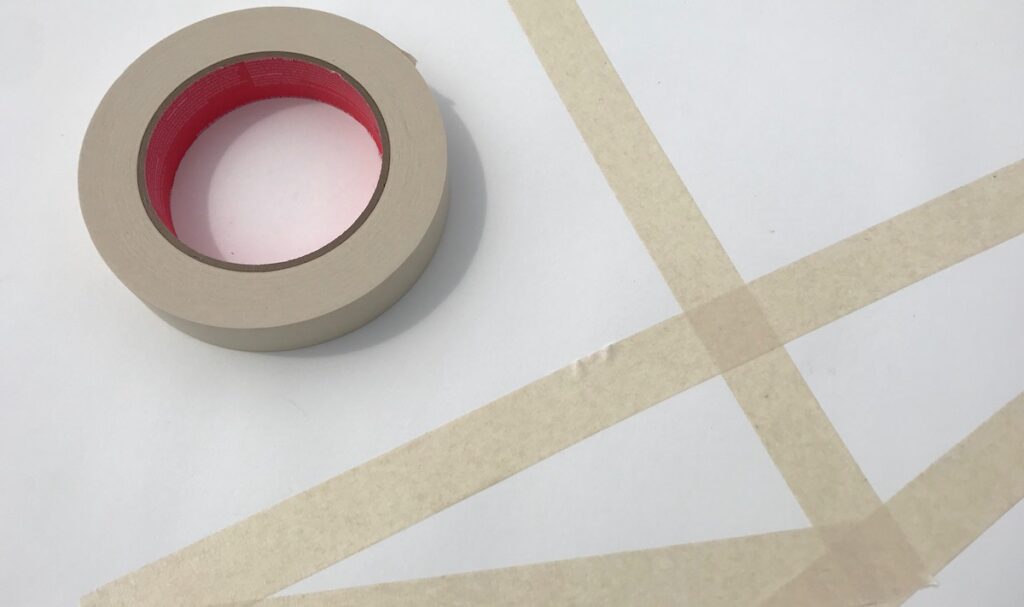
Masking tape can be used to place the design on the watercolor paper. However, it is essential that the tape isn’t super sticky. To get rid of some of the adhesive, have students stick the masking tape on their clothing and pull it off two or three times. Doing this will help with the removal of the tape when the painting is complete and prevent the watercolor paper from ripping.
Delivering Instruction
When exploring new watercolor techniques for the first time, direct instructional demonstration is key. However, asking students to gather around to show each new watercolor technique is not always possible due to time constraints. Instead, try making an instructional video like the one below.
This type of video allows students to work independently without having to waste time transitioning throughout the room. If you work in a 1:1 device setting, students can use a video like this to work at their own pace.
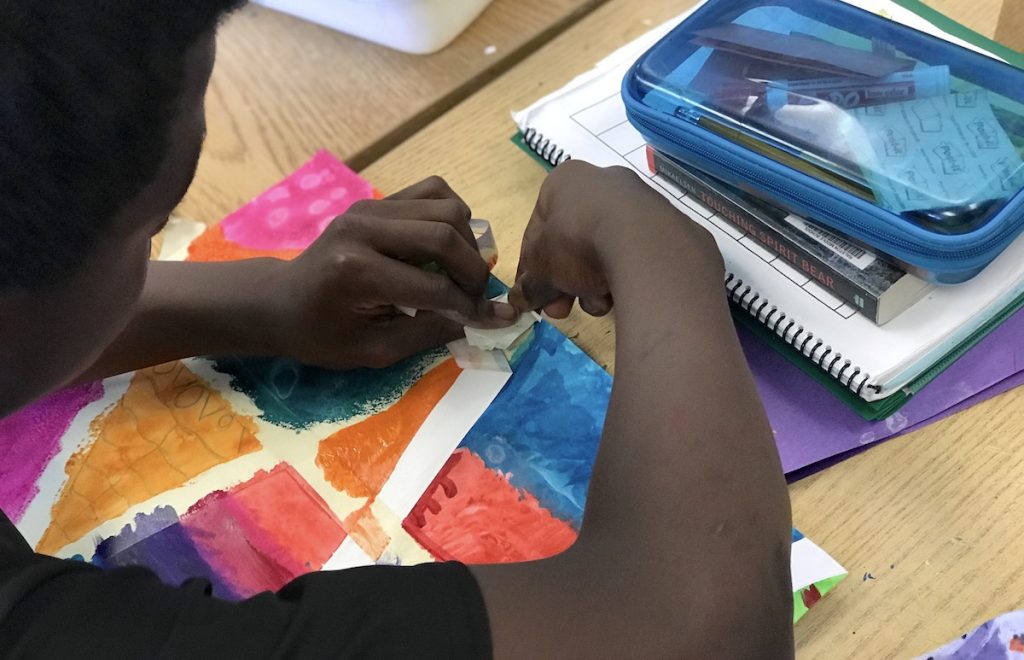
Label the Masking Tape
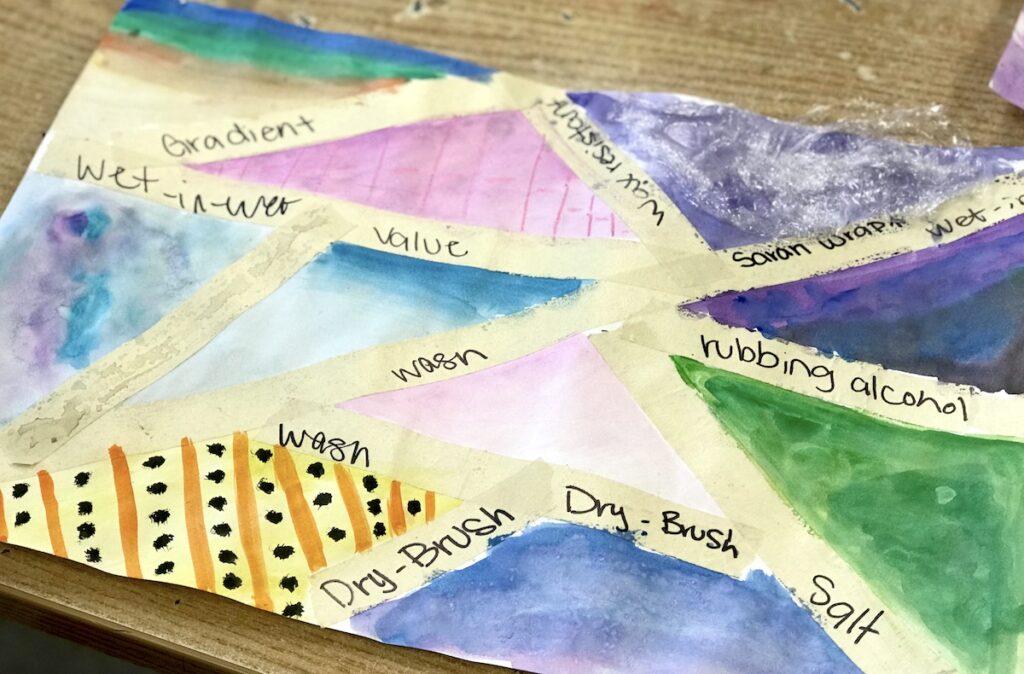
As students begin to fill in the masking tape sections, remind them to label each technique. Using a sharpie directly on the tape is an effective way to do so. Although, students will eventually remove the masking tape, by writing the techniques down they will retain more information.
Remove the Masking Tape
When all of the sections are filled in with watercolor techniques, the masking tape can be removed. Make sure students are not removing the tape if areas are still wet as it will cause the paper to rip. Since there will be several overlapping pieces of masking tape, encourage students to rip off small sections at a time.
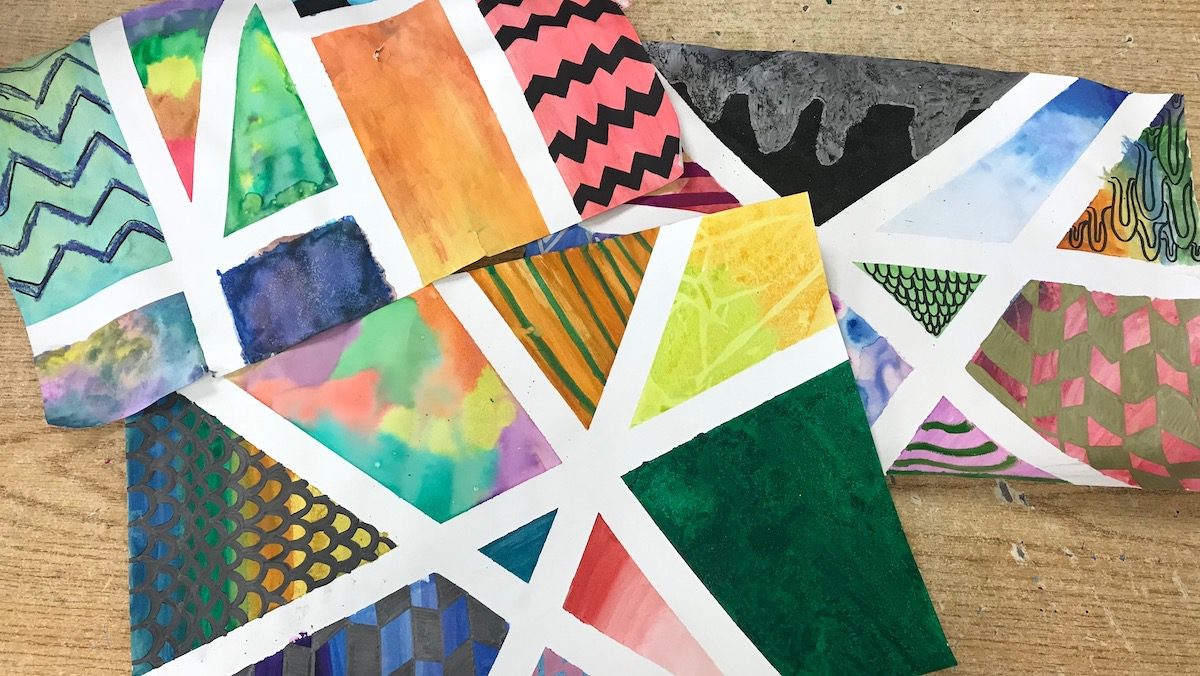
Finishing the Piece
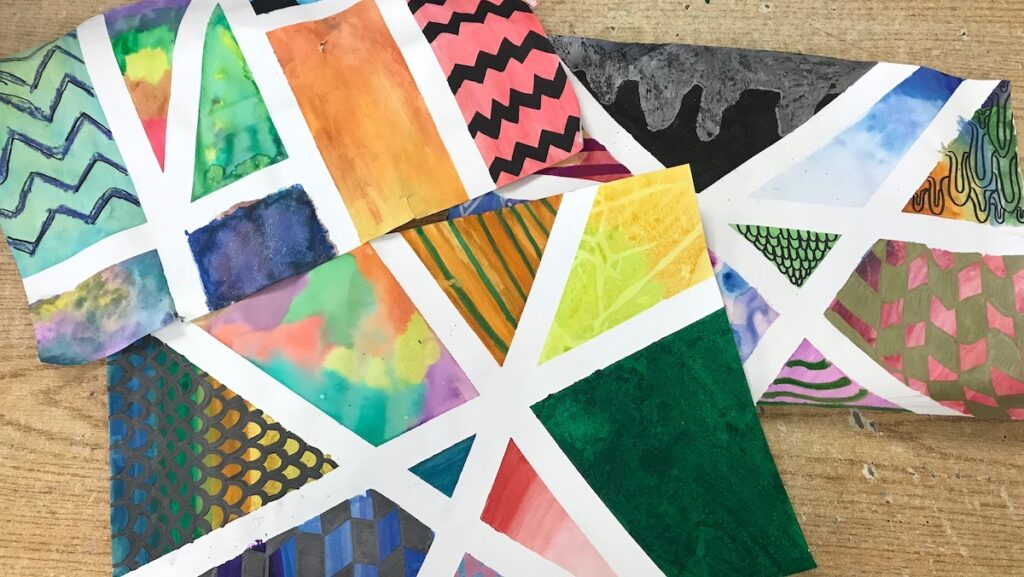
Once all the masking tape is removed, the painting will be left with clean white lines. From here students may choose to leave their painting how it is or transform it into something new. Undoubtedly, there will be areas in the painting that did not go as planned as students were working through new processes. You can use this opportunity to fix those mistakes or imperfections by adding drawings over the top. Students may choose to add abstract patterns on top of each section, or maybe even create new drawings in each section–the possibilities are endless!
Exploring watercolor techniques in this way allows students to explore a process while creating a final product. Students won’t be reluctant to dive in as they might view this activity as practice, but all the while they are completing a final masterpiece!
What is your favorite way to teach watercolor techniques?
In what ways do your students explore process and product together?
Magazine articles and podcasts are opinions of professional education contributors and do not necessarily represent the position of the Art of Education University (AOEU) or its academic offerings. Contributors use terms in the way they are most often talked about in the scope of their educational experiences.


