When I first started teaching art, I wanted my students to learn to draw using the elements and principles while experimenting with media. These were important goals. But, I totally neglected to teach students about the art of design! As I reflected, I found this predicament kind of funny. After all, I started my career in graphic design and know the vital role design plays in our lives. So, why was it so challenging to bring into the classroom?
Artists and designers have so much in common, yet there is a difference.
Most designers consider themselves artists, but the reverse isn’t always true. I asked my students if they thought most artists were designers.
We discussed and researched and agreed on the following conclusions.
1. Design work generally stems from the need to communicate a pre-existing message, while art tends to be an expression of a completely new idea.
2. It’s important to consider the difference between inspiration and motivation. If a designer’s objective is to communicate a pre-existing message, then they are considering how they will motivate their audience. On the flip side, artists tend to want to inspire feelings.
3. Designers usually want their work to be clearly understood by their audience, or clients, while art can be interpreted very differently and rarely has just one meaning.
4. Design is considered a skill that can be taught and developed while artistic ability is considered an innate gift.
A Beginning Design Lesson
I wanted to get my students thinking more like designers, while still working with important artistic concepts. Together we came up with a lesson that incorporated essential elements and principles to address the question, “Where does design end and art begin?” The result? We decided to design patterns!

Here is one way to create pattern designs with your students.
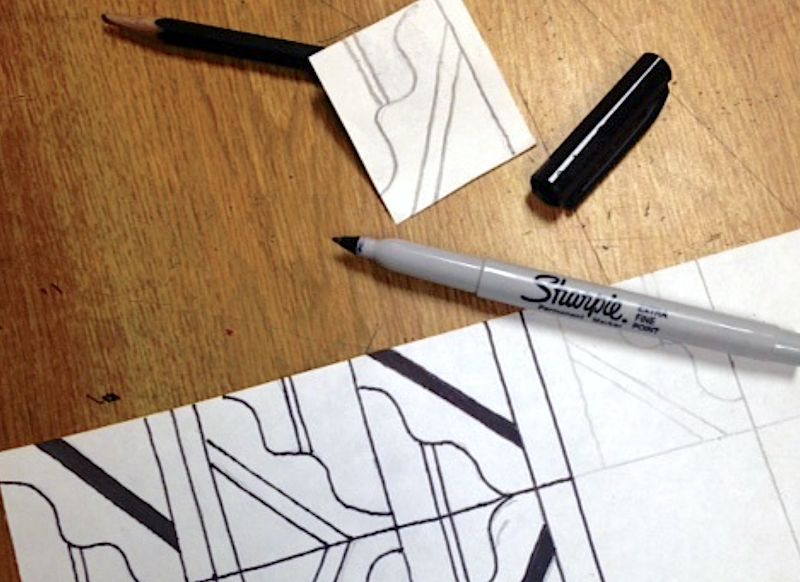
1. Create a simple line design.
Give each student a 2″ x 2″ piece of paper. Have them come up with a simple line design. Encourage them to use different kinds of lines including straight, curved, and angled.
2. Experiment with the line design.
Have students experiment with their 2″ x 2″ square by rotating it and creating four to six different designs. Encourage students to play with a variety of patterns before they settle on the one they like best.
3. Have students grid their paper.
Give each student a 12″ x 12″ piece of drawing paper and create 2″ squares to form a grid.
4. Trace the square design.
Have students add their preferred design by tracing it thirty-six times on their paper with a pencil.

5. Outline all pencil lines.
Using a thin Sharpie, have students outline all their pencil lines. Encourage students to consider line quality through the addition of thick and thin lines or line weight.
6. Select color theory.
Students should select their colors, preferably from the same harmony. Encourage cool colors or warm colors with a hit of the opposite for emphasis.
7. Complete the pattern design.

8. Mount finished patterns on black paper.
This lesson teaches students to think outside of the typical visual art lesson. It really requires students to focus on the design elements and consider repetition and pattern as well as line quality, shape, and color theory. And the best part is that it can be adapted for grades 3-12!
This is the perfect lesson if you’re looking for a way to introduce the art of design. Students have a chance to consider the difference between art and design and play with line quality in their patterns. It’s an ideal way to get students thinking like designers!
How do you teach design inspired lessons in your art room?
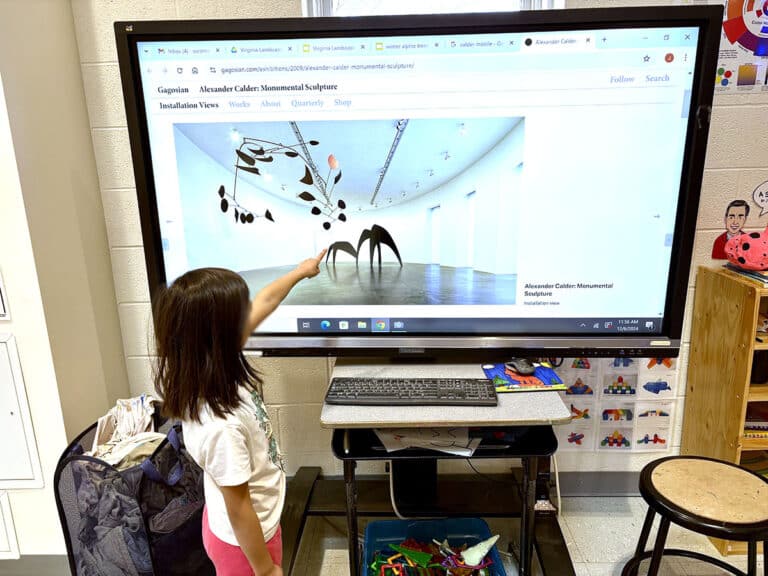
What artists would you consider incorporating into a design lesson?
Magazine articles and podcasts are opinions of professional education contributors and do not necessarily represent the position of the Art of Education University (AOEU) or its academic offerings. Contributors use terms in the way they are most often talked about in the scope of their educational experiences.


