How do you know your students are learning? How can you quickly and simply assess student learning? What assessment techniques can make your life easier?
The best kinds of assessments are ones that require no extra work from the art teacher! Adding these “no-prep” assessments to your classroom routine can help your students better understand key concepts you are currently working on in your art room!
Try any of these three super speedy ideas to assess your students’ art knowledge:
1. Whisper Exit Tickets
You may have heard of exit tickets before. Lots of teachers use them as completely effective assessment strategies. However, as an art teacher, I wanted to find a way to turn the traditional paper exit ticket into a fast and paperless assessment for my artists. This is how the whisper exit ticket got started!
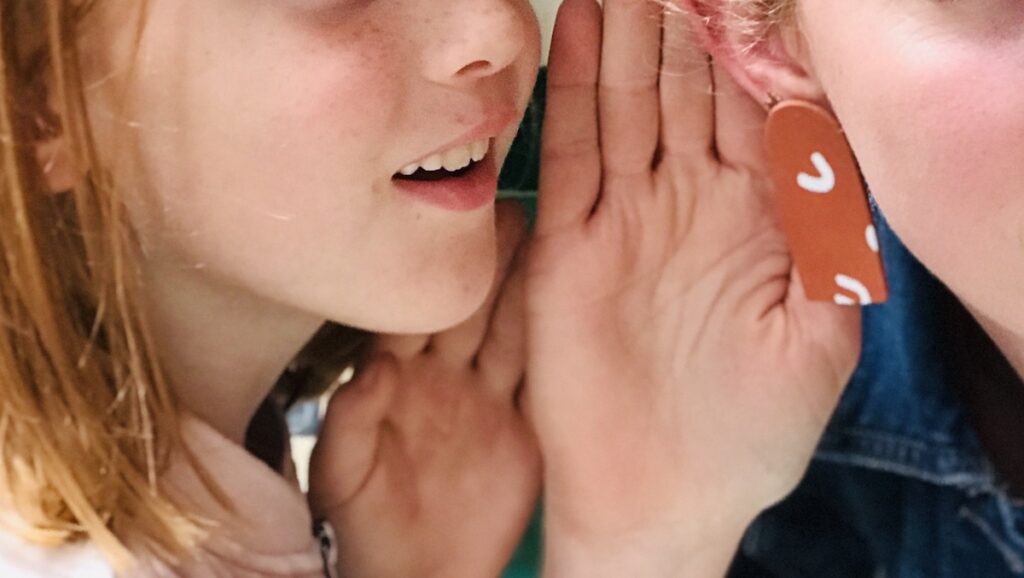
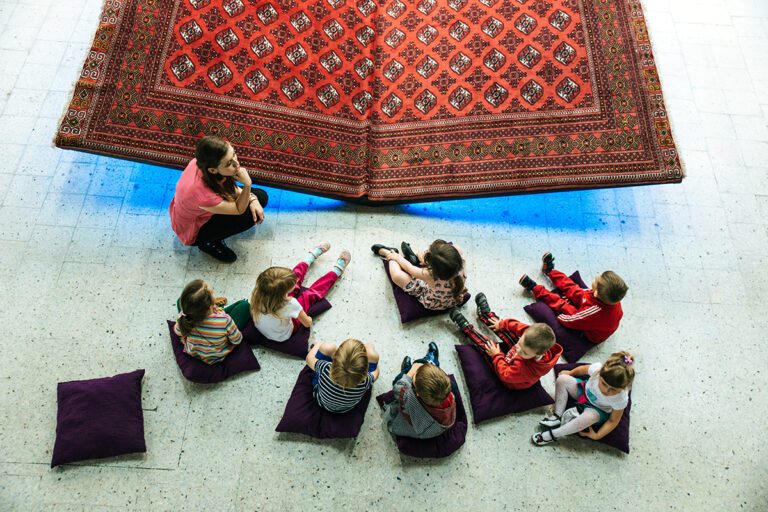
To easily implement, once all the artists have cleaned their workspaces, have students sit at their table with “heads down, thumbs up” to signify that they are ready to go. Select one quiet student to push down thumbs of other quiet artists, and they can go line up at the door. Then you can say something like, “Instead of lining right up at the door today when your thumb goes down, please come over to me at the carpet and whisper the definition for texture in my ear.” Of course, depending on the content you are studying, the prompt can change. You may even want to ask a question that’s more of an opinion or a student check-in. For example, whisper to me, “What part of today was the most challenging for you?”
Why it works:
- No paper prep for you! You’ve got to love techniques you can incorporate right away.
- Low pressure for students! If they do not know the answer, they simply whisper, “I don’t know,” or just mention a part of what they remember.
- It’s fast! In the last thirty seconds of class, you can hear from every student and get a quick sense of their understanding of the class and lesson.
2. Write Key Terms on the Back of Artwork
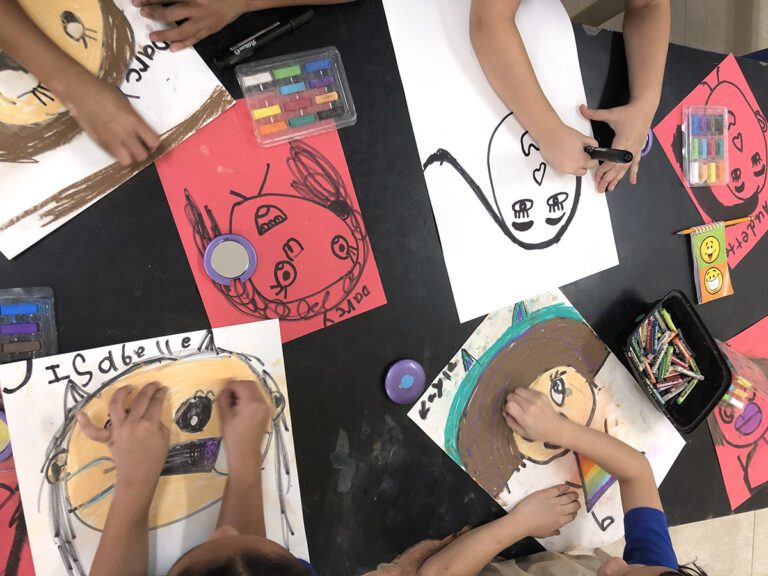
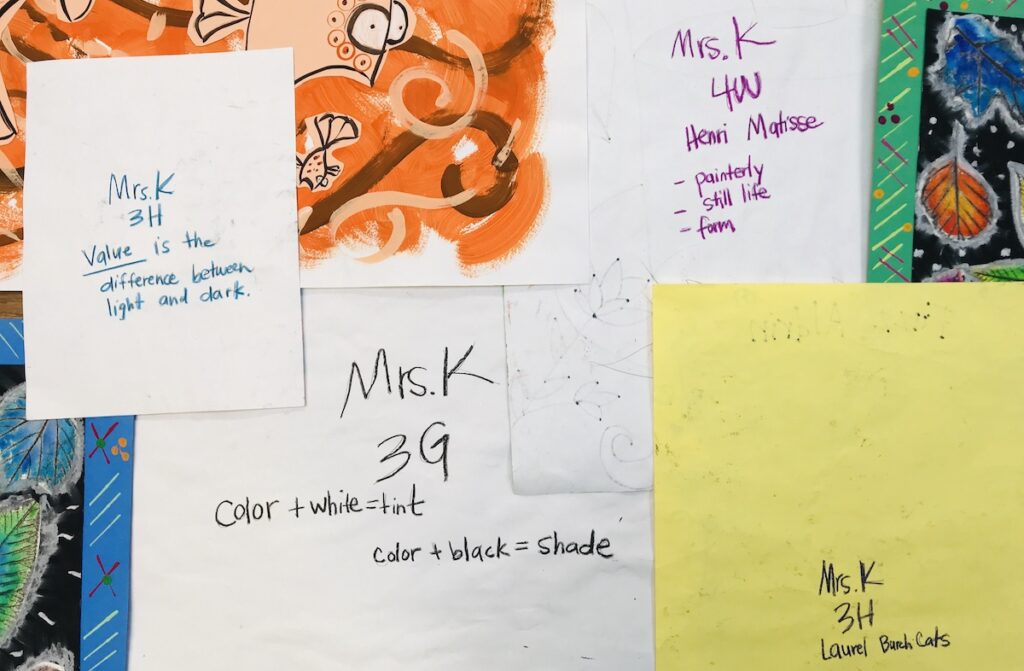
What’s the first thing your students do when they start a new project? You’ve probably said it a million times. “Write your name and class code on the back of your artwork!” But why stop there? When you are studying a new artist or teaching students about a new technique, have students write the main ideas you want them to remember on the back of their artwork.
Why it works:
- Students can access art information they need easily! When working on a project, if a student has a written formula on the back of their artwork about how to make a tint or has written down the artist’s name they are currently studying, it can give students confidence to access the art information they need to know.
- It can give your artists ideas of how to talk about their art! If you send home art portfolios at the end of the year, chances are that some of your students will forget parts of what they were studying for each artwork. But, if there are key terms on the back of their art, they can more easily talk with friends and family about what they were practicing to create a particular piece of art.
- It helps to quickly assess student understanding! Using the back of their artwork as a place for notes, practice, or questions, can give you a good idea of your students’ comprehension.
3. Create Art Sign Language
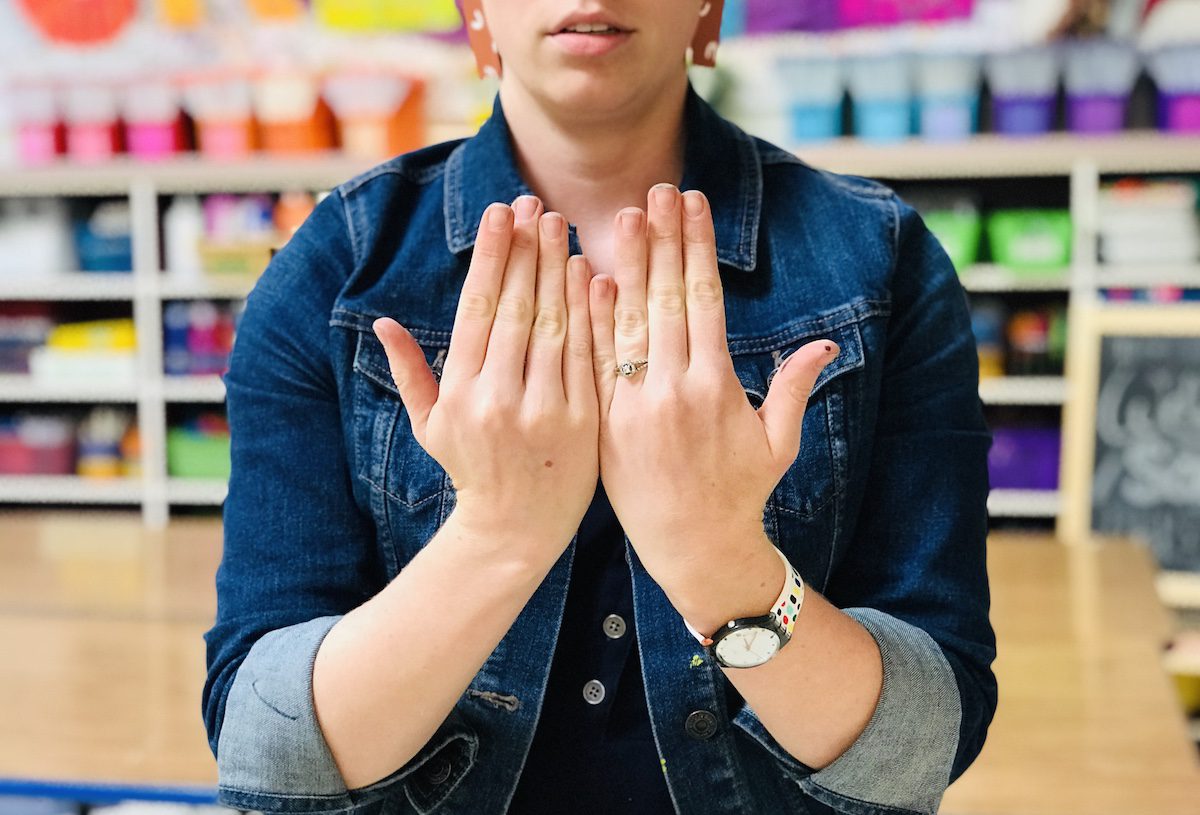
Do you find yourself talking a lot with your hands? Take advantage of your desire to move by creating motions that coordinate with key art concepts. In our art room, we call this “Art Sign Language” and often create the motions for new words we are learning together, as a class. To assess students using “Art Sign Language,” you can simply show them the motion and say, “What does this mean?” Or, try reversing that method and say the definition of a concept and ask, “What motion goes with this word?”

- For this “Art Sign Language” motion, we continue to stack our hands on top of each other and say, “Collage is paper on paper on paper.”
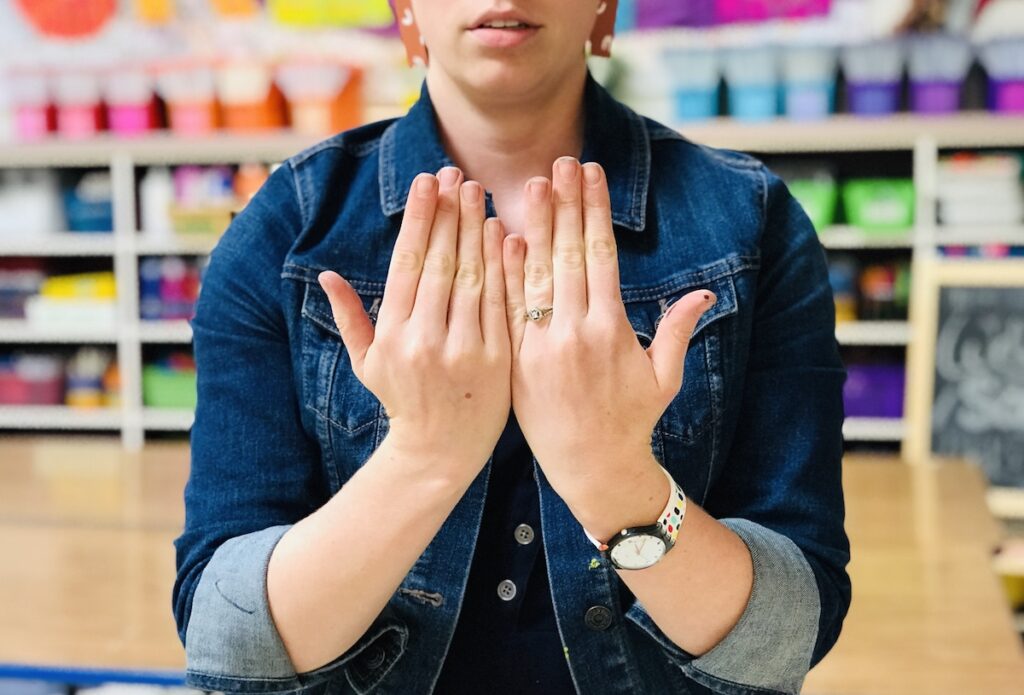
- For this “Art Sign Language” motion, we mimic pointing at color wheel neighbor colors and then make our hand edges meet like neighbors. We say, “Analogous colors are neighbor colors.”
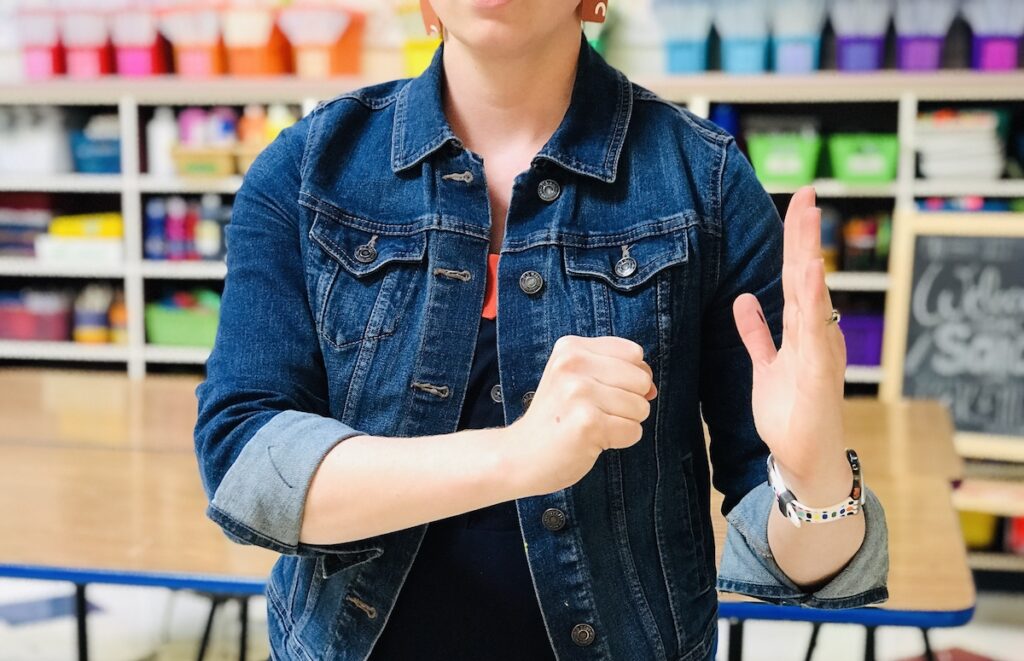
- For this “Art Sign Language” motion, we make our hands draw dots and lines in a repeating pattern in the air and say, “A pattern is something that repeats.”
Why it works:
- Your students stay engaged! Keeping your hands moving and busy allows your active students to continuously participate in your lesson.
- You’re teaching to multiple types of learners! Both visual and auditory learners benefit from this combined technique.
- It creates ownership by building motions together! When you are studying something new, asking for students to create the motion together makes your artists have direct ownership over their learning and memory tools.
If you’re looking for even more awesome ways to assess your students in the art room, check out 6 Strategies for Fast and Formative Assessments and Using Games for Assessment (Ep. 106).
Assessing student learning is an ongoing process. Using these simple techniques can help you gain powerful insight, streamline the process, and keep students actively learning. Try one of these tips in your classroom and see how it can impact ongoing student assessment.
What assessments work best in your classroom?
How do you feel your students learn best?
What other ways can you integrate mini-assessments into your daily routines?
Magazine articles and podcasts are opinions of professional education contributors and do not necessarily represent the position of the Art of Education University (AOEU) or its academic offerings. Contributors use terms in the way they are most often talked about in the scope of their educational experiences.
