When building your curriculum for success, it’s essential to include opportunities for low-risk practice into your daily routine. When students spend three weeks working on an artwork, it can feel overwhelming and intimidating. How can students develop new skills confidently before applying them to high-risk artwork?
Let’s take a look at 3 media-specific ways to change up the way you teach to support low-risk practice:
Photography
When teaching darkroom photography, there are multiple times throughout the process where something could go wrong. How can you ensure students are able to apply artistic skills when their technical process has gone astray?
For example, you teach students about composition and point of view, then give a film shooting assignment in which they have to demonstrate those two skills. Students take their film, but one student doesn’t load their film correctly, another forgets to look at their light meter to check exposure, and a third student doesn’t release the film before rewinding and exposes her film before it even has a chance to be developed.
These are only a few examples of what could go wrong, just in the very first steps of taking the roll of film. At no point, yet, have you been able to assess whether the student even understands and can apply compositional and point of view techniques. It’s time to find other ways to check for understanding early and often.
One tool we have accessible to us is technology; almost every student has a mobile phone on them (so much so that it’s usually more of a problem than a solution in the classroom). Try incorporating short, quick, and low-risk practice using phones to take digital photos around school before applying these skills to their multi-step film assignments. Not only will you be able to provide quick feedback on their skills, but it will build confidence when seeing instant results from applying what they are learning. These simple, and low-risk photos can get added later on to help build a student’s portfolio demonstrating what they’ve learned.
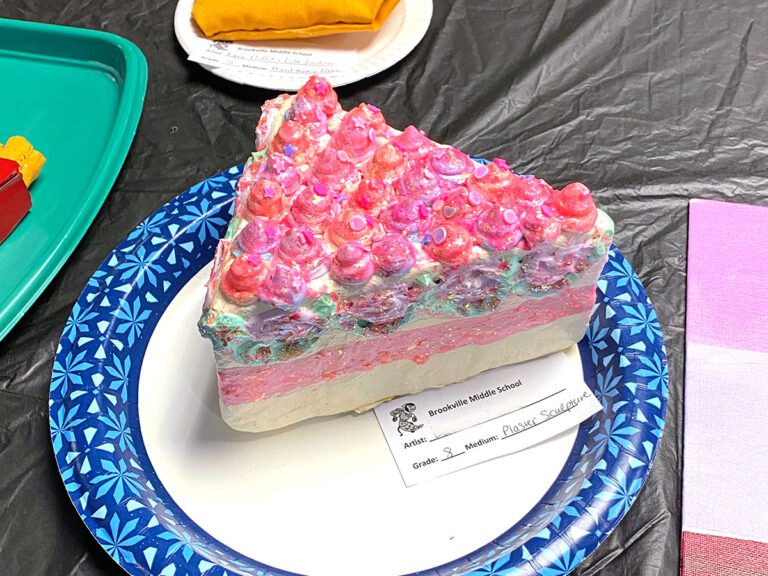
Ceramics
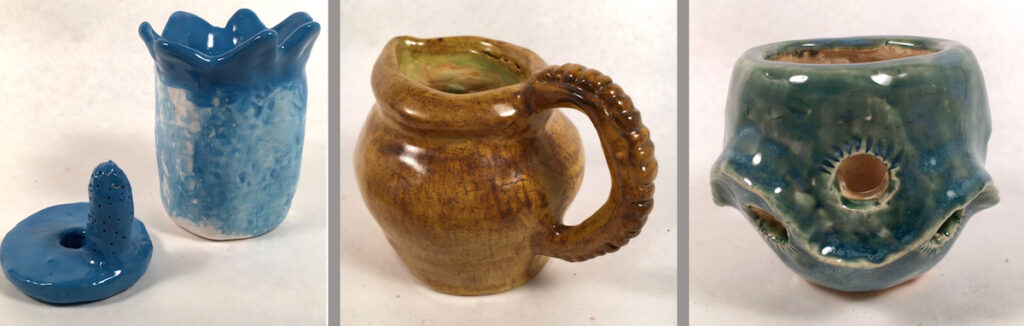
Waiting for your ceramics artwork to come out of the kiln is a nailbiting experience. Just like with darkroom photography, there are so many steps along the way where something could go wrong. Your student designs an incredible coil vessel that is twelve inches tall, has a spout, intricately exposed coils, and piercings throughout. Halfway through building, a cold snap occurs and the heat is blasting in the school. Unfortunately, the student forgot to wrap the in-progress vessel well enough, and coils begin to dry too quickly, falling apart. Okay, so that is an excellent lesson for the student to learn.

Early on in the process, it’s fixable. But what happens when your student has spent weeks making this piece, and the spout falls off during bisque firing or the glaze turns out brown instead of a glorious purple? How can you support students to build skills with confidence?
Make practice small and manageable, allowing a student to take time to play with and explore the medium. For example, instead of spending three weeks on a coil vessel from the beginning, students can make three miniature coil vessels to practice the same technique. You can have them leave one in-progress piece out overnight and then try to add a damp coil the next day. What happens, and how can it be fixed? Students can either try to problem solve this issue or scrap it altogether. Either way, the students have learned a valuable lesson about how clay works without the disappointment of it ruining a substantial artwork. When you make learning accessible to students, they are more inclined to take risks and experiment to see what works for them before applying it to their larger artwork commitment.
Jewelry/Metalsmithing
Metals are expensive. When teaching students how to form, saw, and solder with metal, it can be intimidating for both students and teachers to hand over these precious materials. Here is one example of what happens when students jump into creating without having enough low-risk practice.
Your student designs a belt buckle with two sawed out pieces, one a large oval and the other an intricate silhouette of an iguana. This is their first time soldering and this student just spent five class periods attempting to attach these two pieces with no success, and they have asked you if they can just glue them together. You explain that the student needs to demonstrate soldering, and the next thing you know, that student has tossed their hard work and your expensive metals in the trash can. Besides the developed persistence it takes to solder, sometimes the metals gods are just not sending their blessings.
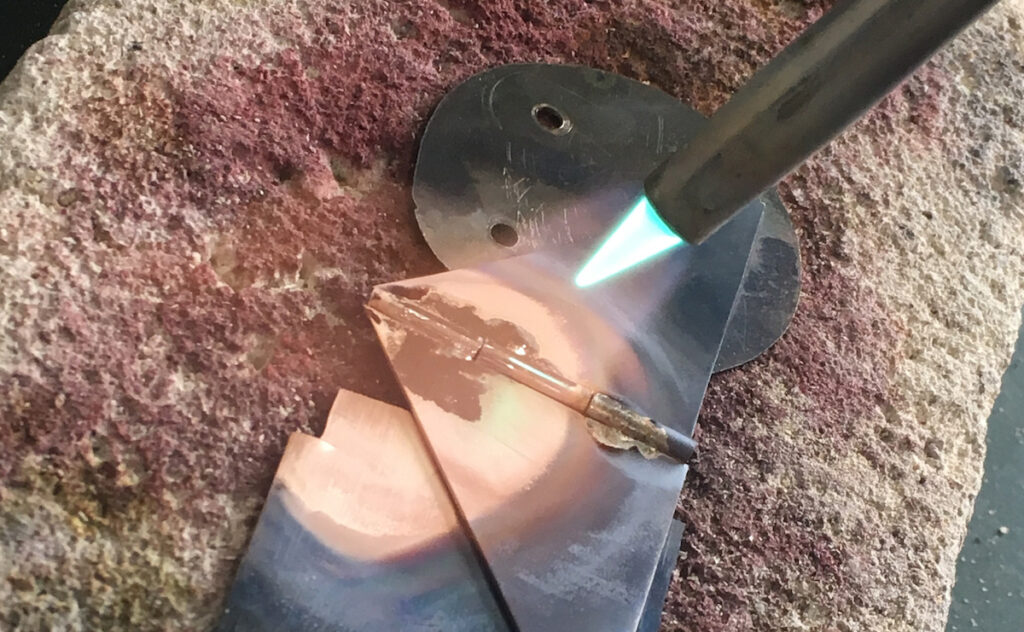
How can you help build this persistence and help students gain confidence in their skills before attempting something so challenging? Instead of handing over the expensive sheets of metal, students can demonstrate composition, sawing, and refining techniques using one-inch by one-inch squares. By providing material constraints, your students continue to develop their compositional skills alongside honing already learned skills.
This takes the pressure off of students learning the new skill of soldering and provides more chances for successful attachment. As a budget mindful teacher, you are also saving money while empowering students to make choices later on when their skills are more fully developed.
If you find your students are struggling to apply skills to create successful, long-term artworks, it’s time to reconsider what you are doing to support their learning through low-risk opportunities. Providing feedback in small increments to allow students to focus on one skill at a time, or to have many opportunities to hone those skills will build your students’ confidence in creating. Giving them space to grow without fear of failure will not only yield higher rates of success in larger artworks but also teach your students the value of process and exploration to learn.
In what ways do you incorporate low-risk practice before jumping into a long-term artwork?
When is a time you realized you should have scaffolded learning for students to be more successful?
Magazine articles and podcasts are opinions of professional education contributors and do not necessarily represent the position of the Art of Education University (AOEU) or its academic offerings. Contributors use terms in the way they are most often talked about in the scope of their educational experiences.