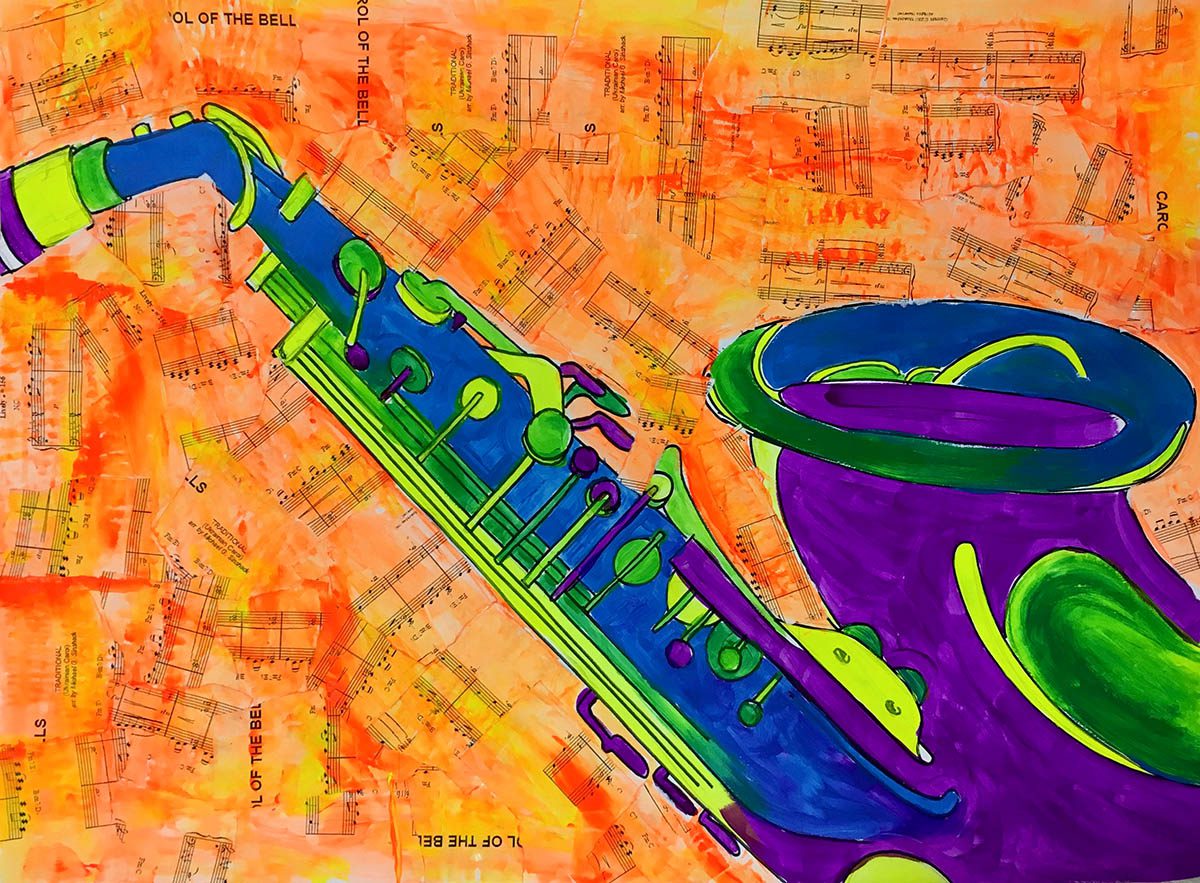
Tempera paint has been a staple in elementary art rooms for as long as there have been elementary art rooms. However, this medium can create artmaking experiences for artists of all ages. Your lesson or the students’ age may determine the level of quality and the form of tempera you purchase.
There are many tempera options, including washable, student, economy, and premium, each with an increasing price and level of quality. The investment into a high-quality tempera is usually cheaper than other paints, making it a great choice for upper-elementary and secondary foundations students. As for the forms tempera paint comes in, you can usually find it in liquid, stick, cake, or powder.
Here are just a few of the many benefits of tempera paint:
- Resists fading in most premium paints
- Cost-effective
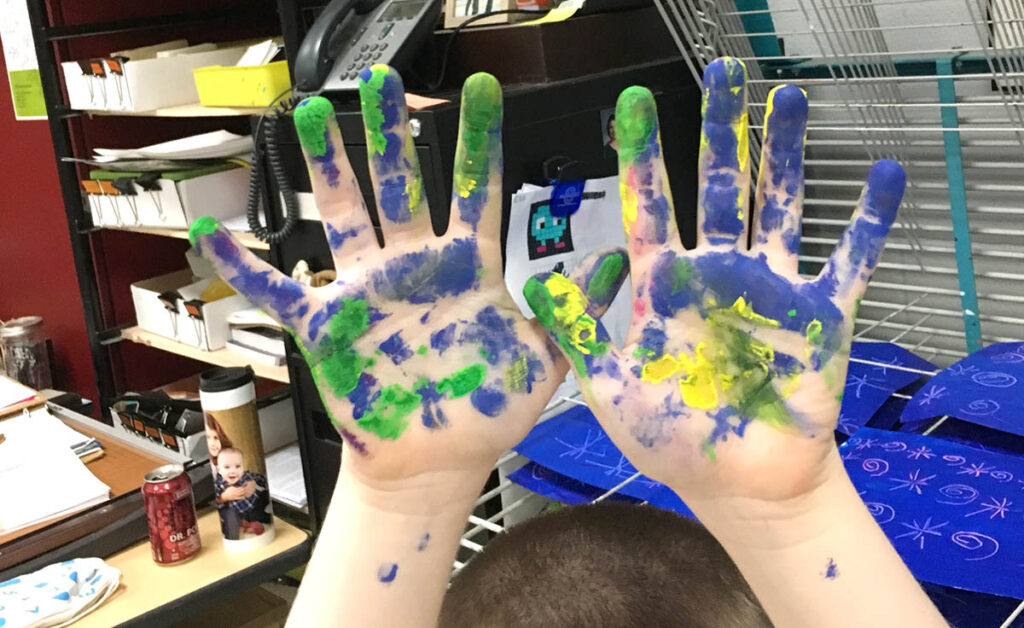
- Washes off most surfaces, including most clothing
- Versatile with other media
- Applicable on a variety of surfaces such as cardboard, papers, and windows
- Fast-drying
- Non-toxic
For more information on tempera paint, be sure to check out the FLEX Collection, Experimenting With Tempera and the PRO Pack, Tempera Paint Basics. Head on over to FLEX Curriculum and PRO Learning for these amazing resources!
Consider these 10 fun and unique ways to engage students with tempera paint at any level!
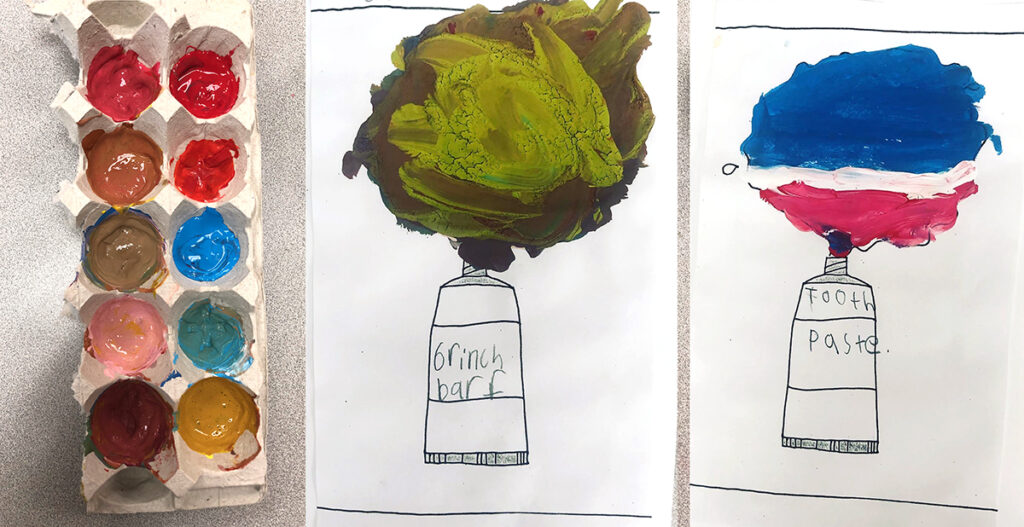
1. Color Mixing
Tempera’s cost-effectiveness allows for experimentation and mistakes. While exploring color theory and color mixing, students use a palette of tempera paint to investigate colors before moving on with acrylics, oils, or watercolors. Jumping into color mixing can be challenging but fun!
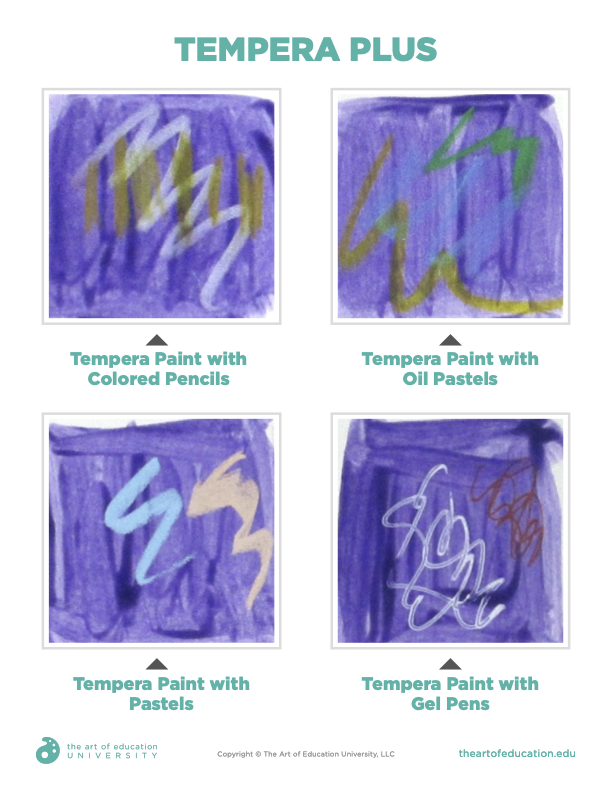
2. Mixed-Media Matrix
When dry, tempera paint has a matte appearance and is an ideal surface for adding diverse materials such as crayon, oil pastel, ink, or collage. Start with a painted surface and provide students with materials to try out their marks on the dried background. They may find material combinations to explore further in future works.

Here is a complimentary anchor chart from the FLEX Collection, Experimenting With Tempera. Use it in your classroom to show what different types of media look like on tempera paint. You can find this collection of lessons in FLEX Curriculum.
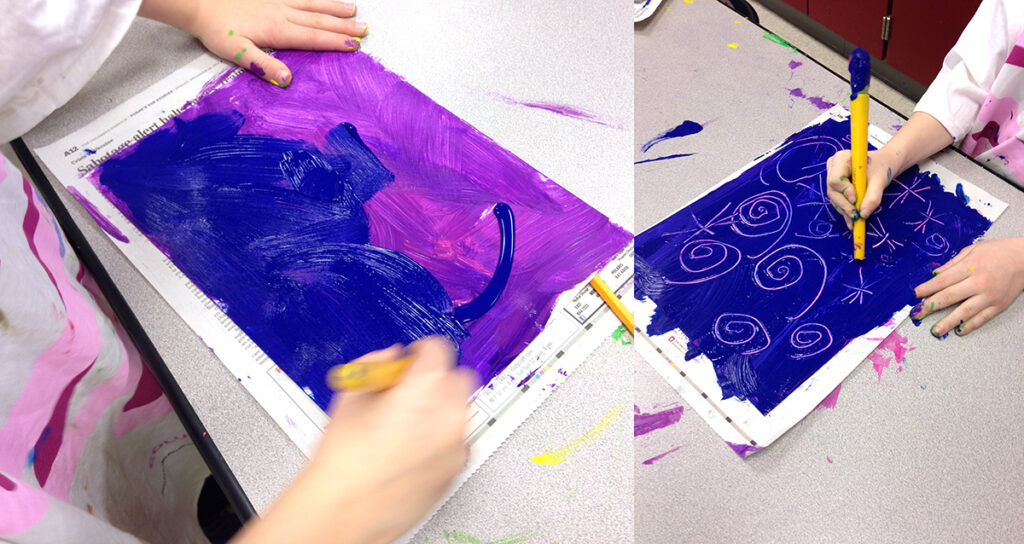
3. Layering and Scratching
Students lay down a layer of thick tempera paint on a piece of drawing paper. Then, they choose another color and paint a new layer on top of the wet paint. While both layers are wet, students can use the back of the brush to scratch and reveal the color below. Think of this as a “DIY painted scratchboard.” If a student is unhappy with the marks they made, swipe paint over the scratched lines and try again. Check out this article for an elementary portrait lesson exploring this technique.
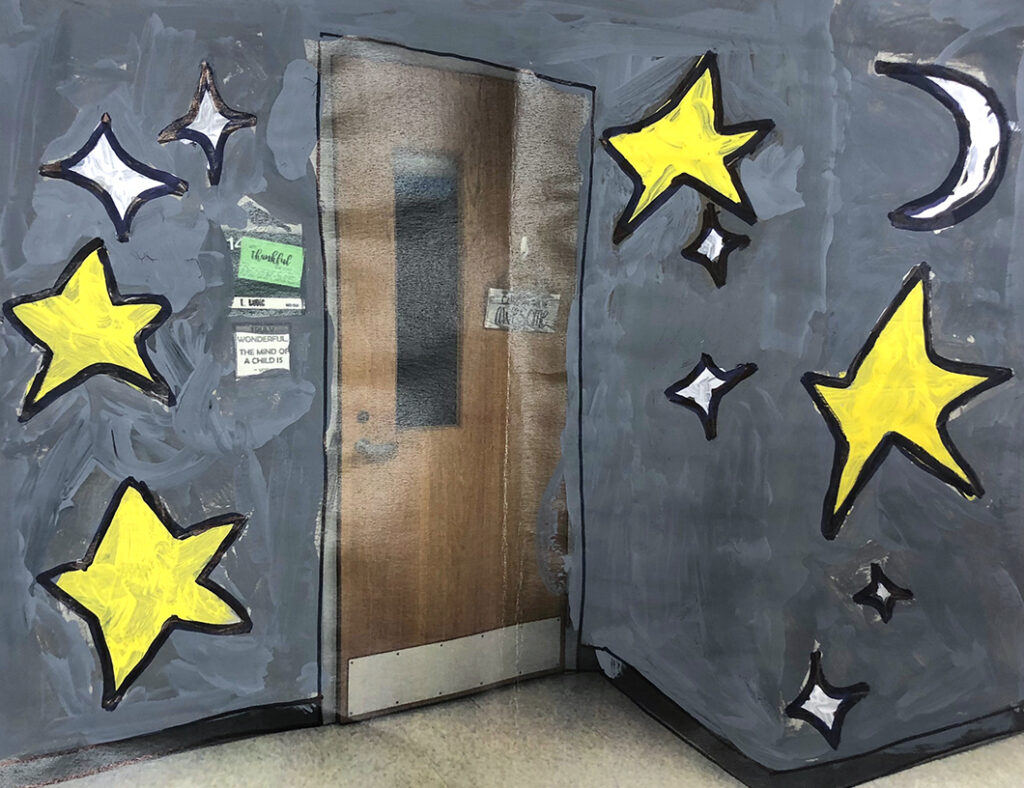
4. Window Painting
With the evolution of art supplies, there are now window markers and crayons for precise lines and crisp handwriting. A large school window is an ideal spot for a large tempera paint design. Tape a pre-drawn design on the outside of the window. Add a small amount of liquid dish soap to enhance the paint’s washability. Use large brushes to bring color and energy to the windows. Students fill in the design with paint on the inside of the window to protect the image from the elements. Easily remove mistakes with a wet wipe. Take down the pre-drawn design when the painting is finished. Instead of doing the window painting alone or with a whole class, consider this idea for an art club activity.
5. Monoprinting
To create low-budget monoprints, use plexiglass sheets or plastic sheet protectors. You can usually have the plexiglass sheets cut at the hardware store. Using tempera paint instead of ink will stretch your budget and can make unique transferred marks on paper. To use tempera paint in this way, students must work quickly or with more abstract imagery. Apply color to the plastic with tempera. Lay the paper face down on top of the tempera and rub the back of the page to transfer the image. Repeat this process to create layers.
6. Painting on Plastic
The pandemic brought a lot of plastic barriers into our lives. Whether you are still using this personal protective equipment in your studio or not, try adorning these plastic barriers with tempera paint to create an interactive artmaking experience. If you have plastic dividers, have one student sit behind the plastic. Have their partner be the student-artist who applies tempera paint directly on their side of the barrier. Paint a hat, a mustache, or a patterned background. Once the painting is complete, take a photo of the student behind the painted designs. The photos become the final art piece. Clean the plastic barrier and reuse it by swapping roles or for another pair of classmates.
7. Animal Collaborators
Zoos and animal caretakers worldwide use enrichment painting to keep animals actively engaged and learning. It requires animals to make marks with paint to experience new sensations. A penguin may walk through a line of blue paint and leave colorful footprints across a canvas as they walk away. The sensation of stepping into the paint and the feel of the canvas can be exciting and new to the animal-artist. Zoos use non-toxic, highly washable tempera paint for their animal-artists. They never use red or pink because they do not want it to be confused as an injury.
The animal-created art is sold or auctioned to raise money for conservation efforts. Contact your local zoo to see if they have painting experiences to watch, collaborate with, or support. Contact with a zoo or wildlife center may spark a partnership between students and animal-artists. For example, students may create a painting the animals add to with their tempera footprints and marks.
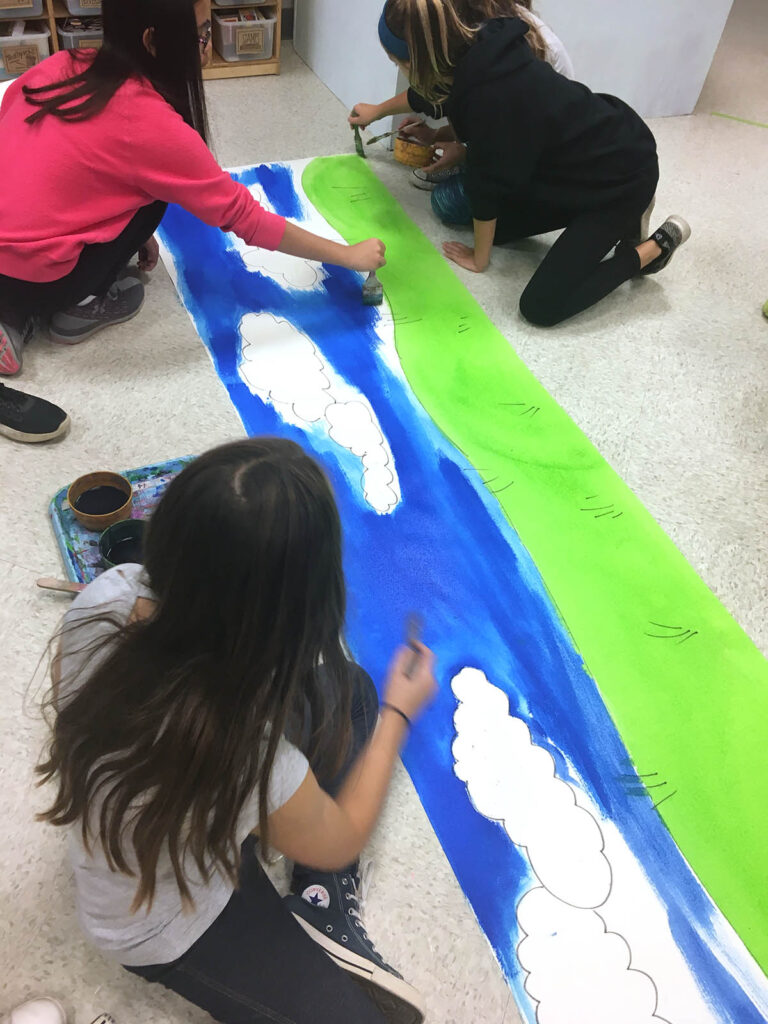
8. Large Temporary Murals
Vast collaborative paper murals demand a lot of paint. This can be financially challenging as well as difficult in terms of dry time and other available resources. Prompt students to work collaboratively on large paper murals with tempera paint. Mix the paint into any number of ideal colors. Tempera is less expensive for covering a large space than a permanent mural with acrylic or latex paint. Because it dries quickly, you can roll it up and stash it away until the next class.
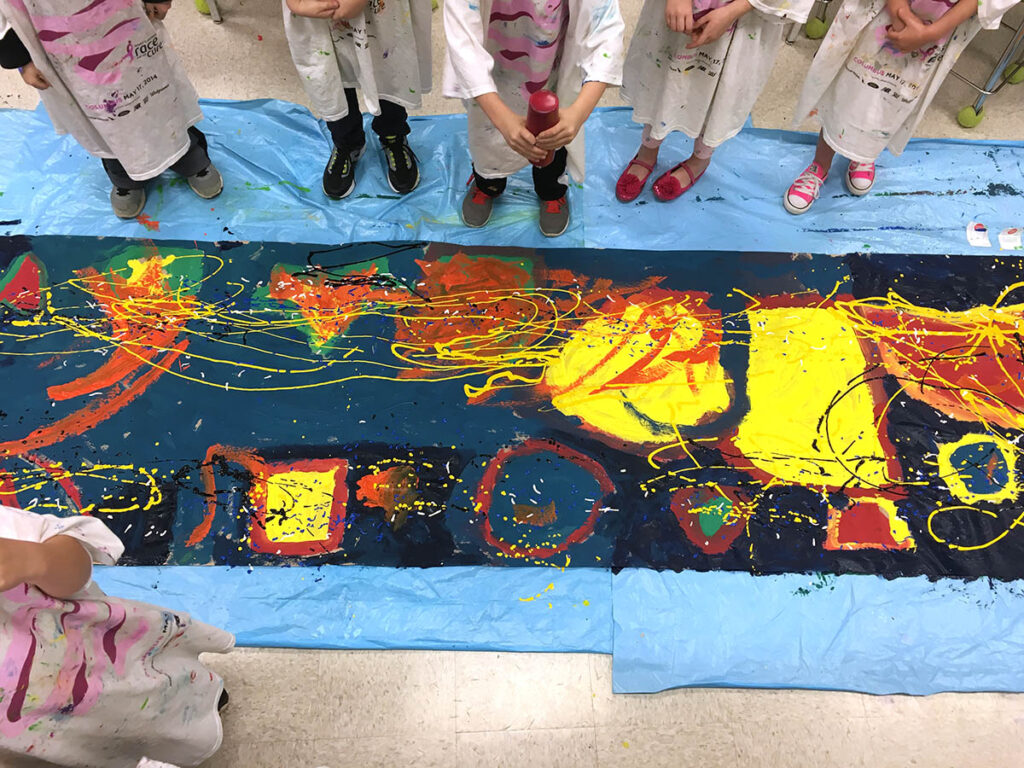
Are you feeling brave? Discuss Jackson Pollock with your students and give them condiment bottles filled with tempera paint. Using their whole bodies, students explore Action Painting as the paint flows down the paper. Mishaps are relatively easy to clean up since tempera is non-toxic and washable. The mural can spark conversations about awareness. If a large mural is not in the cards, consider smaller faux murals using tempera painted onto printed photos.
9. Glow Galleries
What do you get when you mix neon tempera paint and a blacklight? You get a Glow Gallery! Instead of spending money on expensive blacklight reactive paints, invest in neon tempera. It looks bold and exciting without the blacklight on. With the classroom lights down and the blacklight on, the painting gets a new, vibrant life. With a little imagination, any lesson or artmaking prompt has the potential to glow. Add neon oil pastels, crayons, or even highlighters to create mixed-media works that pop. Check out this article to learn more.

10. Clay Color Washes
If glazing isn’t an option due to price or kiln access, or if you are looking for a new way to add color to ceramic pieces, adding tempera washes of color to highly textured clay will work quickly and efficiently. Fill large bowls with watered-down tempera paint. Place large plastic pasta strainers into the large bowls. Put fired clay pieces into the strainers. Gently lift the strainer out of the color wash. Experiment with the amount of time the pieces are submerged. The clay pieces dry quickly and can be further decorated with other paints or materials.
For a variation, students add lines and designs to the fired clay with oil pastels. Students dip the clay into the color wash to get a resist surface design. This is not a food or water-safe finish, so you may want to spray the pieces with a sealant.
Don’t underestimate tempera paint!
Tempera paint is wildly underestimated. Gone are the days of mixing chalky pigment with water to produce paint that flakes off the page. Instead, there are opportunities to use this water-based product to plan, inspire, engage, and excite students about their work. Tempera paint does not need to be confined to elementary art rooms. It is an excellent medium for students to use at all levels to prompt experimentation and welcome problem-solving on a budget.
What inventive ways do you use tempera paint in your art classroom?
What is the most unique surface you have used tempera paint on?
Magazine articles and podcasts are opinions of professional education contributors and do not necessarily represent the position of the Art of Education University (AOEU) or its academic offerings. Contributors use terms in the way they are most often talked about in the scope of their educational experiences.