Are you one of those people who need to know what’s in your aunt’s Thanksgiving sweet potato casserole before digging in? If you’re nodding your head, you’re with me! When it comes to food, it’s important and reassuring to know the quality and quantity of ingredients before they go into something. Likewise, we should know the ins and outs of how to make our favorite art supplies. Not only will we be able to successfully field curious student questions, but we will develop a real appreciation for the materials and tools we usually order with a click of a button. Plus, sometimes it’s just plain fun to make your own custom supplies!
Let’s examine four common art supplies, how they were originally made, and how you can make your own!
1. Drawing Pencils

Oh, the trusty and humble pencil. From quick thumbnail sketches to photorealistic portraits, this tool can do it all! But, have you ever wondered how to make drawing pencils? It all begins with the pencil lead. Drawing pencils have lead made from graphite and clay. Have you noticed the little numbers and letters on drawing pencils? These represent the ratio of graphite and clay which determines how hard the graphite is. If the lead has more graphite, it is a softer pencil, will make darker values, and will have the letter B. If the lead has more clay, it is a harder pencil, will make lighter values, and will have the letter H.
Watch these videos to see how graphite pencil lead and pencils are made.
Make Your Own
Try creating your own variety of drawing pencil lead. Pulverize pieces of coal, add a little flour and water, and then mix. Roll the mixture into a long, thin cylinder like you would roll a clay coil. Once the lead is dry, you can use it! Try adding more graphite for a softer lead and more flour for a harder lead. Practice some value scales with the Monochromatic Value Collection in FLEX Curriculum. This particular Collection includes five lessons that will show off all that your DIY drawing pencils can do!
2. Tempera Paint
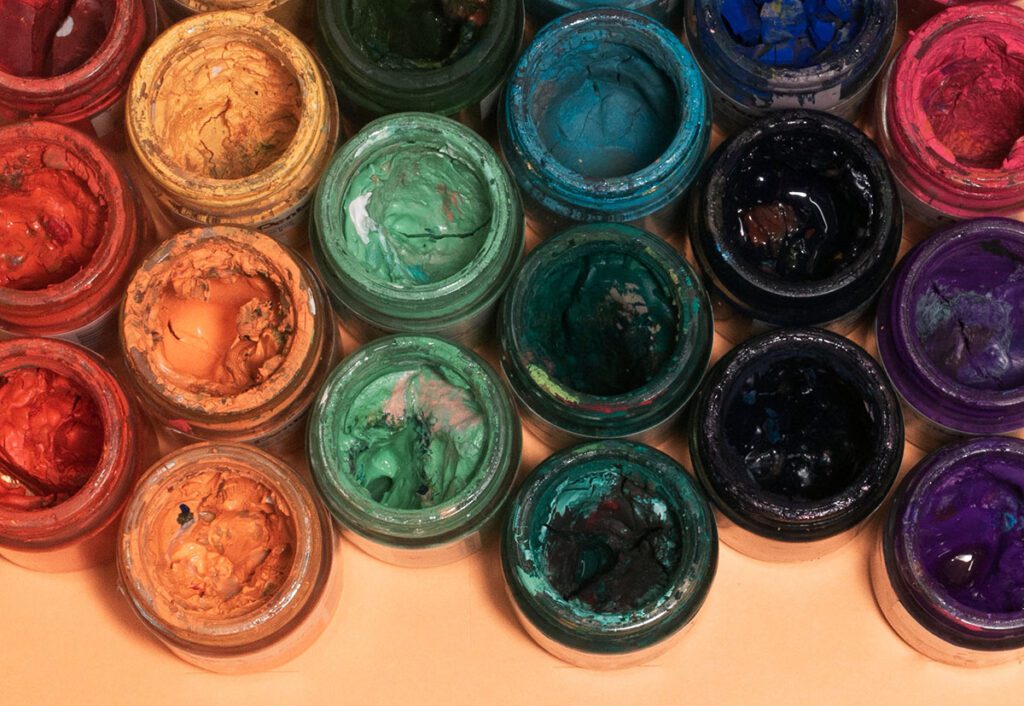
Tempera paint is a favorite medium for teachers because it has a low odor, usually washes out, dries quickly, and packs a strong color punch. Tempera paint has a base of egg yolks, hence the unforgettable odor of expired tempera! Although we typically think of elementary art when it comes to tempera, tempera paint was used all over the ancient world. Examples of tempera use in the ancient world include China, Mycenaean Greece, Egypt, Italian catacombs, Egyptian sarcophagi, and Babylonia. Tempera paint was also the popular paint of choice in Medieval and Renaissance times because it dried quickly, lasted a long time, and was not affected by humidity or temperature.
Originally, tempera paint was made from egg yolk, distilled water, linseed oil, and powdered pigment. The dry pigment came from natural ingredients like dirt, sticks, stones, or bones. Similar to pasta, the egg yolk is the binder holding all of the ingredients together. A few drops of vinegar help prevent the paint from cracking.
Make Your Own
Create your own tempera paint by gathering the following supplies: egg yolk, water, dry pigment, a pestle and mortar, and a paintbrush. For the dry pigment, make-up blush or eyeshadow, sidewalk chalk, or dried berries all work well. Grind the dry pigment into a powder with the pestle and mortar. Combine the egg yolk with water and stir with a paintbrush. And, voila! You have homemade tempera paint!
Tempera paint is a diverse medium with different applications, textures, and formats. Learn more with the Tempera Paint Basics Pack in PRO Learning. Dive into the various kinds of tempera paint, how to teach tempera paint, and more.
3. Paintbrushes
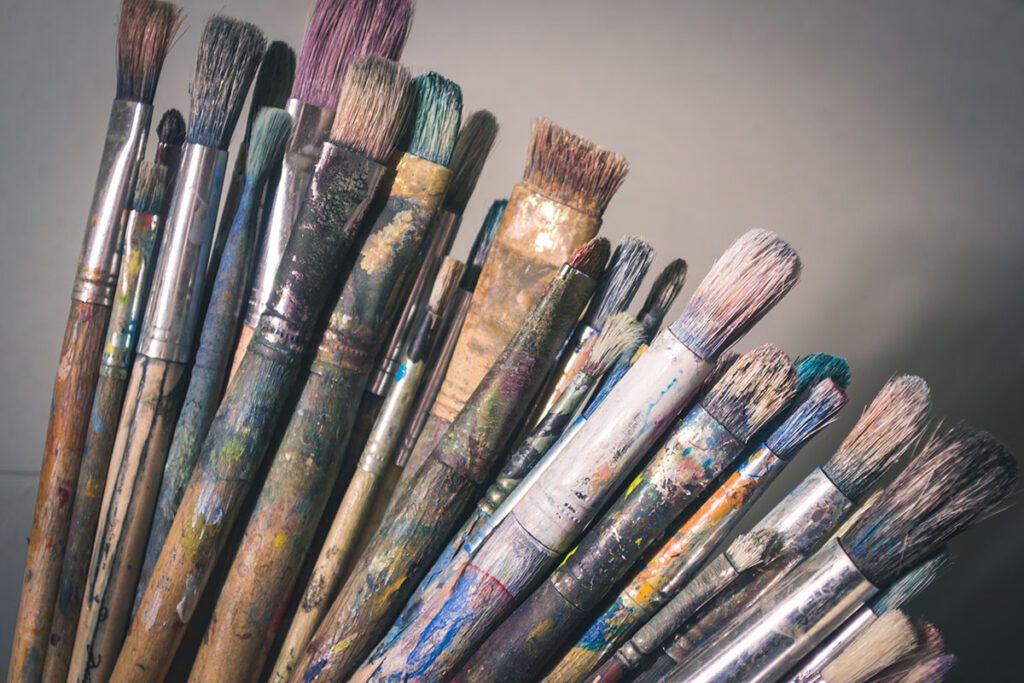
A typical paintbrush usually has a wooden handle with bristles made from animal or synthetic hair. The hairs of a paintbrush are the bristle because they came from the bristle of pigs, hogs, and boars who have rough hair. The little metal tube that attaches the bristles to the handle is a ferrule. Back in the Stone Age, even cave painters used paintbrushes. Primitive paintbrush handles were sticks or bones and bristles were feathers, grasses, or animal hair. The Egyptians used reeds with crushed ends as paintbrushes. Try it in your classroom by having your students go on a nature scavenger hunt to construct their own brushes!
Watch this video to see the creation of a paintbrush.
Make Your Own
There are as many ways to make your own paintbrush. First, scavenge a handle. Sticks, paint stir sticks, or clothespins make excellent handles. Next, select your bristle material. For a natural bristle, use feathers, leaves, grass, flowers, thin sticks, or weeds. For a synthetic bristle, try pipe cleaners, rubber bands, wire, shoestrings, cooked or dry pasta, animal fur, cardstock, or string. If desired, trim the bristles into a round, pointed, or square tip. Finally, adhere the bristles to the paintbrush handle with electrical tape, duct tape, masking tape, hot glue, or string.
4. Chalk
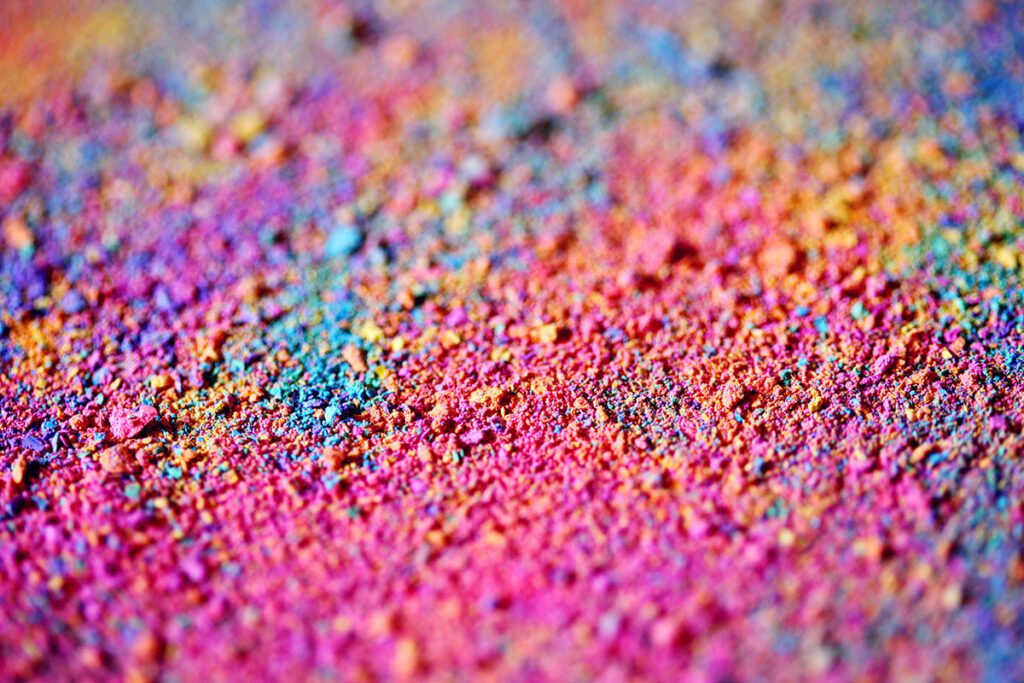
This temporary childhood sidewalk medium has existed for thousands of years. Originally, chalk came from soft limestone however, modern chalk consists of calcium sulfate hemihydrate (otherwise known as plaster of paris) which reacts with water to form gypsum. Gypsum is a soft mineral also used in fertilizers and construction materials. Gypsum is ground into powder, dyed, and then compressed into sticks. Color is added with powdered tempera paint or food dye.
Watch this video to see how chalk is made.
Make Your Own
The Indianapolis Children’s Museum has a great tutorial on how to create your own chalk from eggshells. First, clean, dry, and pulverize the eggshells. Second, add a little water and flour to the ground eggshells until a paste forms. Third, add a few drops of food coloring to the paste and shape it into a long cylinder. Finally, let the chalk dry for up to five days, and then test it out!
Now that you know how to make drawing pencils, tempera paint, paintbrushes, and chalk, try to create your own! Learning the origin of art supplies is a great way to see how the materials and tools we love adapt and improve over time. This is also great context to share with your students so they can more thoroughly understand the capabilities and limits of what they are working with. DIYing art supplies can be a cost-effective and fun activity for your students. Will you continue to use store-bought materials or will you try your hand at making your own supplies?
Which art supply will you try to make first?
What DIY art material would excite your students?
Share another art medium or tool you’ve made on your own!
Magazine articles and podcasts are opinions of professional education contributors and do not necessarily represent the position of the Art of Education University (AOEU) or its academic offerings. Contributors use terms in the way they are most often talked about in the scope of their educational experiences.