Large-scale collaborative projects are most definitely worth it, despite the extra planning an in-depth project may require. Your students will immediately feel a sense of ownership and pride over their school. Not to mention, the incredible art advocacy for your school that large school-wide projects can bring. Starting a large project in the middle of the school year can be a great way to energize your students’ creativity and your teaching.
Here are four large, collaborative projects to start with your students today:
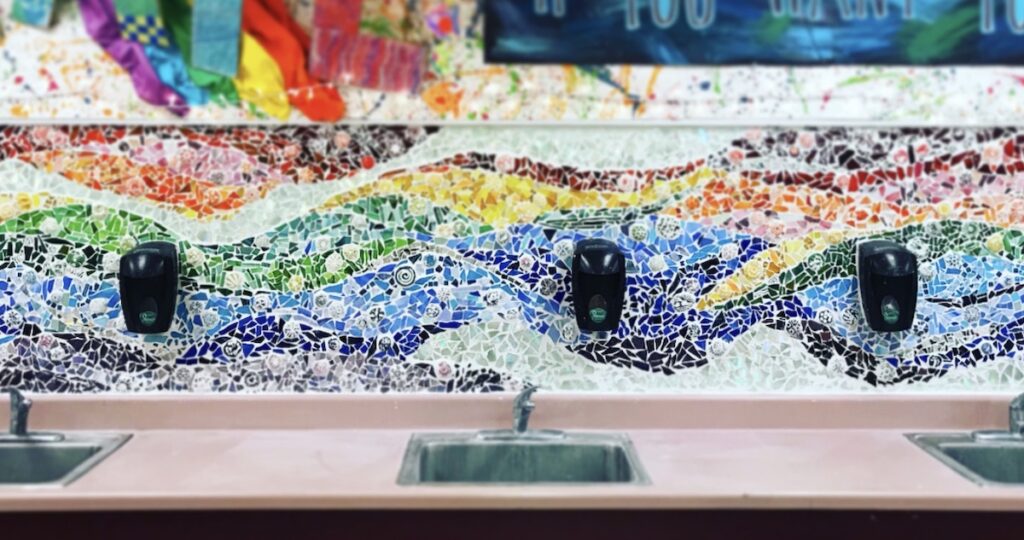
1. Mosaic
A mosaic can be completed by upper-elementary students and can be applied directly to cinderblock, as seen in the image below. However, if you do not want to create a permanent mosaic, you can certainly make a mosaic on wooden boards then hang the project when it is completed. Creating on boards may also make for easier mosaic application during work time.
To create a mosaic project, you will need:
- A wall or boards to attach the mosaic
- Glass pieces or stones
- Glass nippers or cutters
- Tile mastic or any tile adhesive material
- Sanded grout
- Sponge
- Grout float (optional)
If you don’t want to take on an entire wall, get your feet wet with mosaic work and try these mosaic stepping stones.
How to create a mosaic:
- Plan out your mosaic design using permanent marker directly on the wall or board. Use glass nippers to cut stained glass sheets into smaller pieces. Separate by color and size for ease.
- Spread a ¼ inch film of tile mastic onto the mosaic surface in a small section at a time (to avoid the mastic drying too quickly), and stick glass pieces into the mastic. Leave about a ¼ inch gap between glass pieces, not too close but not too far away from each other.
- Once your surface is covered in glass pieces, let the mastic dry. Then, mix sanded grout and spread over the top of your mosaic creation. A grout float will help with smoothing out the grout into the cracks. Using a damp sponge, wipe away the grout. This will take a few washes with the sponge to really shine up the glass.
- Step away and smile. Your mosaic is complete! You can also go back in with a dry soft cloth and hand shine the pieces for extra sparkle.
2. Painted Mural
Painted murals are a classic addition to large spaces. Your artists will absolutely love painting on the wall, especially since it’s out of the norm! You can brainstorm with your students or ask for ideas from staff about locations in your school that might need a little mural love. For our murals, we mainly worked with our art club of 4th and 5th-grade students.
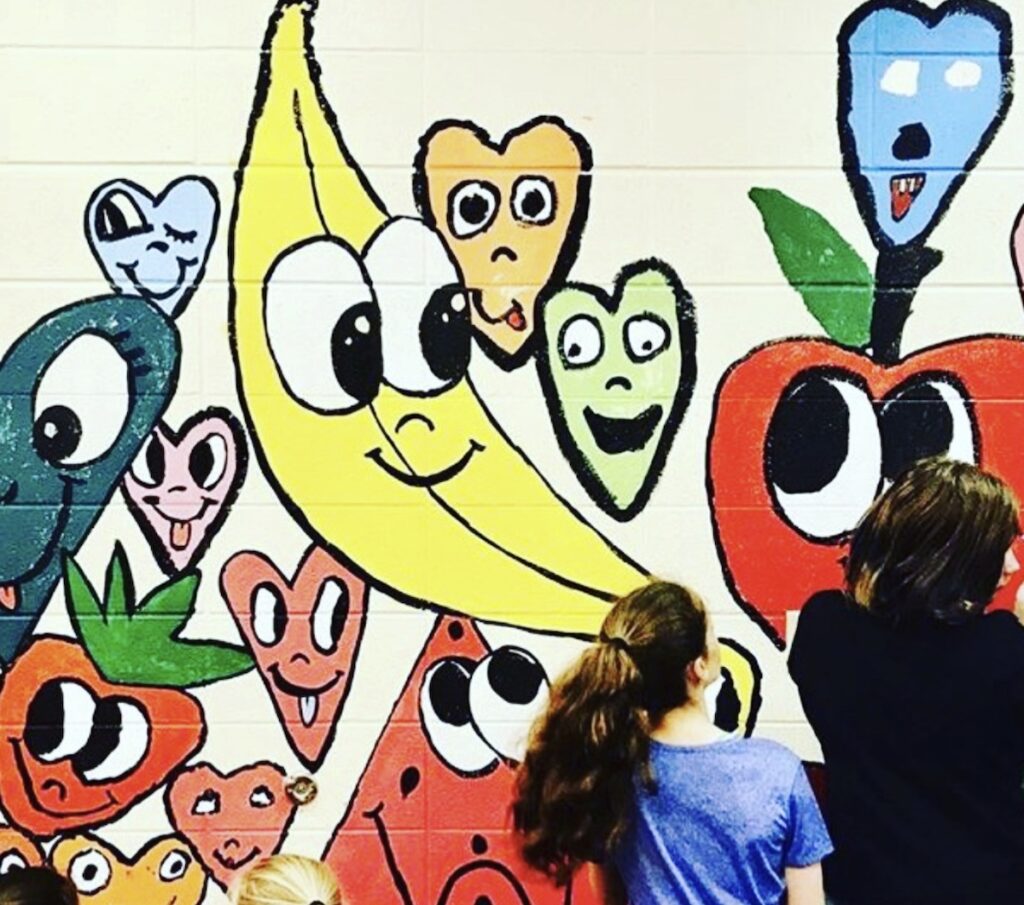
This happy heart and fruit mural was inspired by the bold and beautiful colors of Chris Uphues!
To create a mural, you will need:
- A large wall
- Paint (This Mural Paint is a shoo-in as it is specifically designed for murals!)
- Paintbrushes
- Cups for paint
- Water cups
- Painter’s tape (optional)
- Drop-cloth or floor protection
To create a painted mural:
- Plan out your design by drawing directly on the wall. Use painter’s tape to mask off certain areas to not paint.
- Have students paint in the sketched design neatly. Use drop-cloths to protect the floor from becoming a painted mess.
- Once all the large shapes are painted in, go back and clean up any details or add an outline around the painted area.
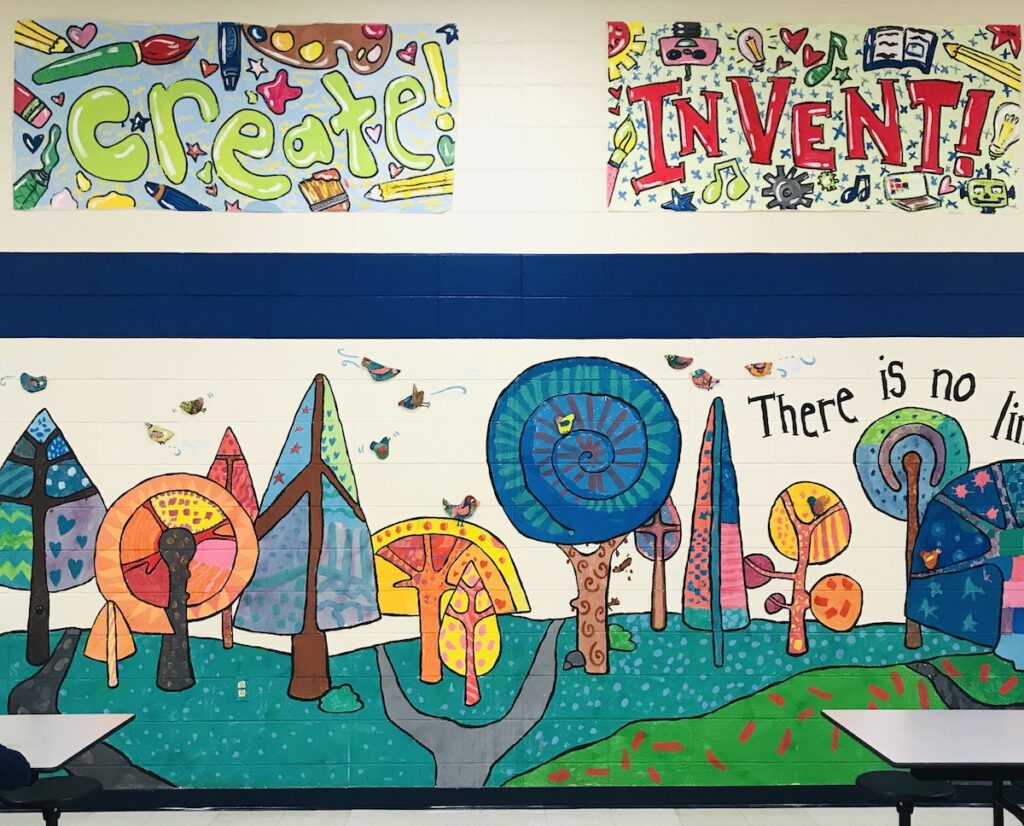
This cafeteria mural above was inspired by the eye-catching work of Romero Britto.
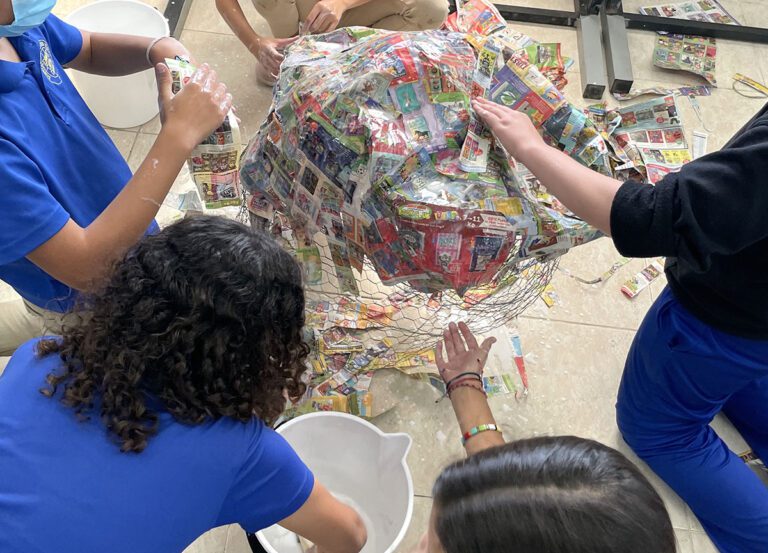
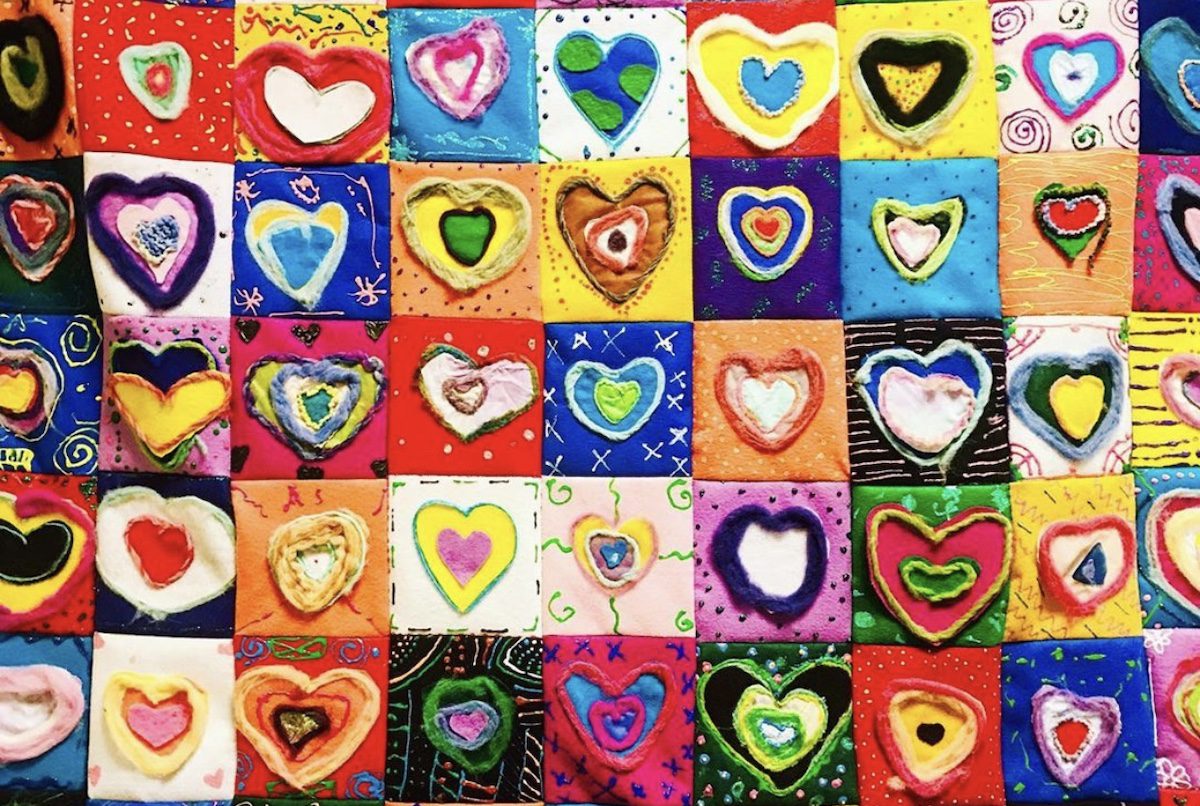
3. Needle-Felted Quilt
If you’ve never tried needle felting before, you are really missing out! Kids love the repetitive nature of punching barbed needles through the wool. It is such a satisfying process first explained on her blog by fellow art teacher, Cassie Stephens. The large needle felted quilt in the photo below was created by 4th and 5th-grade art club members.

To create a needle felted quilt, you will need:
- Felt or fabric squares
- Felting needles
- Foam blocks
- Wool roving
- Yarn
- Puffy paint (optional)
- A sewing machine to assemble finished quilt squares
- A hanging rod for a completed quilt
How to create a needle felted quilt in basic steps:
- Prepare materials by cutting down the felt and/or fabric into squares. Cut small pieces of yarn for outlining edges.
- Layer felt and wool roving over a foam block and repetitively punch a felting needle through all fiber layers. The small barbs on the needles will help to tangle the fibers together, connecting the fabric and roving. Continue to punch the needle through the fibers, joining together the design. Pro tip: always punch your needle perpendicular to the foam block to avoid the needle breaking.
- Add decorative yarn using the felting needle or squeeze on puffy paint to add final details.
- Once all the felted squares are created, sew together the quilt and hang it up for all to enjoy!
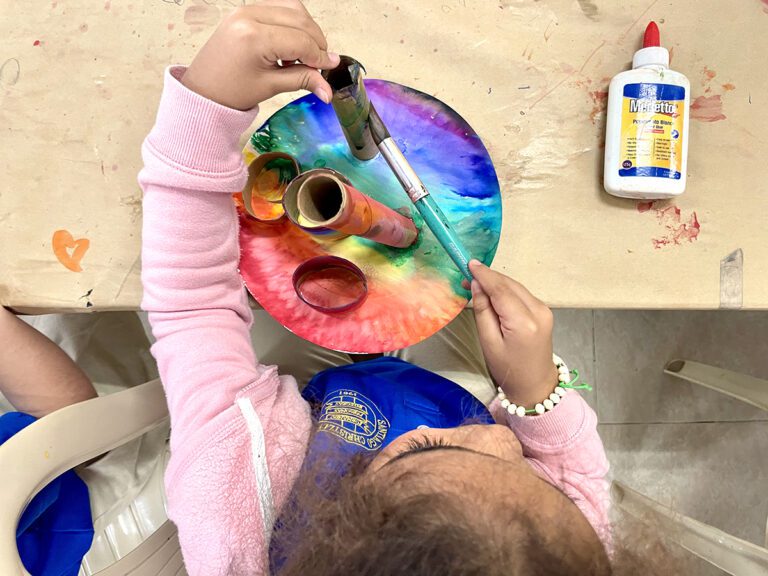
4. Painted Wood Installations
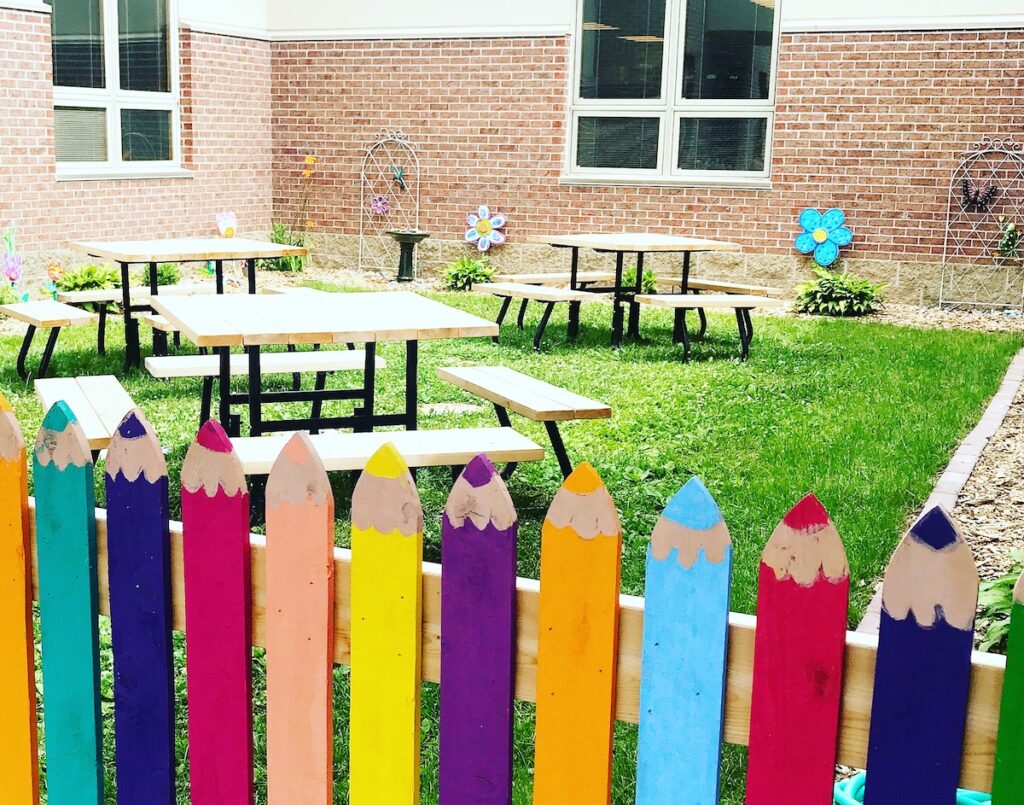
One of the best large-scale collaborative project materials is wood since it is so versatile. Our students have created painted garden fences, 3-D wooden garden flowers, and a painted dot day installation. The possibilities are nearly endless!
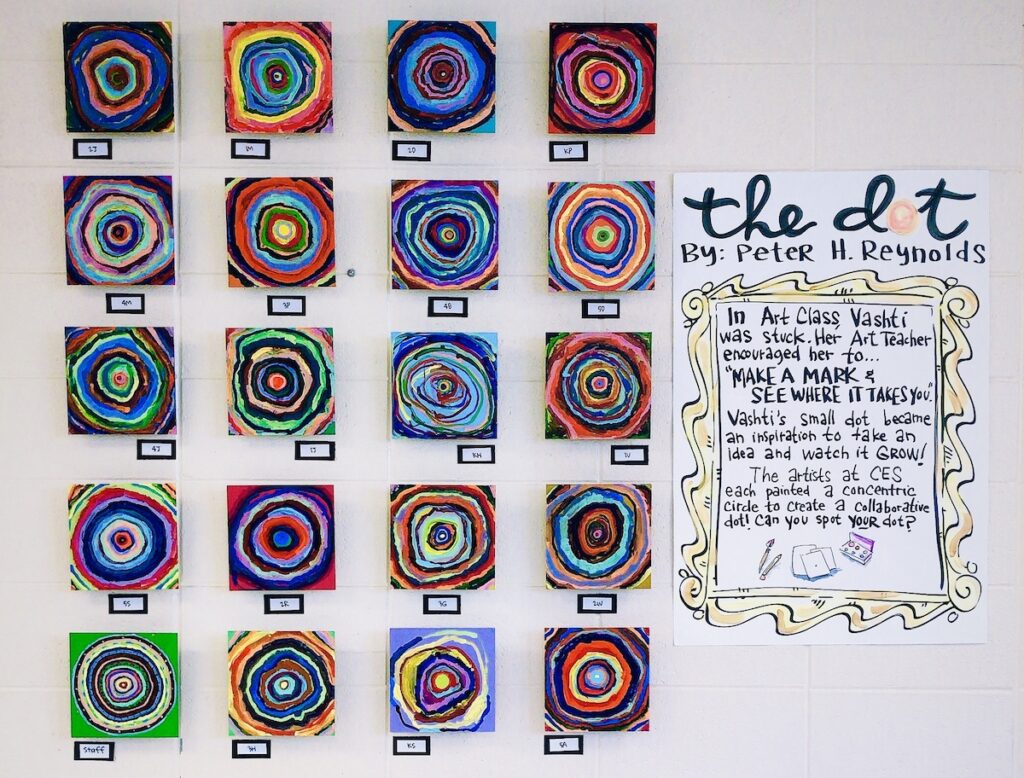
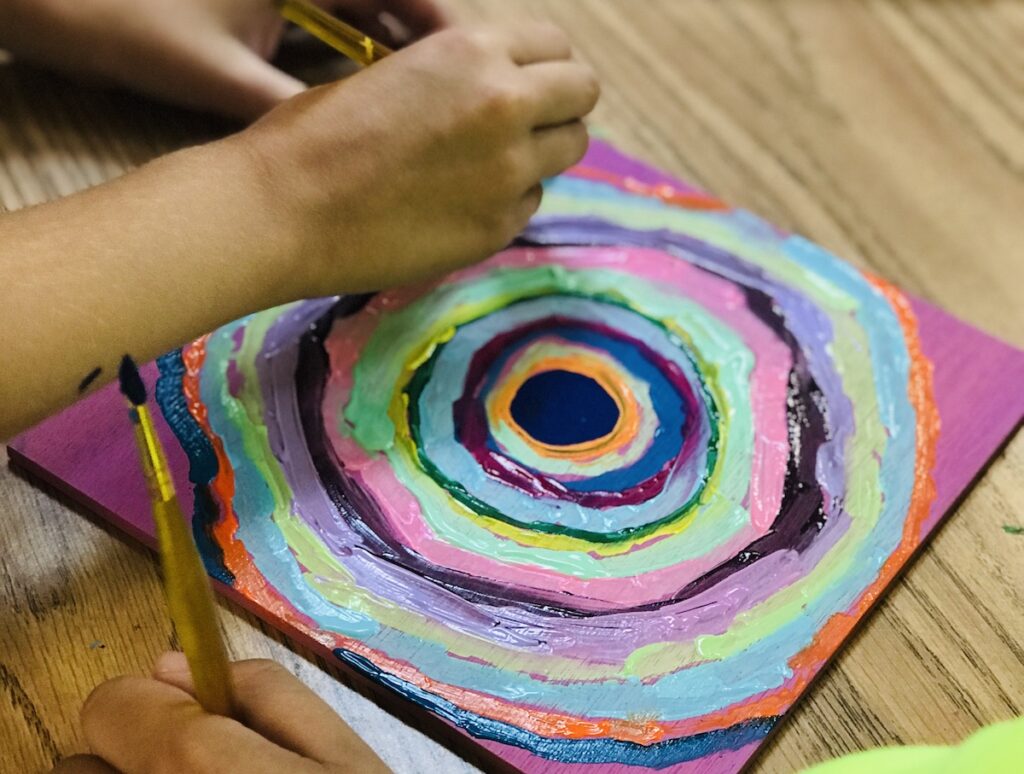
This Dot Day installation is inspired by the book The Dot, created by Peter H. Reynolds. Using pre-cut wooden squares, each student in our school painted a concentric ring around their class dot to create this large-scale collaborative project!
You can even use wood scraps to create a collaborative art piece. Our art club members painted these remaining wood scraps from our garden flowers and will be layering them to make a bold abstract design!
Learn more by checking out:
- 5 Collaborative Projects for Any Time of the Year
- Wow Your Families with this Simple Collaborative Art Display
- Quilt Design and Community in the Art Room
Nothing brings students together like the power of a collaborative art piece. Try out one of these ideas as you approach the middle of the year. Hopefully, you will be inspired to take over a few of those beautiful places of your school and community that need a little art love.
What are your favorite large-scale projects you have created?
What is the importance of collaborative projects in schools?
What materials would you like to try using to create a large-scale project?
Magazine articles and podcasts are opinions of professional education contributors and do not necessarily represent the position of the Art of Education University (AOEU) or its academic offerings. Contributors use terms in the way they are most often talked about in the scope of their educational experiences.