Making stepping stones can be such a mess. Wet concrete, messy, gluey, sand mixtures, and glass pieces sliding around in the mold. Instead, try this art room-friendly version to create stepping stones.
Use these 6 steps to create beautiful stepping stones with your students, art club, or as a personal project!
1. Gather the materials you will need.
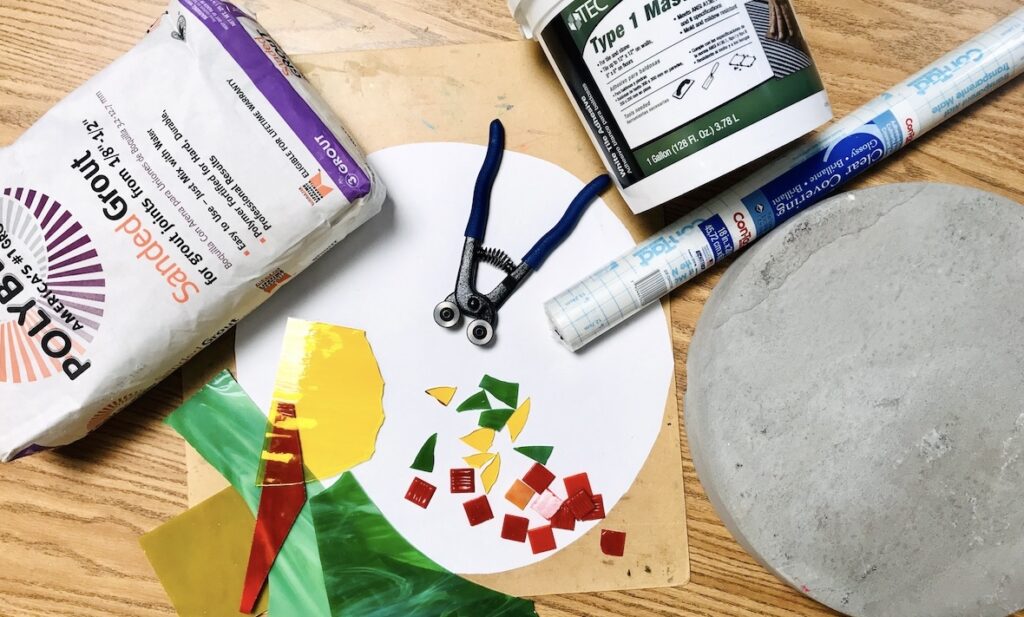
- Pre-made concrete stepping stones
- Sanded grout
- Tile mastic or any tile adhesive material
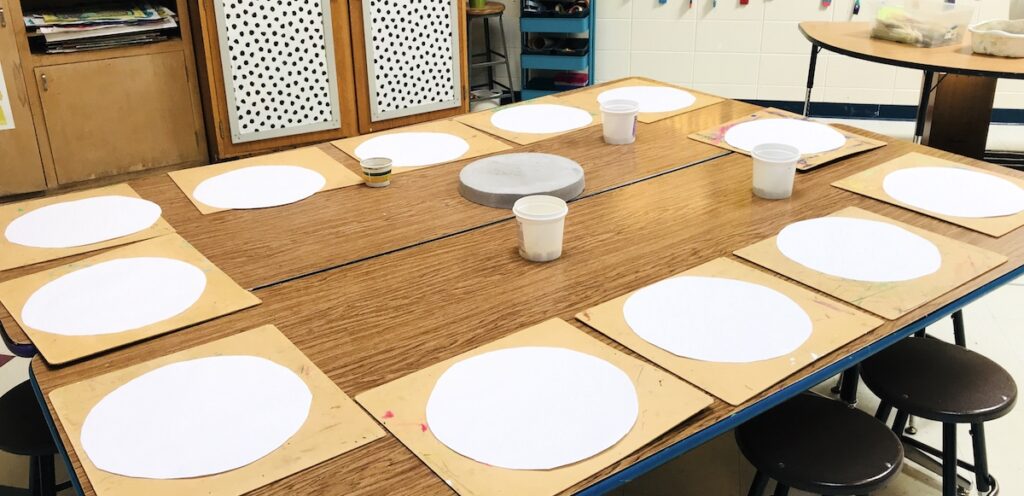
(These first three items can be found at your local hardware store.) - Paper templates cut to the size of your pre-made stepping stones
- Contact paper
- Sponge
- Glass pieces or stones
- Glass nippers or cutters (optional)
- Grout float (optional)
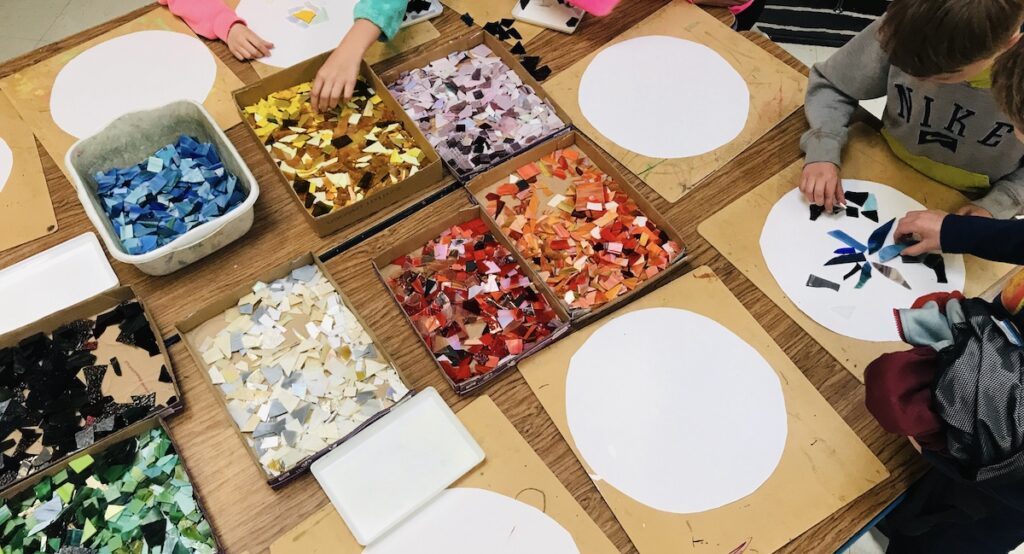
2. Set out the glass pieces in a design on the template paper.
If you are doing this with a class of students, try having them work in partners or groups.
You’ll want your students to consider the following 3 tips when creating their design.
- Try to leave between 1/8″ and 1/2″ spaces in between each glass piece to allow for the grout to fill properly.
- Radial designs are effective because they can be viewed from any direction.
- Color blocking or gradients produce stunning designs.
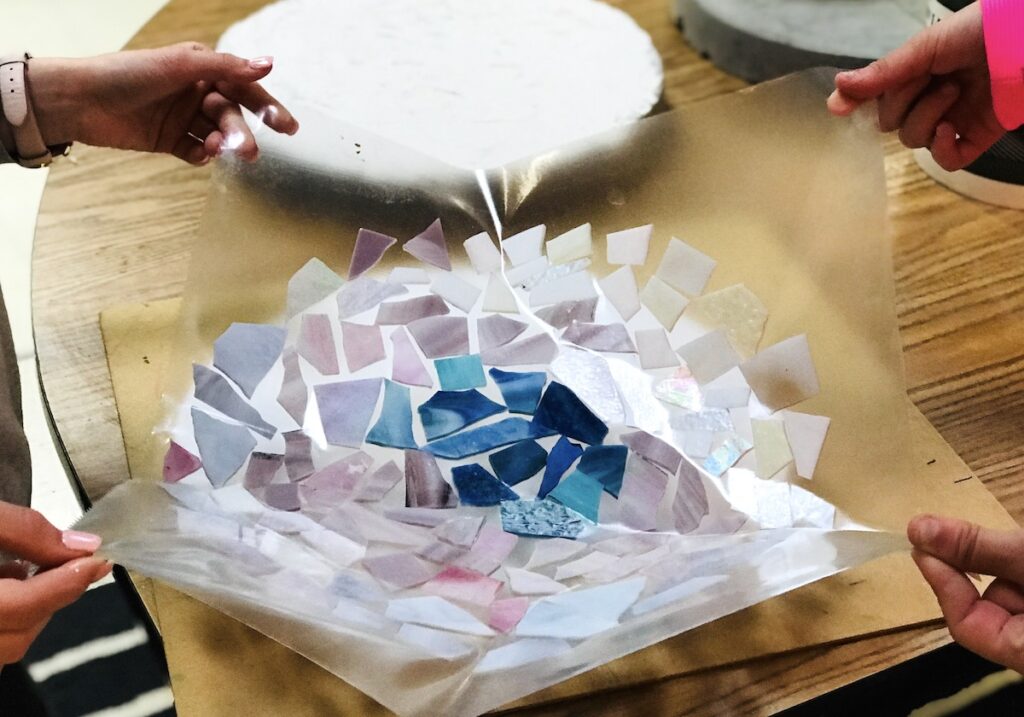
3. Prep the contact paper.
You will be using contact paper to lift and transfer the mosaic design to the surface of the pre-made concrete stepping stone. You need to prepare the design transfer first, so your tile mastic adhesive doesn’t dry out while you work.
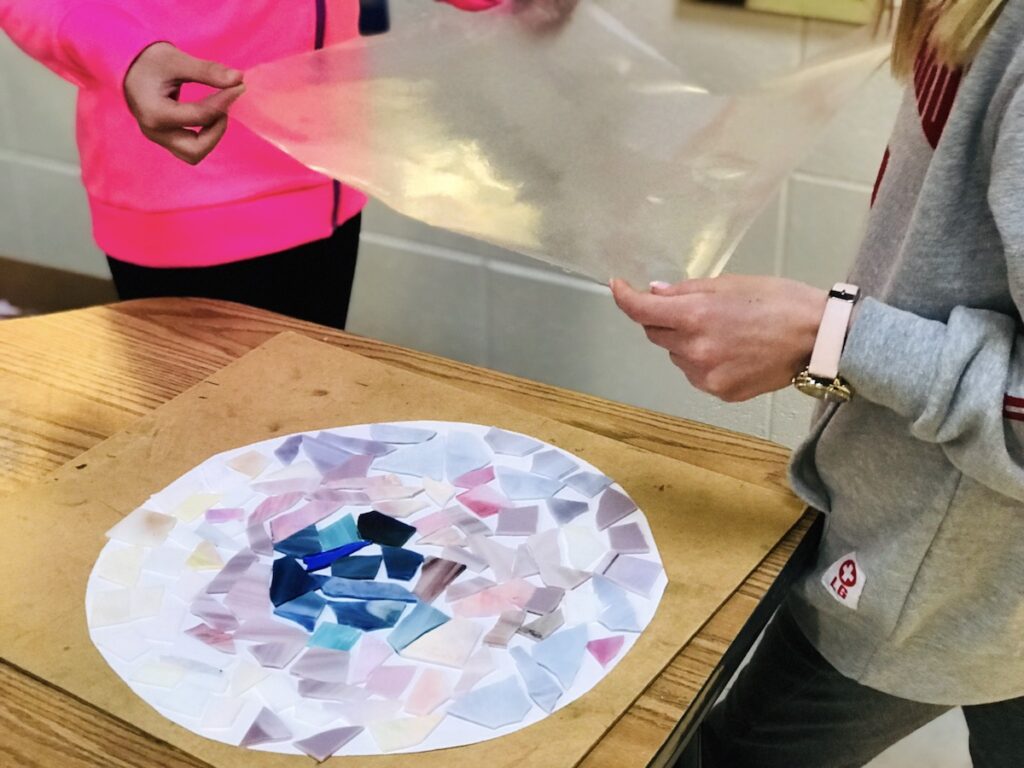
Simply cut a sheet of contact paper to cover your entire laid-out mosaic design. Take off the protective paper and press the sticky contact paper onto the mosaic design. Now, you’re ready for the transfer!
4. Spread tile mastic adhesive onto the surface of the stepping stone.
Make sure you have already attached the mosaic design to the contact paper to avoid the tile mastic drying out. Use a large wooden Popsicle stick or spoon to slather on a layer of tile mastic adhesive. It’s kind of like frosting a giant concrete cake!
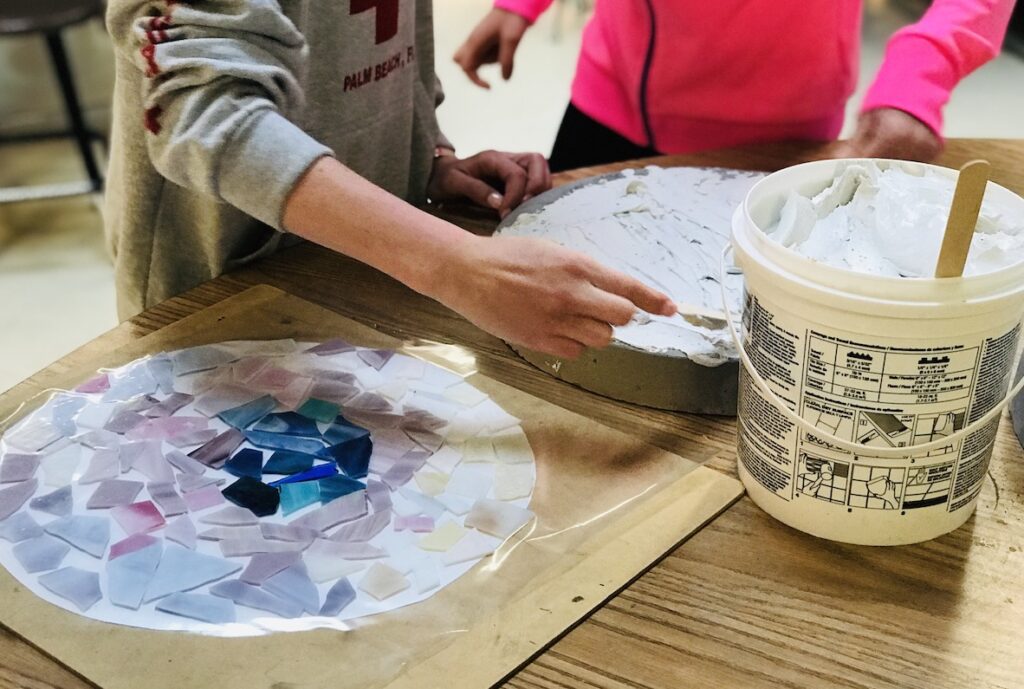
Try to keep the layer even and thick enough that it will grab the glass tiles but not so thick that it will be higher than the height of the mosaic pieces. An even layer of about 1/8″ of tile mastic should do the trick.
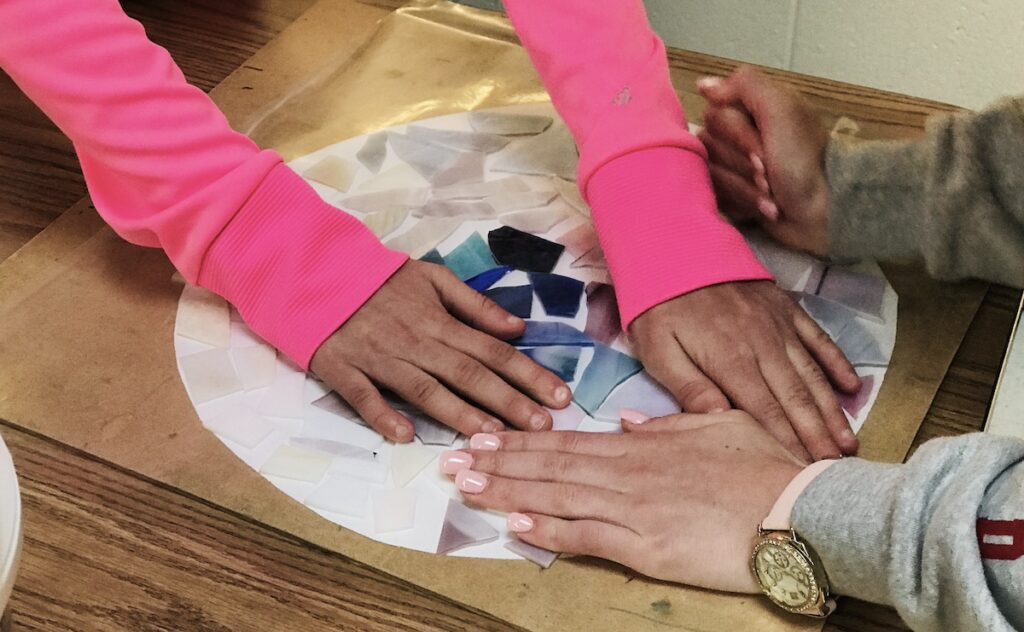
5. Transfer your design to the frosted concrete stepping stone.
It’s best to do this step with a partner, each person holding a corner of the contact paper with the glass design stuck on the sticky side of the contact paper.
Line up your design over the surface of the stone and gently lower it down to the surface, pressing it into the frosted tile mastic. Peel back the contact paper and re-attach any glass pieces that may have fallen off the contact paper or shifted in transit.
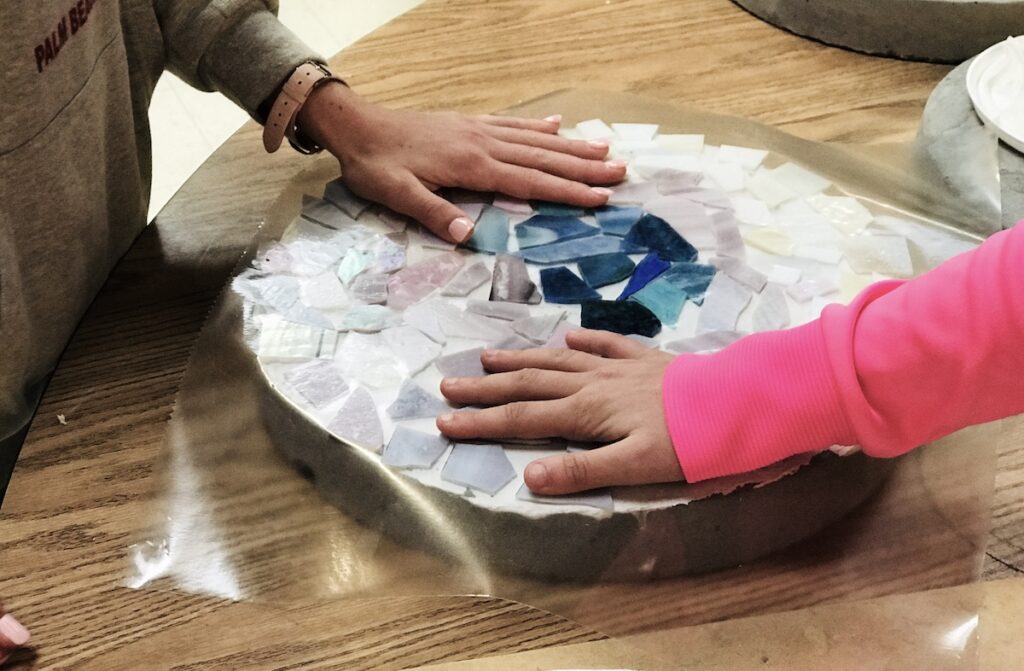
6. Let the tile mastic dry and grout to finish.
The tile mastic actually dries pretty quickly, but if you want to be extra safe, allow for the mastic to dry overnight before grouting on top of the design. When ready, mix your grout following the directions on the grout bag. Then, spread a thin, even layer on top, squishing the grout into the cracks between the glass pieces. Let the grout dry slightly. Finally, wipe with a damp sponge until the glass design is clean and sparkly!

High-five a friend, you did it! Sure, there still may be a little bit of mess with this version of mosaic making, but the contact paper transfer allows for a more class-friendly stepping stone experience.
Before you race to your supply ordering booklet, you may be wondering, “Where can I get glass pieces? It’s just so expensive!”
Here are 3 tips to try first.
- Check to see if you have any local glass shops in your area!
A stained glass studio nearby our school saves dozens of boxes of stained glass scraps to donate to local teachers. Maybe you have an untapped resource worth looking into! - Email your staff and families with your project idea and ask for glass donations.
You never know if there is a parent or staff member with an abandoned stained glass hobby box. You don’t know if you don’t ask. - Use materials other than stained glass to add variety and cut down on cost.
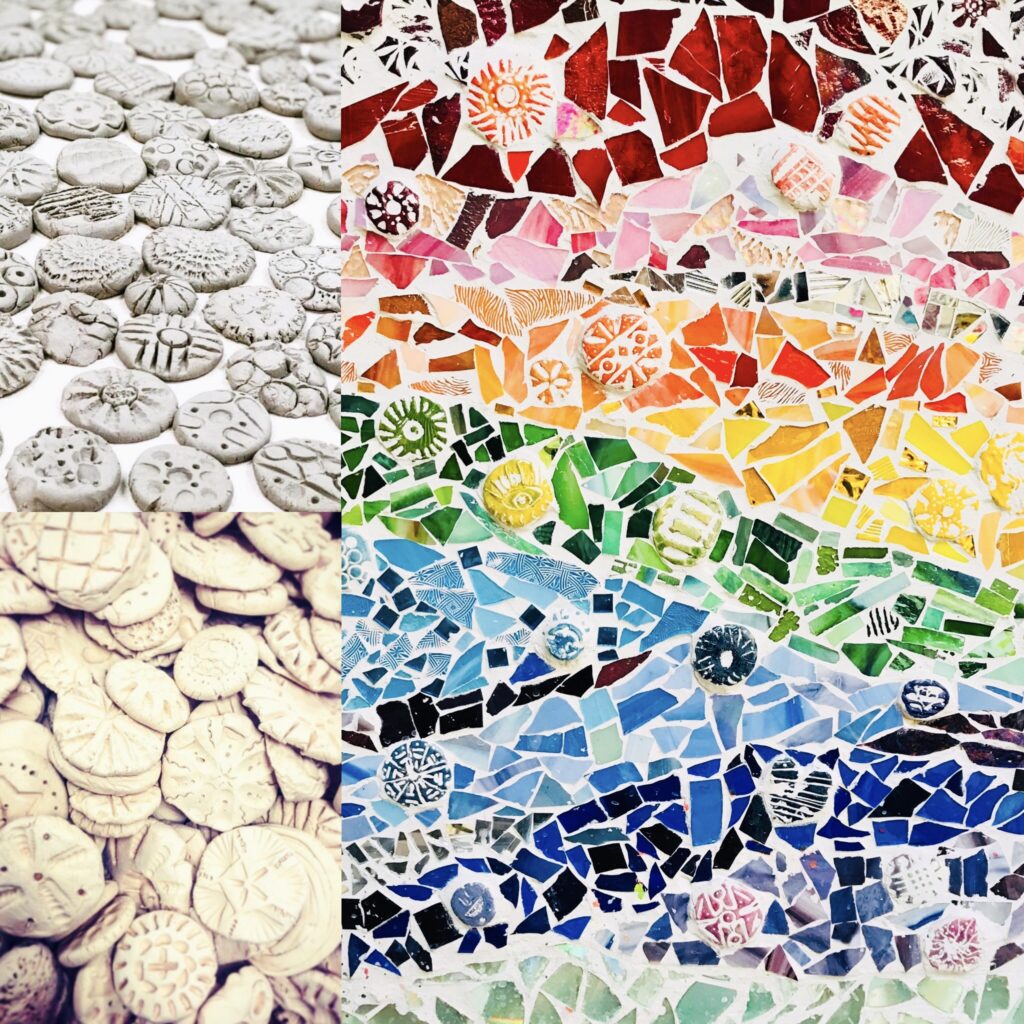
For example, use flat glass pebbles or create glazed clay coins to use as decorative elements in your designs.

Trying an unfamiliar technique can be overwhelming. Change your mindset, and it becomes an exciting new challenge. Most importantly, have fun with this stepping stone project!
Have you ever tried mosaic work with students?
Is there an untapped local resource you could investigate?
Magazine articles and podcasts are opinions of professional education contributors and do not necessarily represent the position of the Art of Education University (AOEU) or its academic offerings. Contributors use terms in the way they are most often talked about in the scope of their educational experiences.