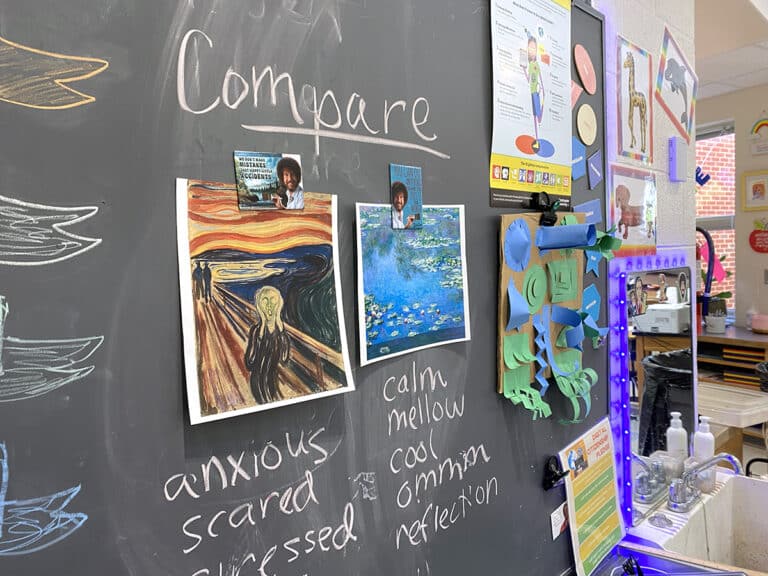
Teaching portraiture can be difficult. It’s often something students struggle with and complain about. However, once they see they can be successful, their confidence grows.
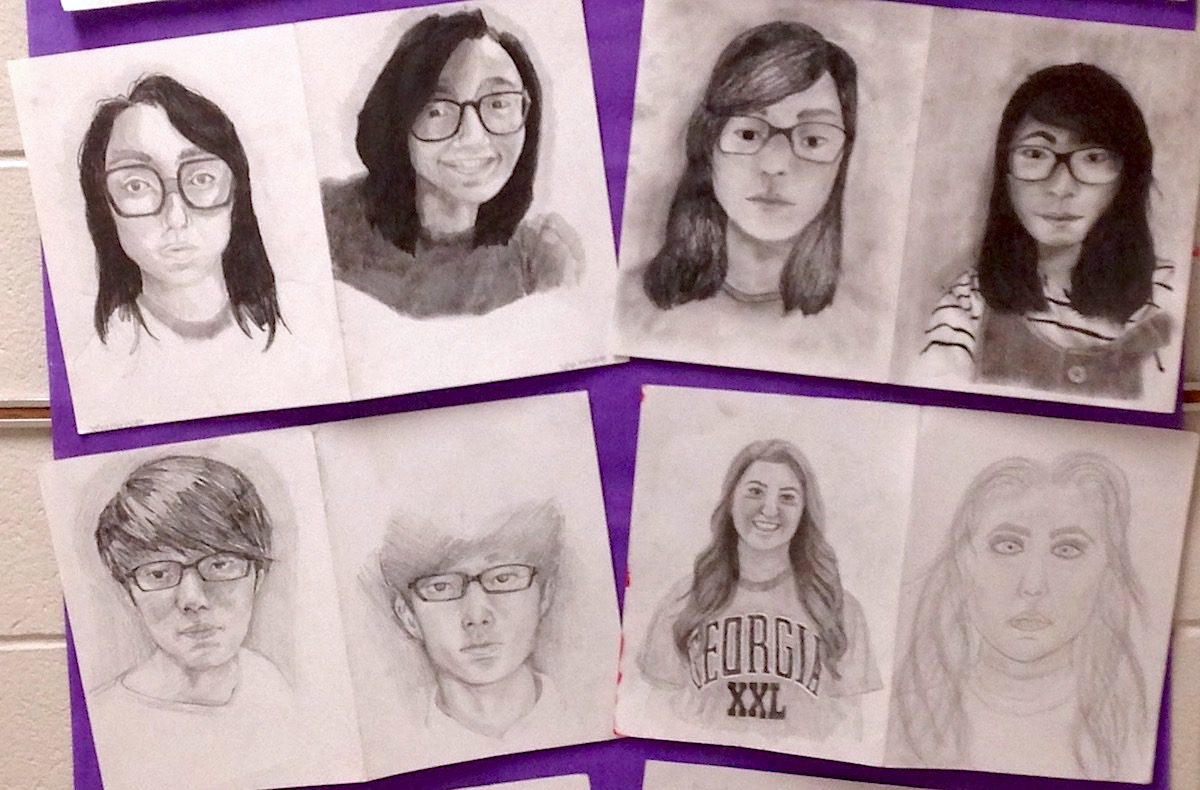
Each year, the first lesson I teach my Art II students is called the “Art of Portraiture.” This activity helps students better understand the difference between drawing from life and drawing from a photograph. Through the process of putting forth time and effort, they come to see they can create realistic portraits successfully. It’s a “wow” moment!
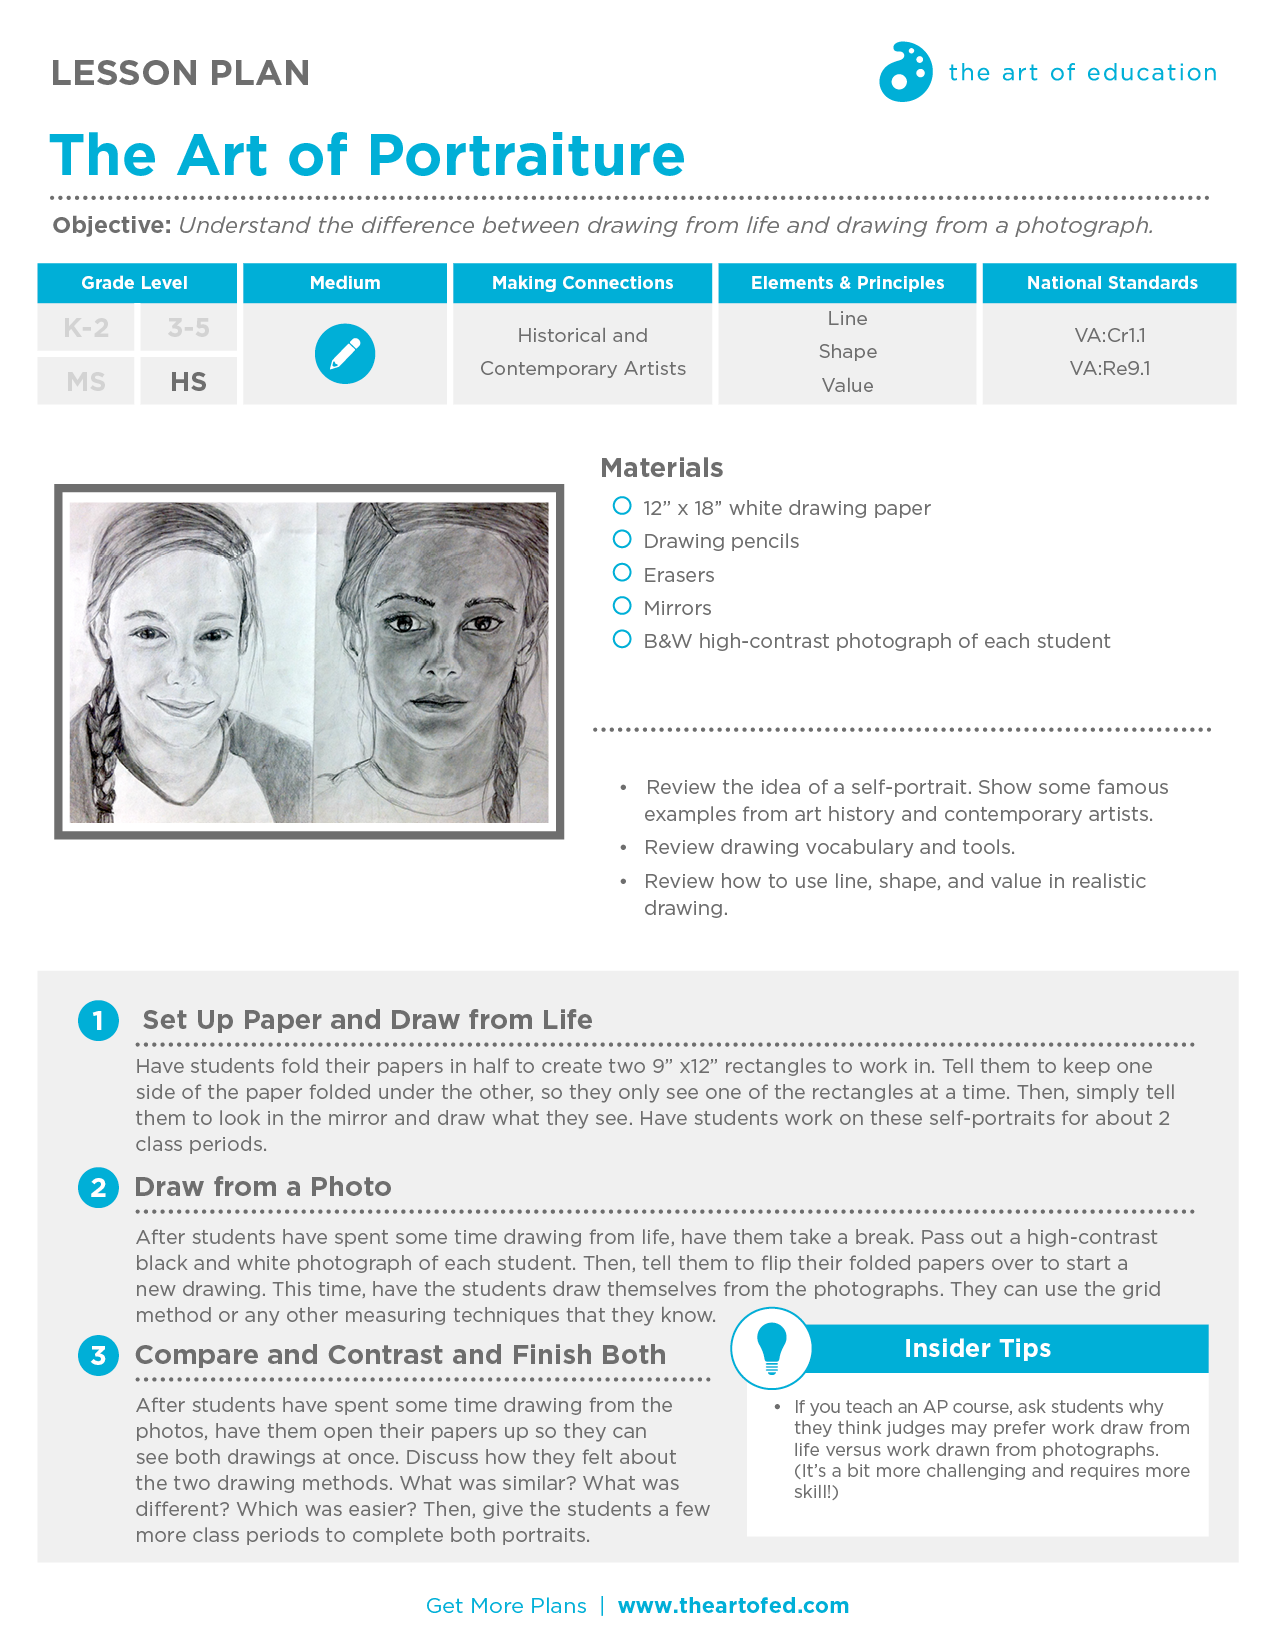
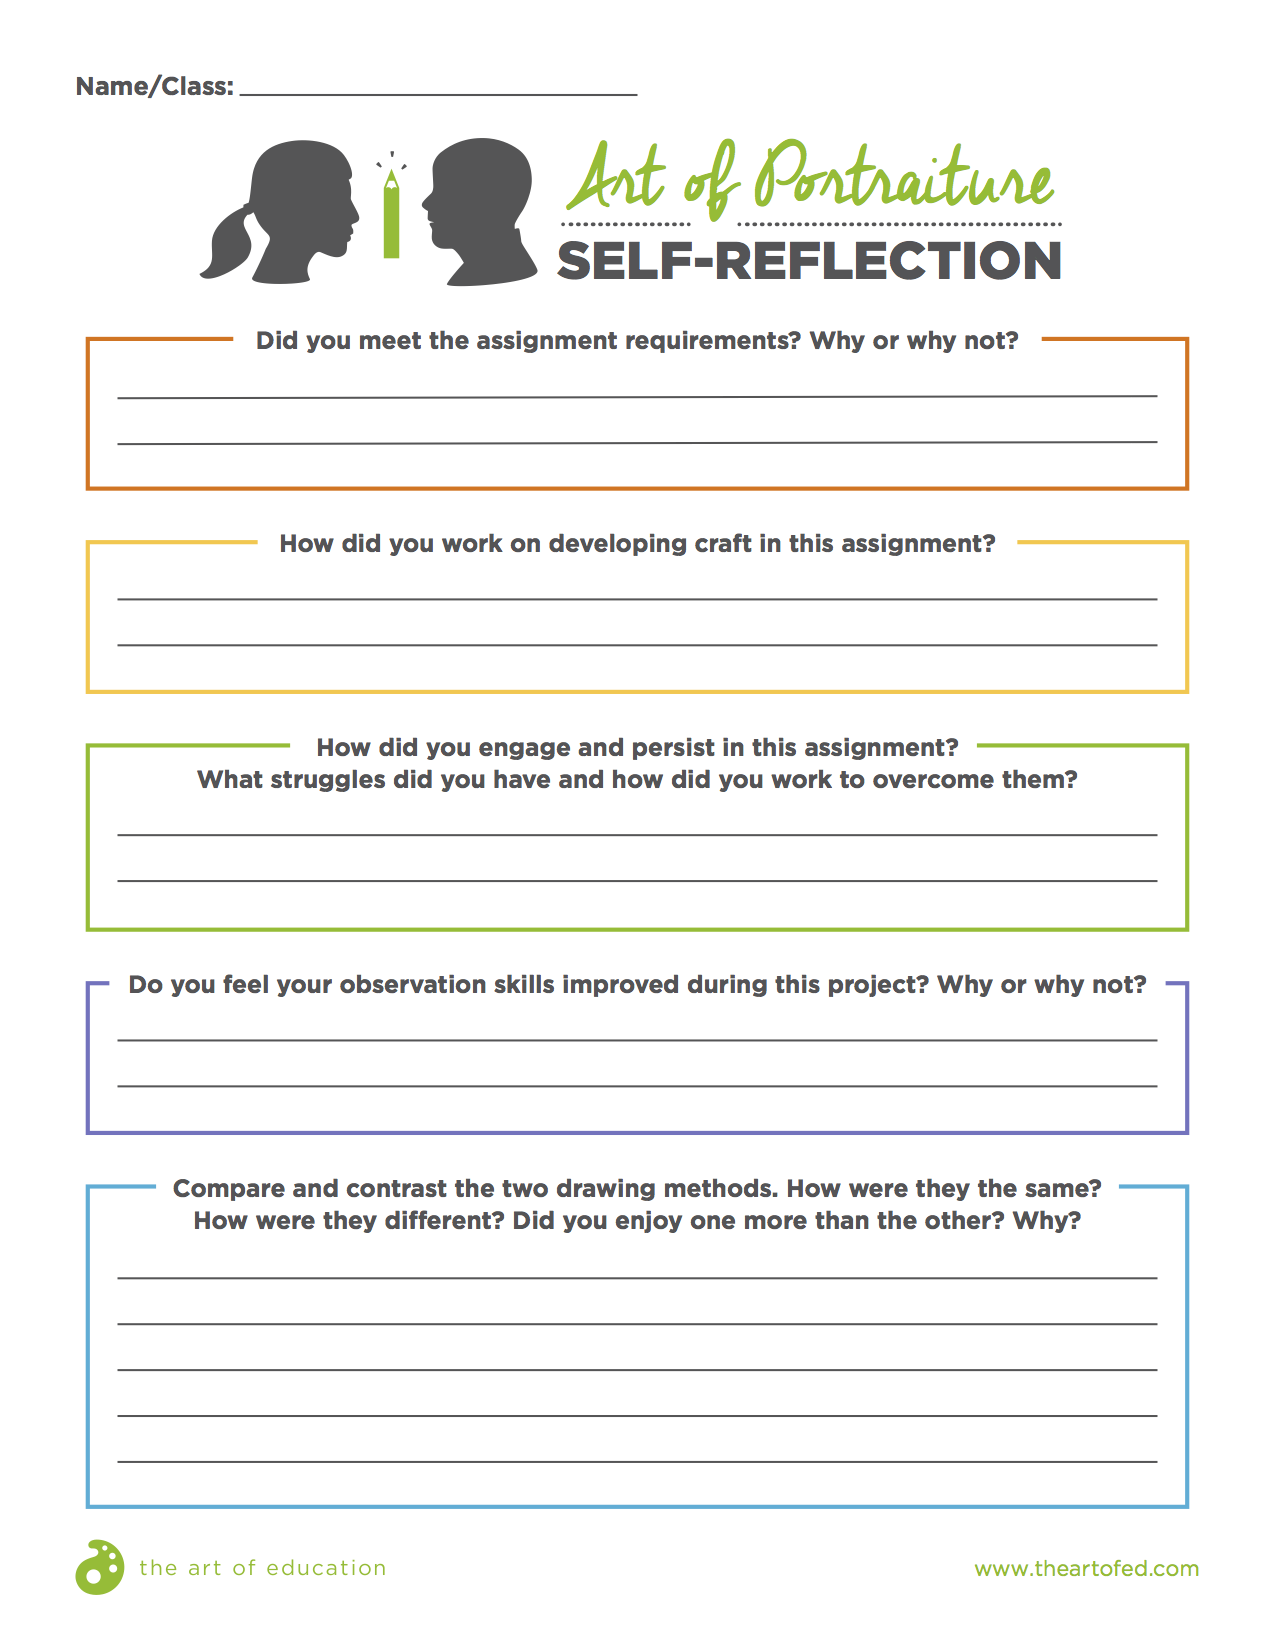
You can download a copy of the lesson and a self-reflection to go with it below. Then, read on for all of the details!
Here’s how the lesson works.
Objective
The goal of the lesson is for students to understand the difference between drawing from life and drawing from a photograph. Students will use line, shape, and value as well as various measuring skills to create two proportional and realistic portraits. When finished, students will compare and contrast their two drawings.
Step 1: Begin Drawing from Life
To start this project, each student will need:
- A mirror
- Drawing pencils
- An eraser
- A piece of 12″ x18″ white drawing paper
Have students fold their papers in half to create two 9″ x12″ rectangles to work in. Tell them to keep one side of the paper folded under the other so they only see one of the rectangles at a time. Then, simply tell them to look in the mirror and draw what they see.
The moans and groans begin early and they all realize that Art II is going to be a bit more challenging than their introductory course. After about ten minutes of students working on drawing what they see, I remind them to consider the elements of art, the lines, the shapes and the values they actually see in the mirror. These lines and shapes and values are the elements that make their faces, THEIR FACES! My Art II students will spend approximately two class periods working on their direct observation self-portraits.
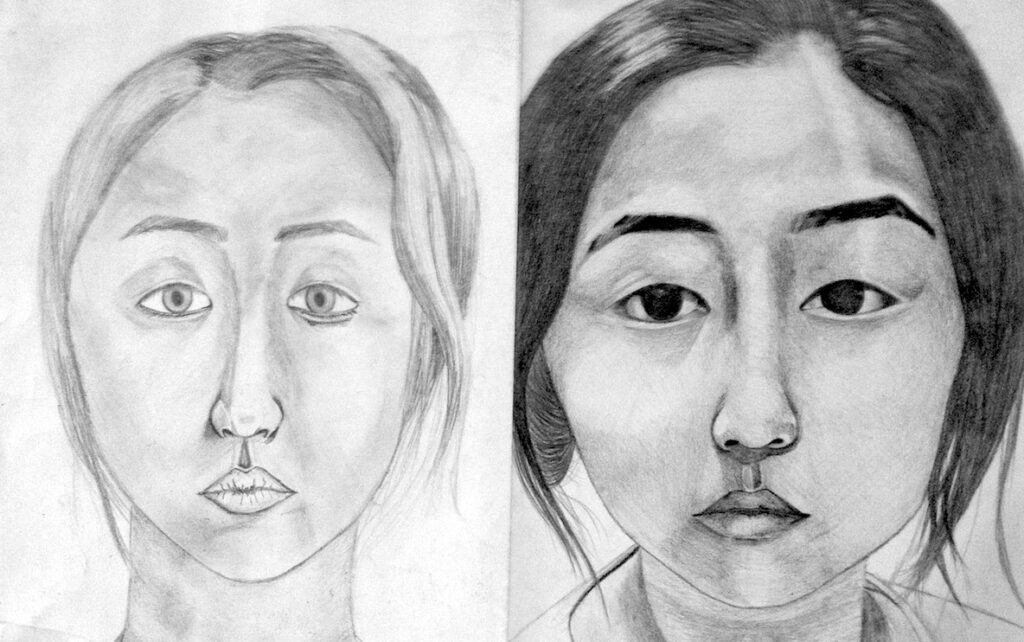
Step 2: Begin Drawing from a Photograph
On day three, I have them stop drawing from life and turn their paper over to begin drawing on the other 9” x 12” surface. This time I give them each a high contrast photograph of themselves I have printed from their attendance sheets. They now have a few days to draw their self-portraits by looking at a photograph and they are all amazed at how easy it is. At this point in their art education they are using techniques they were taught in their introductory art course, such as grid and/or measuring techniques. They see how important the process of using line, shape, and value are when they work together. I give them two days to work on these.
Step 3: Compare and Contrast the Two Methods
I have them open up their papers so they see both portraits and we conduct a compare/contrast critique of the two. Students understand why most scholarship and award programs (including AP and Scholastic) prefer direct observation works, as they are the most challenging and require a bit more skill.
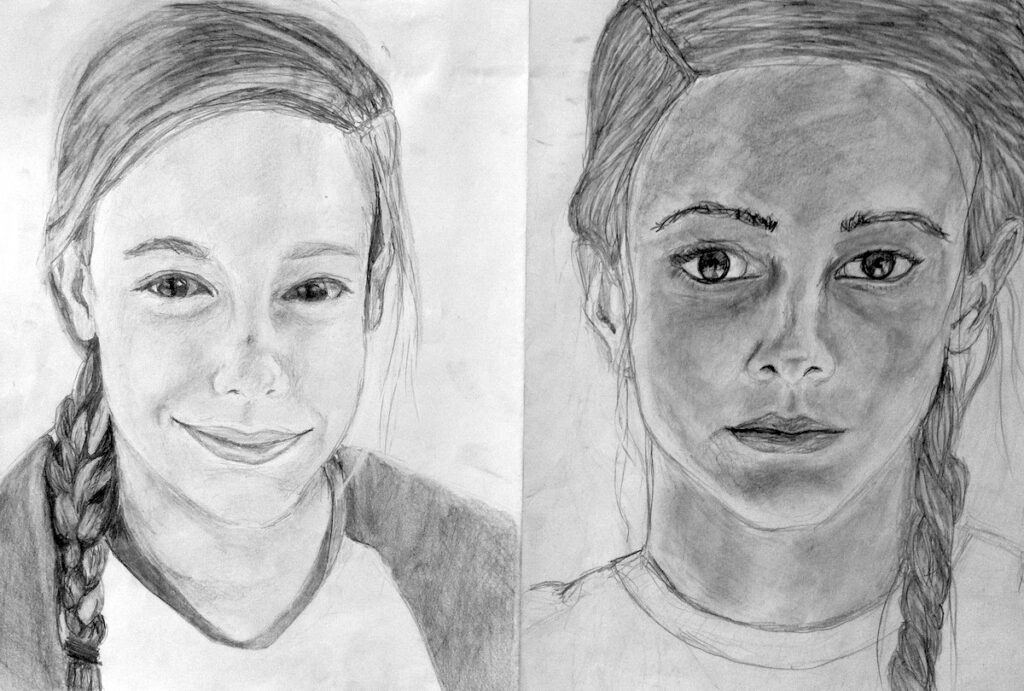
Step 4: Add Finishing Touches
Our conversations continue over the next few days as I give students the opportunity to clean up and complete both works. Students use these works to gauge their growth and learning that will continue throughout the school year. This is one of my favorite lessons because it pushes students out of their comfort zone. It has them thinking about elements, processes, and techniques and moves them into the next phase of thinking and working like Art II artists!
How do you successfully teach portraiture to your students?
Do you use a compare/contrast teaching concept in your program?
Magazine articles and podcasts are opinions of professional education contributors and do not necessarily represent the position of the Art of Education University (AOEU) or its academic offerings. Contributors use terms in the way they are most often talked about in the scope of their educational experiences.
