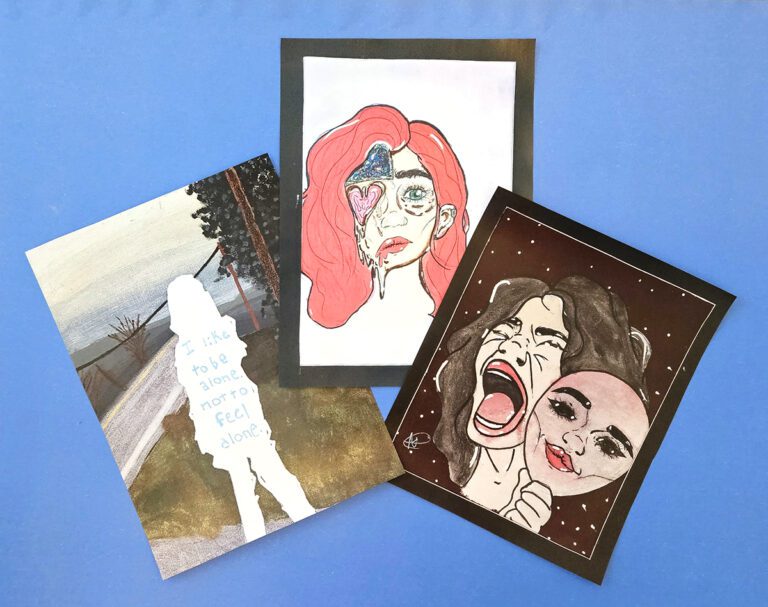
One of the most significant initiatives in education today is STEAM. If you’re unfamiliar with the term, STEAM stands for Science, Technology, Engineering, the Arts, and Math. STEAM education aims to help students visualize and make connections among a variety of disciplines. Many districts now expect educators, including art teachers, to include STEAM projects in their curriculum.
While some see adding STEAM lessons as just “one more thing” to add to your plate, there are ways to implement STEAM without letting it take over your art program. Showing your students how the disciplines connect in an easy, exploratory way is a great way to start.
With all STEAM encompasses, it’s easy to feel overwhelmed. But, what if you could give your students a basic understanding in just one class period through the use of four mini-stations? Would you try it?
Let’s dive into how you can easily add STEAM to your classes using 4 mini-stations.
Each of the stations below shows students how art can work with other disciplines. Make sure to explain the directions for each station to your entire class before beginning the center rotations.
Station 1: Color Hypothesis Testing
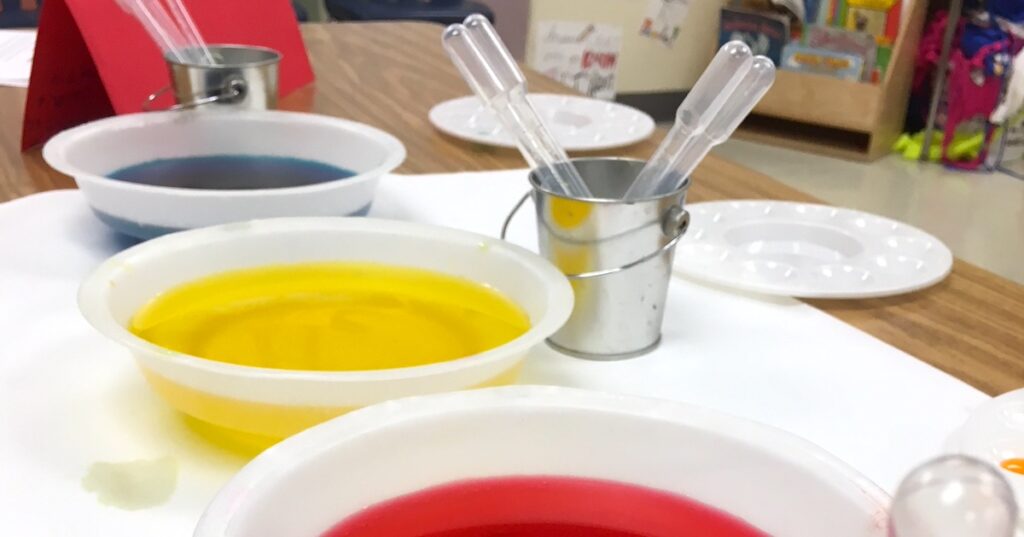
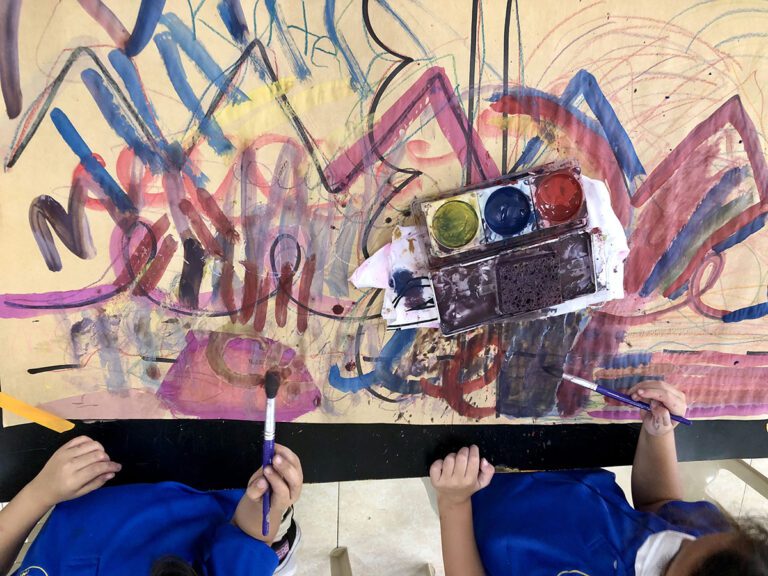
Combine the magic of science and math with art by giving your students an opportunity to create a hypothesis while mixing colors.
Materials
- Eyedroppers or pipettes
- Watercolors or tempera paints
- Water containers
- Paintbrushes
- Small white pieces of paper
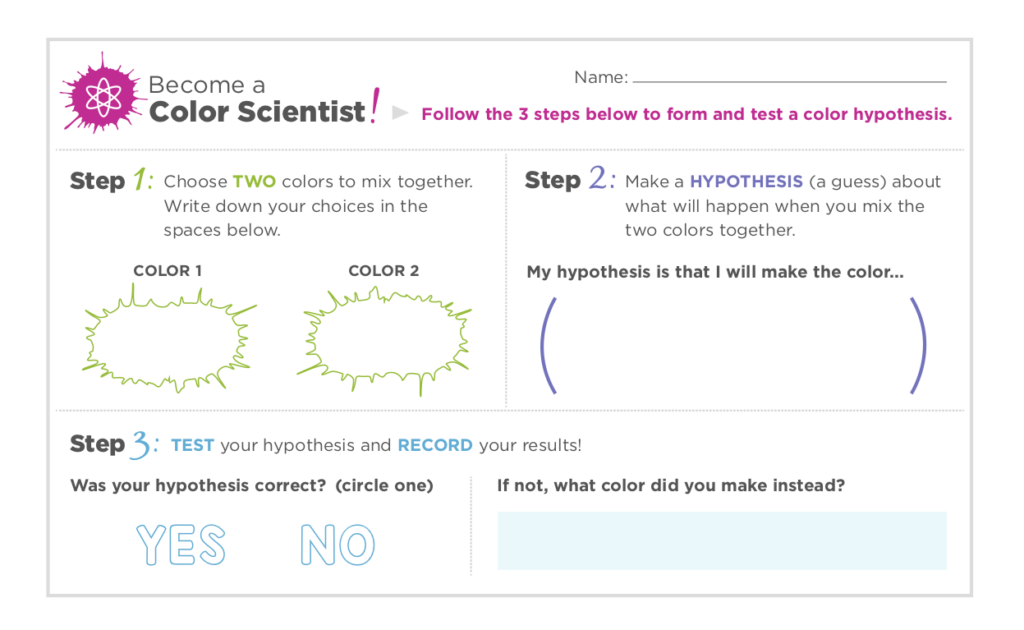
Laminate these if you want them to be wipeable and reusable. - “Become a Color Scientist” form
Download your own below!
Once your materials are set up, students can begin using the process below.
- Have students fill out the “Become a Color Scientist” form.
They will need to choose two colors and guess what color those two colors will produce once they are mixed together. - Have students run their test by using the eyedroppers to put a dot of each of their chosen colors onto a white piece of paper and mixing them together with a paintbrush.
- Have students record their results on their forms.
- If time permits, students can repeat steps 1-3 with a new hypothesis and new form.
Station 2: Quadrilateral Robots
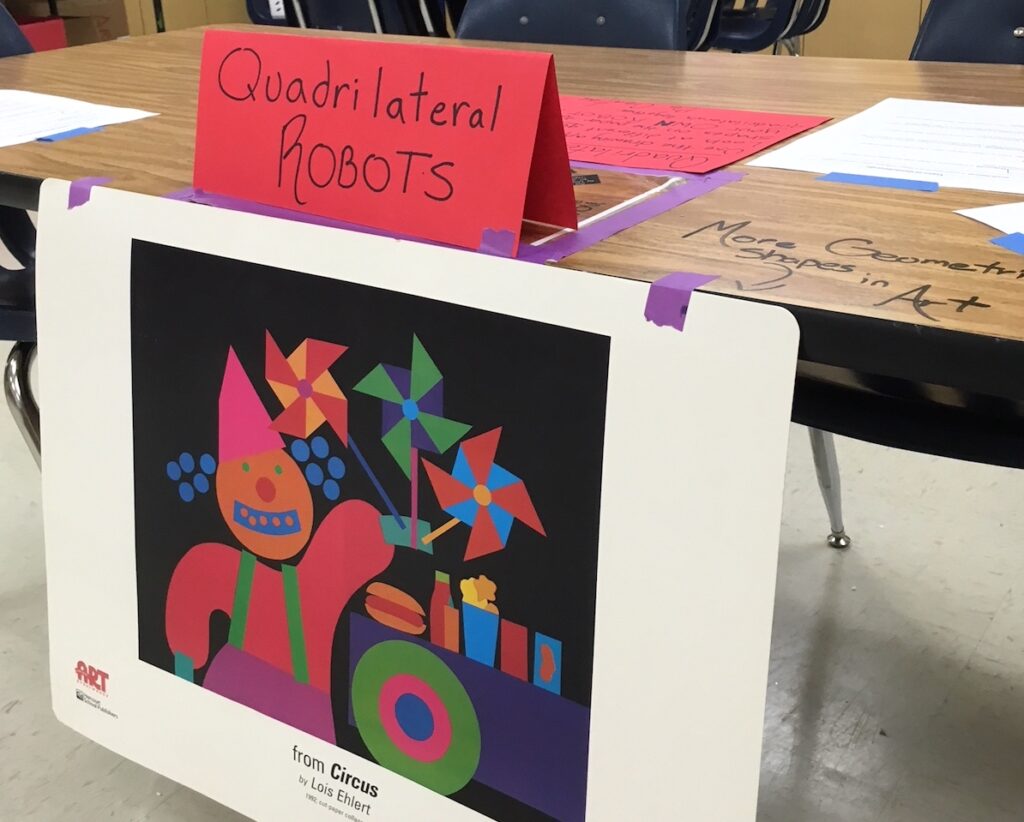
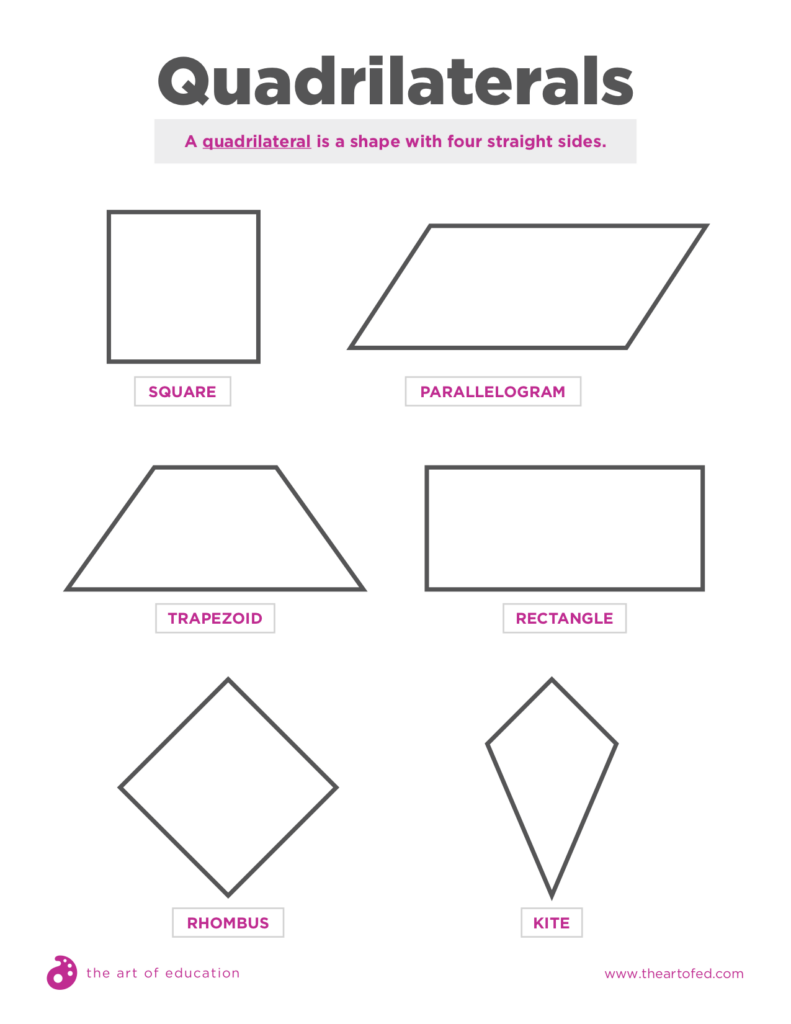
At this station, students will learn the word “quadrilateral” as they use quadrilateral shapes to design a robot.
Materials
- iPad with your favorite drawing or painting app (optional)
- Drawing paper
- Drawing supplies
- “Quadrilateral Shapes” handout
Download your own below!
Once your materials are set up, students can begin using the process below.
- Have students review the handout to see which types of shapes they should use.
- Using only quadrilaterals, students will design their own robots using the paper and drawing materials at the station. Alternately, students can create using a drawing or painting app on an iPad.
- If your students finish early, they can give their robot a name and color it in.
If you’re interested in learning more about bringing STEAM into your classroom, be sure to check out the AOE Course Project Based Art Room. You’ll leave the class with a better understanding of project-based work, as well as a plan to actively re-design and customize a collaborative curriculum.
Station 3: Scientific Sketches
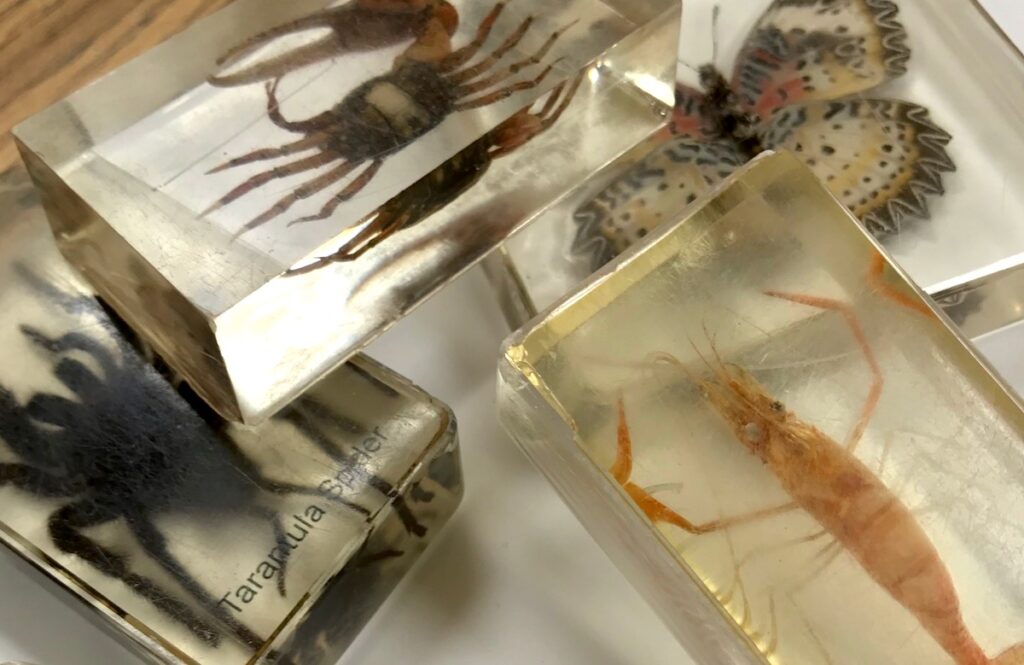
Collect a variety of science-related items for students to sketch. You may want to include insects, skulls or other bones, leaves, shells, and other similar things. Of course, real items will be the most engaging, but photographs can work well, too.
When introducing this center, have students guess what subject the items belong to in order to help them see the science connection. A quick demo about shading or creating shadows would fit at this center as well.
Materials
- Science-related items to observe
- Paper
- Pencils
- Colored Pencils
Once your materials are set up, students can begin using the process below.
- Have students view the items or photographs at the table that are set up for observation.
- Remind stuents to take a good look at the details of each item.
- Have students begin drawing.
- Students can draw as many objects as times allows.
Station 4: Odds and Ends Inventions
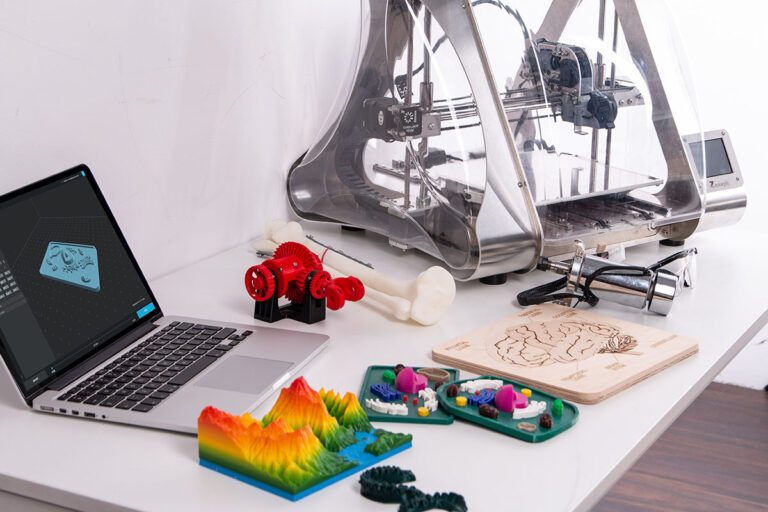
Engineering is such a fun aspect of STEAM education. Give students a challenge to engineer their own invention with pipe cleaners, paper clips, and scrap paper. You can leave the prompt open-ended or challenge them to complete a specific task.
For instance, students could be challenged to use only pipe cleaners to build a contraption that would hold up a penny. This way, they have to really use their critical thinking skills!
Materials
- Pipe cleaners
- Paper clips
- Scrap paper
- Any other odds and ends you would like
Once your materials are set up, students can begin using the process below.
- Give your students the prompt listed above in the description or create your own.
- Allow your students time to create their inventions.
- Let them share with the class or their table partners if time allows.
If you’ve been on the fence about bringing STEAM concepts into your art room, give these stations a try! They are a quick and easy way to get your students thinking about how art connects with other disciplines. If you’re working with short class periods, you can always break up your exploration into two sessions. These centers would also be great to set up a parent night!
How do you incorporate STEAM into your classroom?
What is your favorite STEAM project?
Magazine articles and podcasts are opinions of professional education contributors and do not necessarily represent the position of the Art of Education University (AOEU) or its academic offerings. Contributors use terms in the way they are most often talked about in the scope of their educational experiences.

