Have you ever looked at the work of AP studio art students and thought, “WOW! How did they produce that?” The answer, surprising as it may be, is it all starts with the first class students take.
If you want outstanding advanced courses, your introductory course has to be outstanding as well.
Simply put, Introduction to Art is the most important class your art students will ever take.
Designing a solid Intro to Art course isn’t for the faint of heart. Students need to be both exposed to a wide variety of thoughts and materials and provided time to develop a basic skill set.
Here are 5 vital things to include in your course:
- An overview of the elements and principles and how to use them.
- Time to explore media and materials.
- The opportunity to work in a visual journal to develop, grow, and work out ideas.
- A safe environment to explore risk-taking.
- Time to give and receive meaningful feedback.
It is daunting, but it is definitely possible!
Today, I’m sharing a plethora of suggested lessons, plans, and methods to help you develop an outstanding Introduction to Art course.
To begin, students must have an authentic understanding that the art elements are important because they are the building blocks of composition. All seven art elements matter and need to be explained and explored.
Students must also understand how they can organize their elements through the principles of design. Once they have a good understanding of the elements, they can begin to consciously think about movement, rhythm, balance, variety, contrast, unity, repetition, and emphasis. These lessons develop both their understanding and their skills and will take their work to the next level.
7 Lessons that Explore the Elements and Principles
Lesson 1: Name Design
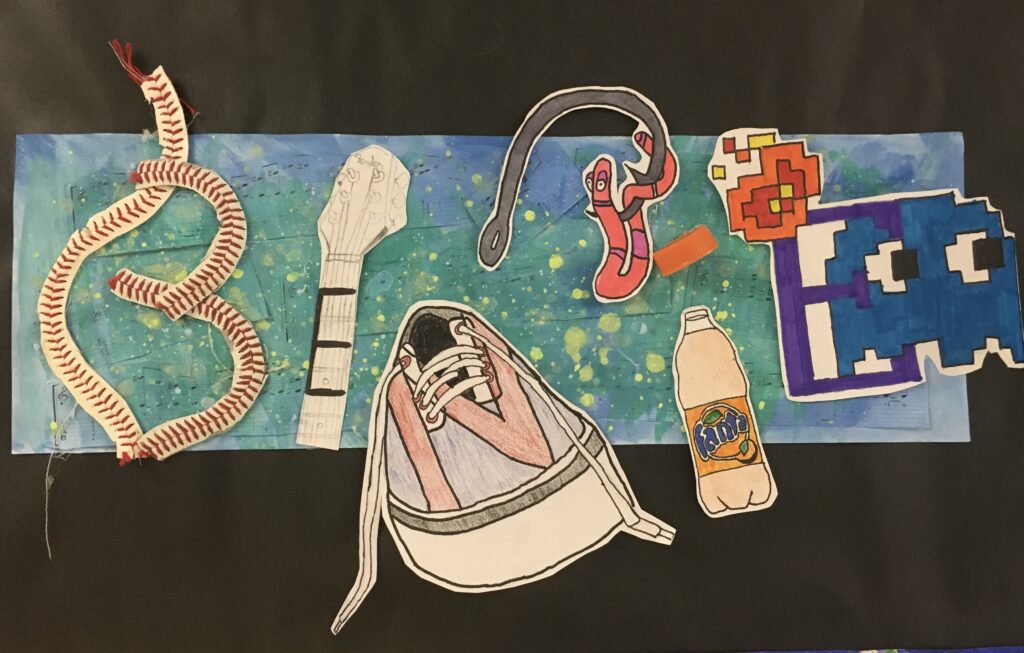
In this first project, students showcase who they are through symbols, colors, shapes, and design, all incorporated around their name. Students manipulate mixed media creatively to present a sense of their personality and showcase who they are.
Introduce the lesson by having students brainstorm a list of their interests, create thumbnail sketches, and begin thinking about various media they may want to use.
You might ask questions such as:
- What do they enjoy doing?
- What are their religious or political views?
- What are their hobbies?
- In what activities are they involved?
This project is an opportunity to truly reflect on who they are, and an opportunity for you to gauge where the class is regarding technical and creative ability.
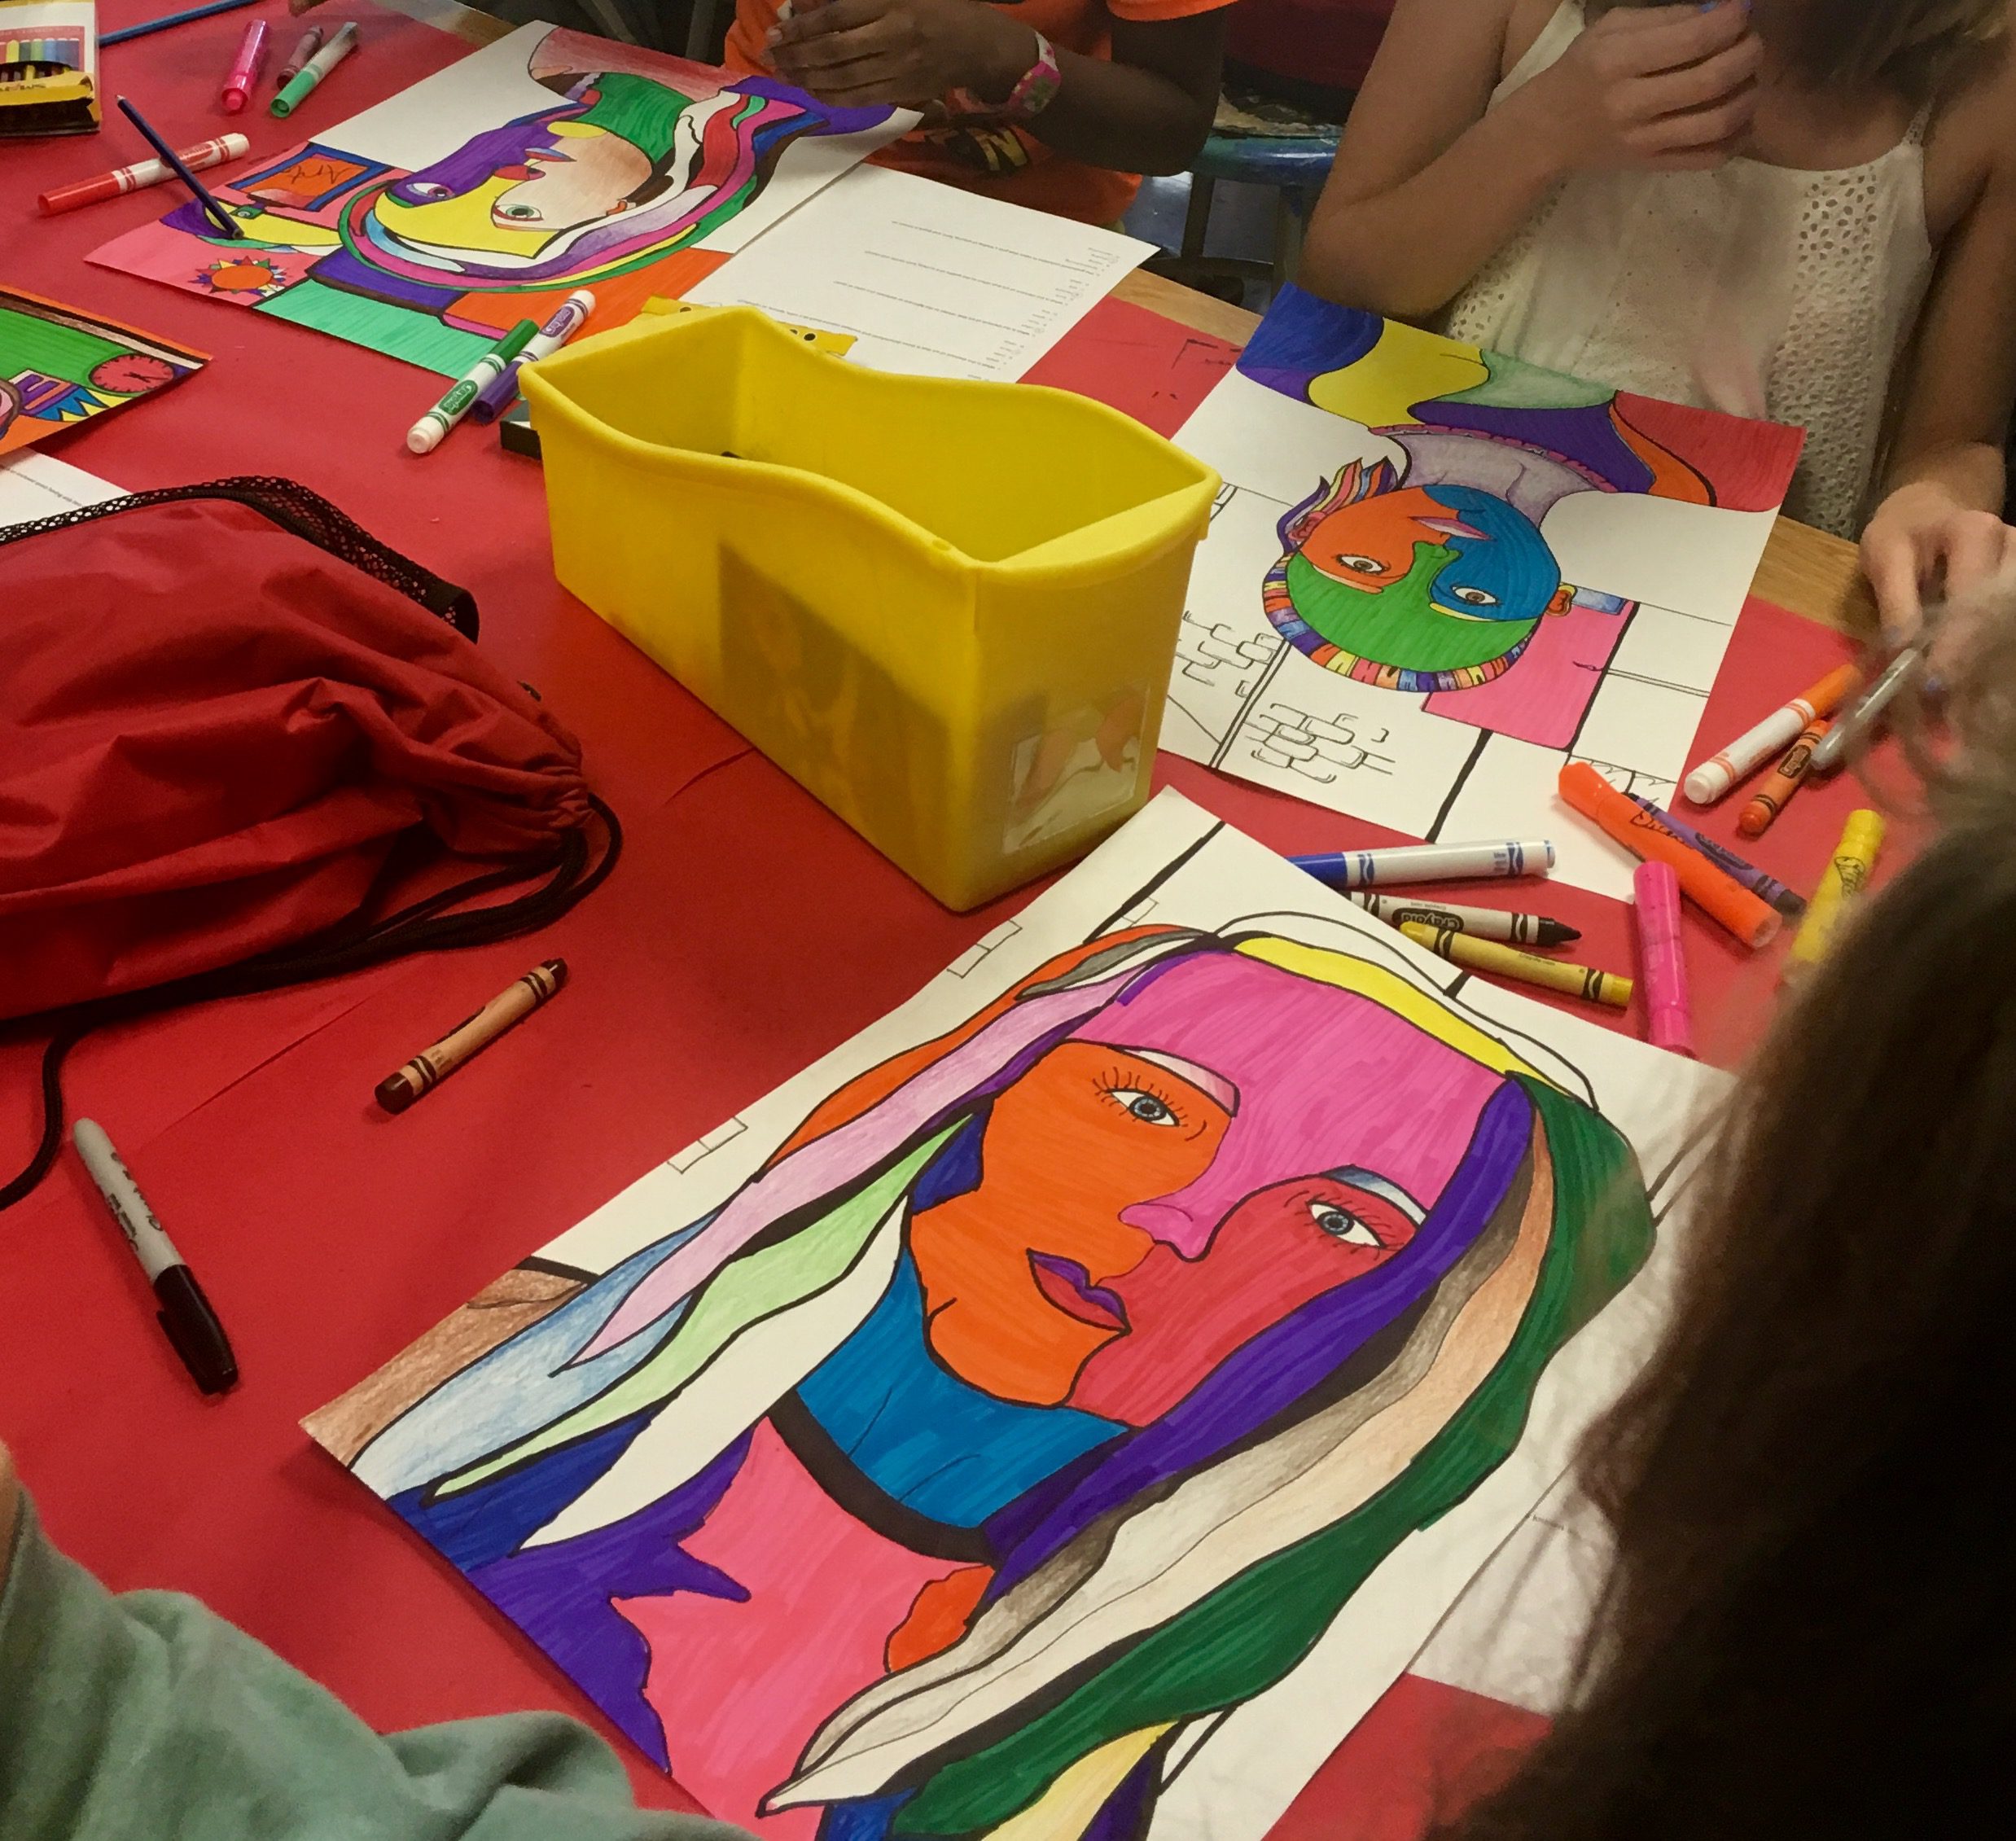
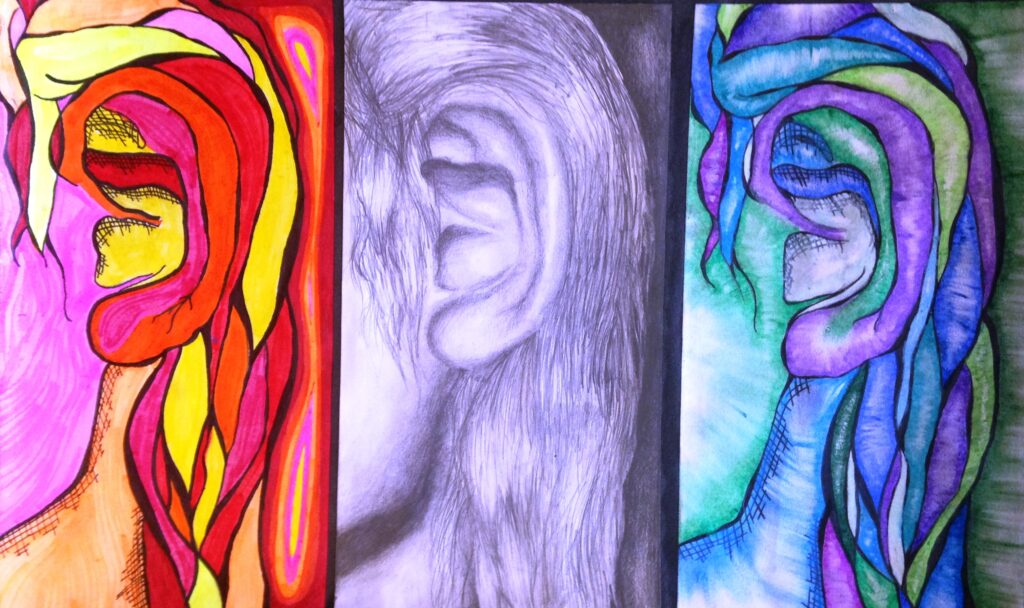
Lesson 2: Contour Line Studies
Part 1: Hand Studies in Glue and Chalk
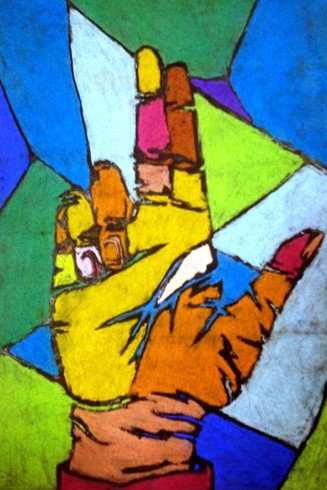
Students begin to learn the importance of line–specifically contour line–in this two-part line lesson. You can start by discussing the definition and importance of contour lines, looking closely at the line that defines an object. Students learn and practice blind contour, partial blind contour, and contour line techniques.
Have your students begin by creating ten sketches of their hands in their sketchbooks, and then selecting one to recreate on a larger scale. They draw their hand in the contour on black paper with graphite. Students then add glue over their pencil lines, reiterating the contour lines through line quality. On day two, students look at the unique shapes created and fill the spaces with chalk pastel, leaving the glue line as the contour.
Want even more info about planning curriculum? Be sure to check out the AOE course Designing Your Art Curriculum. You’ll design your own comprehensive toolkit with all the necessary pieces to implement a curriculum that best fits your teaching, your students and their needs!
Part 2: Partner Portraits

Students can continue working on contour studies in their sketchbooks, including portraits. For this part of the project, students will draw sketches of the people sitting across from them, looking at the lines and shapes that make up the face.
Students draw a contour “partner portrait” on white drawing paper, incorporating negative space lines as well. Students go over their pencil lines with Sharpie pens (thick and thin), paying attention to the line quality needed to show variety.
Students color in their shapes using 50% crayon and 50% marker, making sure to keep the colors separated by the newly formed shapes.
Lesson 3: Creative Color Wheels
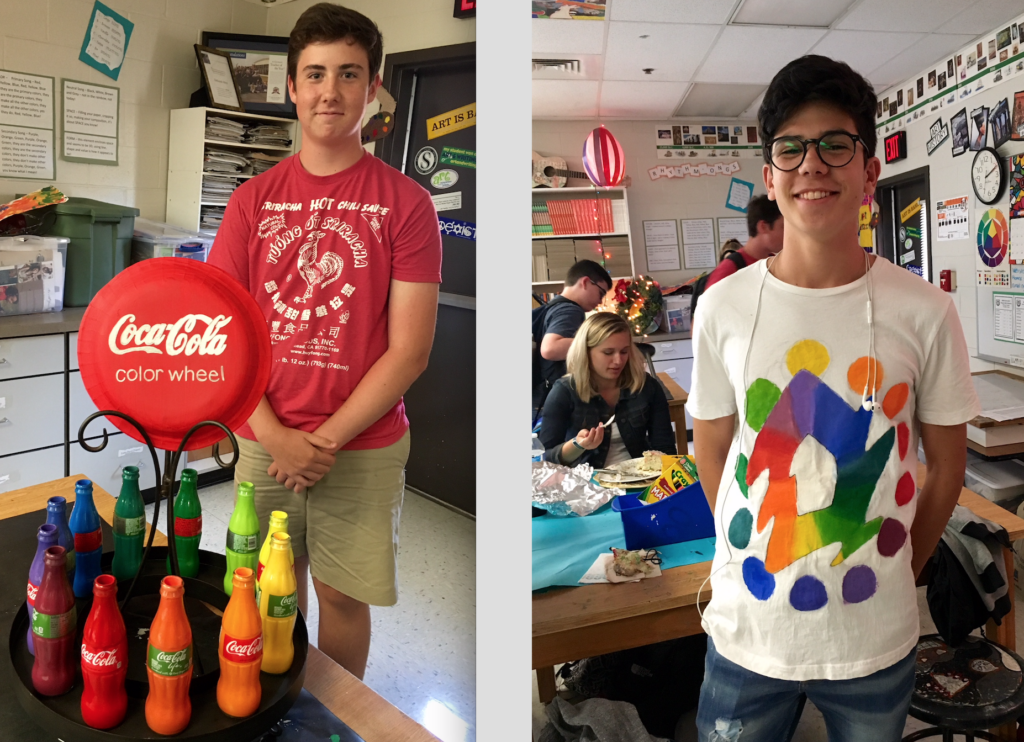
Everyone teaches the color wheel because– let’s face it–color is a vital element in nearly every artwork. However, I think it’s important to teach the color wheel creatively. In this project, students learn the color theory with a twist!
In my room, I introduce the lesson by discussing the importance of color in an artwork.
These are the color theory concepts I present to my students, although occasionally others come up through questions or discussions:
- Primary Colors
- Secondary Colors
- Tertiary Colors
- Neutral Colors
- Warm Colors
- Cool Colors
- Analogous Colors
- Complementary Colors
- Monochromatic Colors
- Tints
- Shades
Any materials students want to use to create their color wheel are fair game for this project. I have had students sew, make edible color wheels, models, make slushy drink color wheels, use mixed media, melted crayons, etc.… the possibilities are endless! Final artworks are presented to the class, with students explaining what was created and how they mixed their colors.
Lesson 4: Monochromatic or Color Scheme Painting
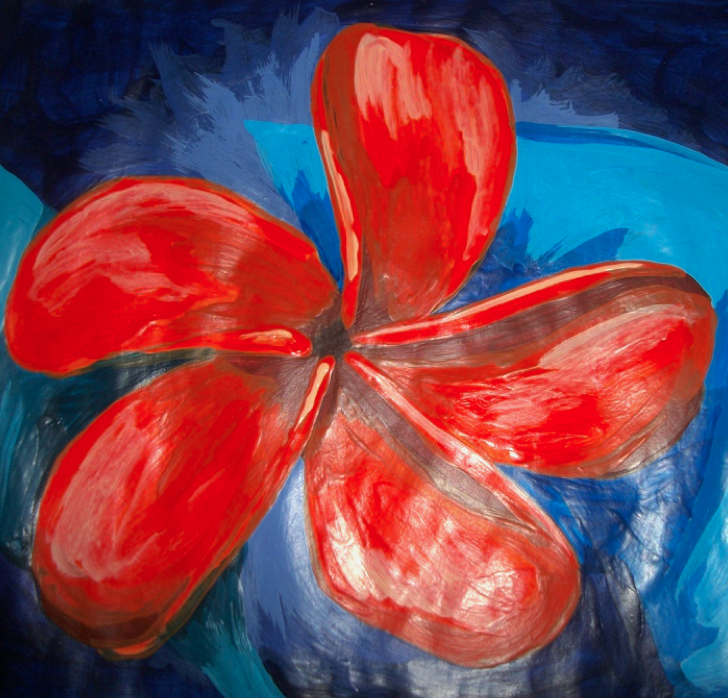
After working with color in their creative color wheels, students can move on to using that knowledge in a painting of their own design. They can create a monochromatic work (using their knowledge of value), or another color scheme (using their knowledge of color from the last project!). This gives them the freedom to be creative and the ability to apply what they have learned so far.
Lesson 5: Pattern Designs
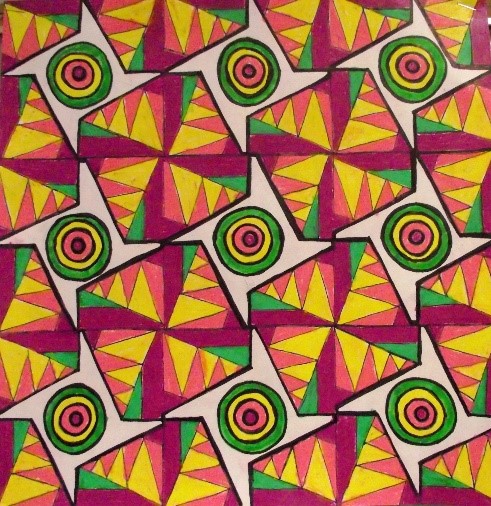
This project is a great introduction to the importance of design in 2D art. In this project, students use line, shape, line quality, and repetition to create interesting patterns and surprising designs.
Students can create their own pattern, and their final work, by following these steps:
- First, have students create six thumbnail sketches and rotate the designs by 50% and 25% turns, seeing what happens with the lines, shapes, and designs that appear.
- Select the design that works the best and use it for the final piece.
- Repeat the design multiple times until it fills the page in all directions.
- Experiment with color schemes and choose the one that fits the design the best.
- Add color using Art Stix or colored pencils, choosing either varying values or opaque color.
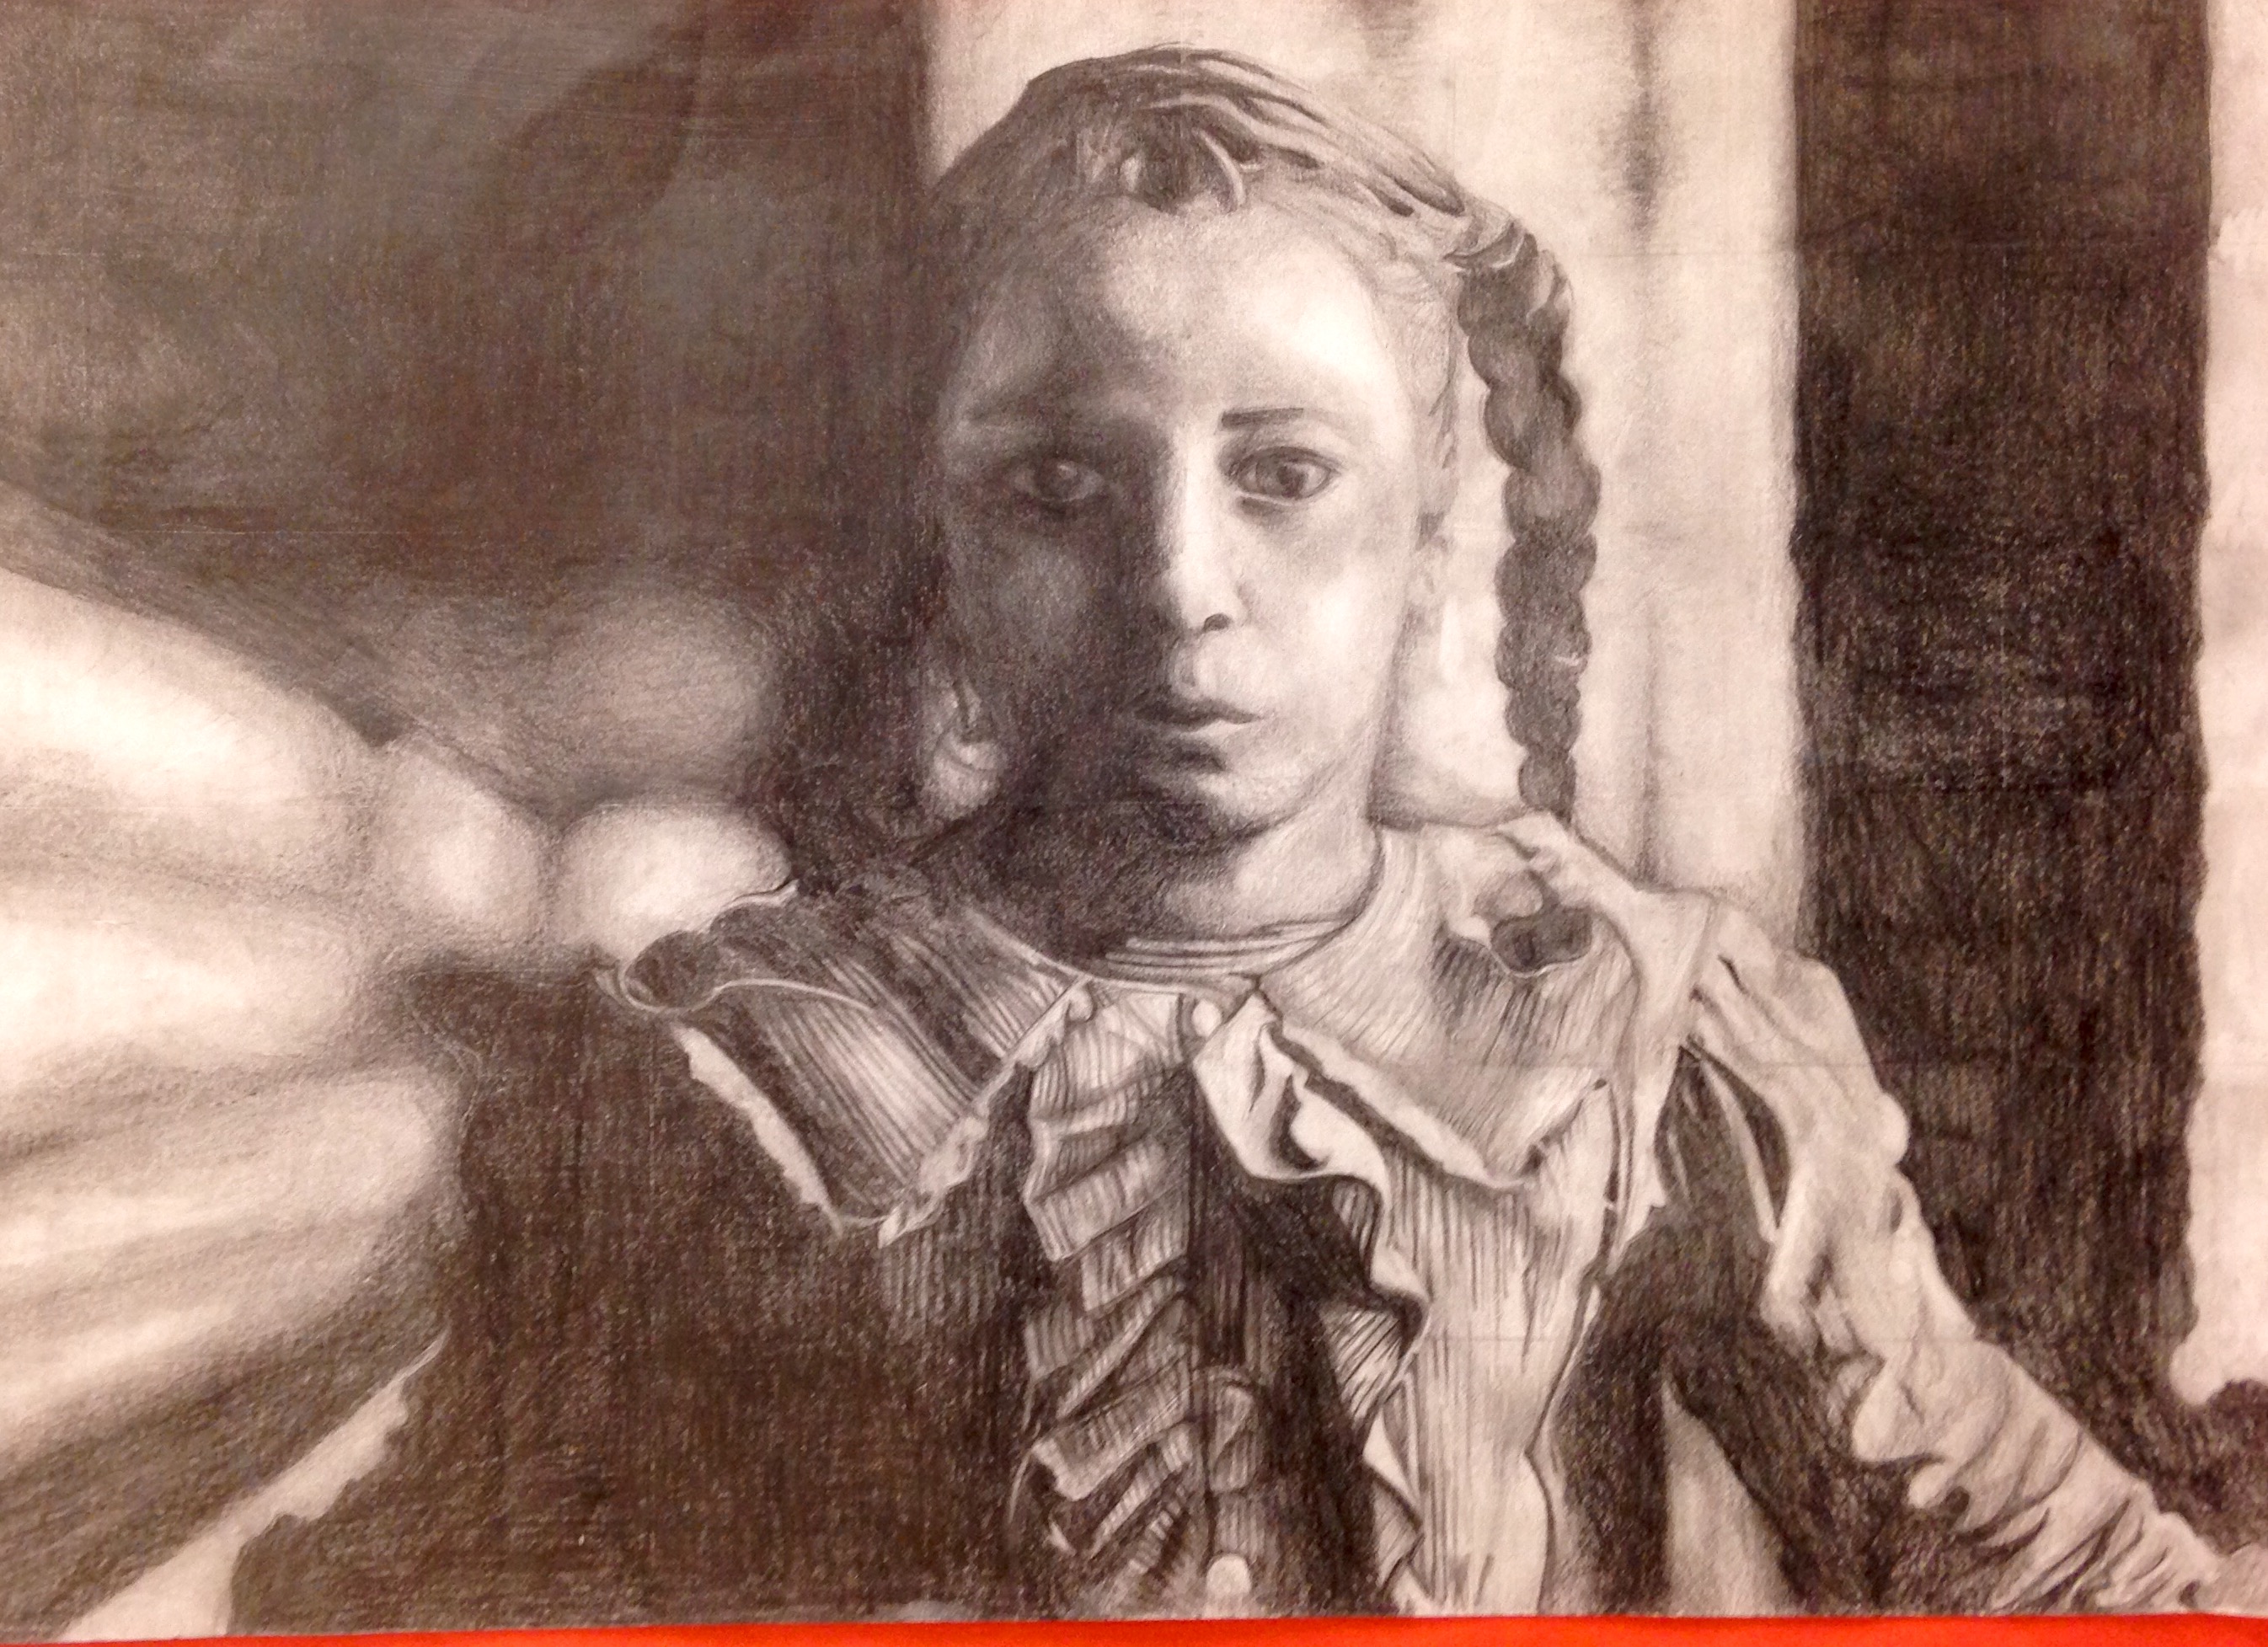
Lesson 6: Triptych
In this project, students incorporate their direct observational skills, value skills, and color theory skills into an observational drawing triptych.
You can begin this lesson with a discussion about the importance of direct observation in art. Each student will choose a still life object to draw three times. As they work, they’ll learn how to measure and pay attention to positive and negative space to find the right proportions using line and shape. Each work is similar, but students are still able to make a variety of artistic choices to make their work unique. Students create three drawings and finish them in three different ways.
Lesson 7: Grid Drawing
This lesson begins with a discussion of the importance of value in an artwork. After creating a seven-tone value scale, students learn to grid and draw an image using those values. I have found it is best to have students work slowly and preferably upside down, so they are not stressed by having to draw a specific object. I remind them they are merely drawing lines, shapes, and adding values, and if they get those right, their object will appear. This is a simple technique that sets everyone up for success.
Final Assessment: Summative Assessment Book Making Lesson
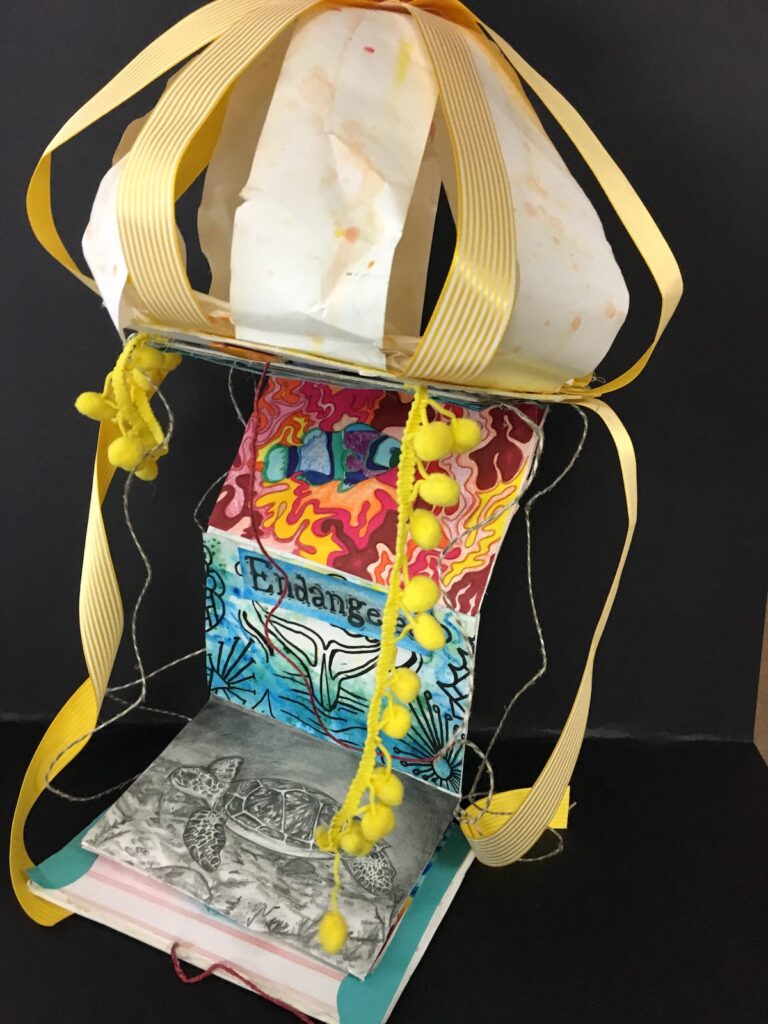
This bookmaking lesson is a culmination of the lessons learned throughout the semester. It’s a wonderful form of authentic assessment. Students have three weeks to work on these books, and the results are nothing short of phenomenal. See the full description of how to create these books.
Visual Journals, Studio Days, and Critiques
Lessons are not the only part of creating a successful Intro to Art course. Students also need to learn how to work on their own, how to explore their ideas and creativity, and most importantly, how to present and talk about their work! That is why, throughout the semester, we work in visual journals, take time out for studio days, and consistently run classroom critiques.
Visual Journals
Visual journals are prompt-based weekly sketchbook assignments that are graded each week. In my room, I also meet individually with students about their journals. This allows one-on-one time to see how the student is growing. Conversations about their direct observation drawing skills as well as their media manipulation and understanding of composition are all crucial for their artistic development.
Each assignment is based on an open-ended prompt. In addition, students must include three things: a direct observation drawing, collage or text, and a composition that successfully fills the space on the page.
Below is a list of prompts I like to use for weekly assignments:
- Who Am I?: Visually show me who you are! Remember to be creative!
- Observational Drawing: Look at something and draw it!
- Chair Drawing: Using contour line, high contrast, and positive/negative space draw a chair.
- Draw something of which you are proud.
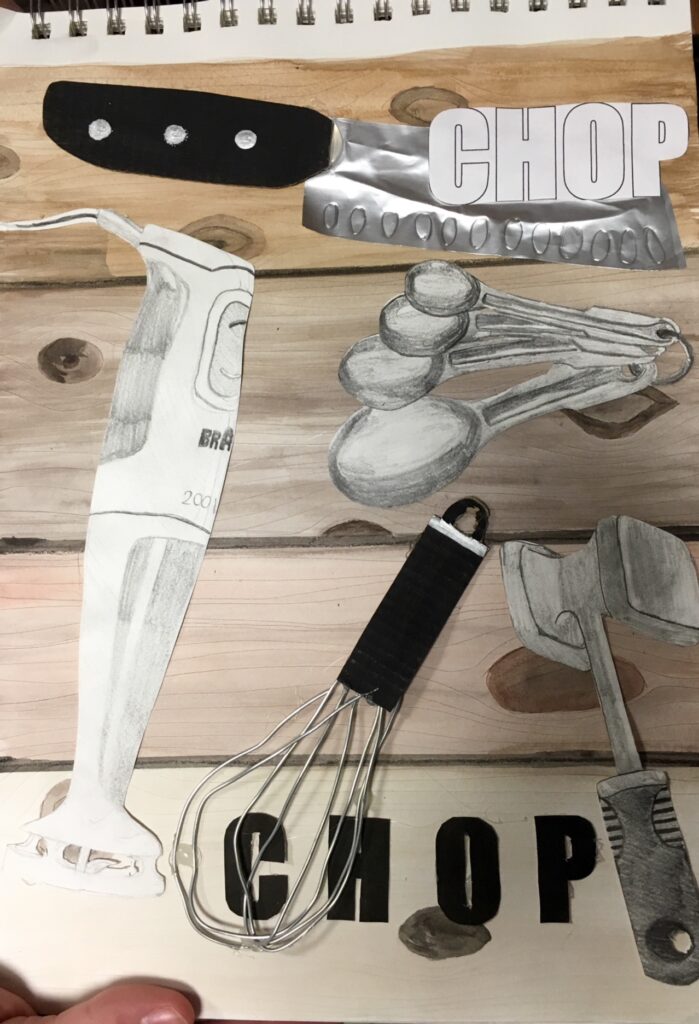
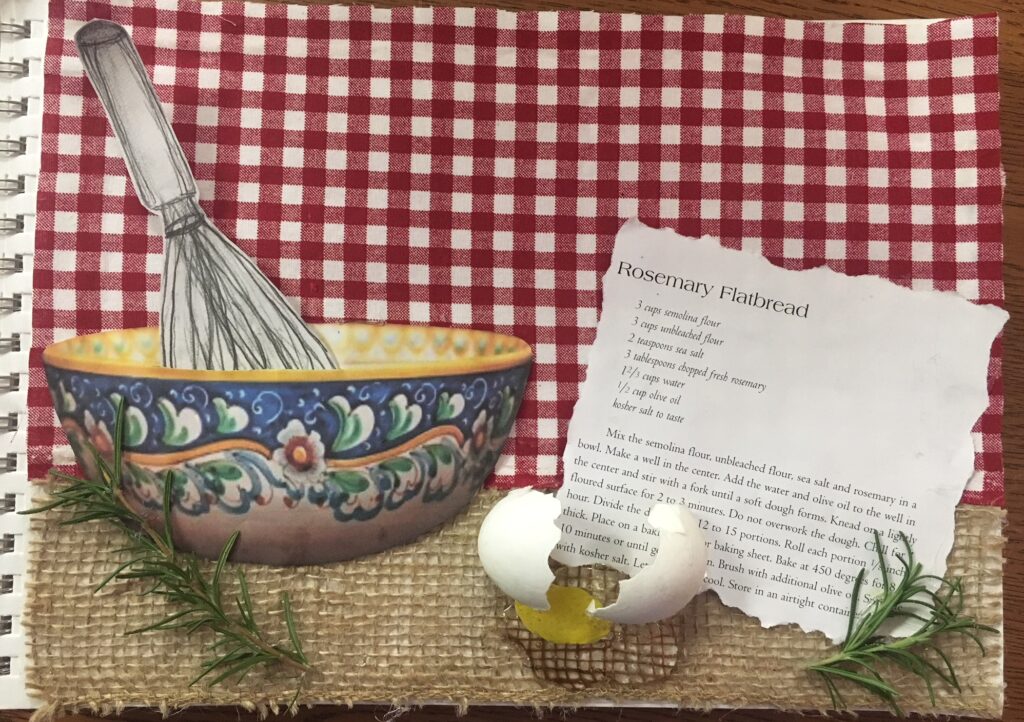
- Draw a variety of kitchen items.
- Draw something using only contour lines creatively.
- Draw something in perspective.
- Invent an object.
- What’s in your closet?
- Draw something for which you are thankful.
- Draw a creative portrait.
- Free choice! Draw anything you want.
Studio Days
Students must have time to explore and manipulate various media, and the Intro to Art course is the perfect place for them to play! Over the years, I have seen students learn so much from open studio days. They learn how to paint with markers and blend oil pastels. They learn how to explore the joys of watercolor and the frustrations of charcoal. Just giving them time to learn about and work with various media has a positive effect on their work. Students need time to explore because this is where learning happens!
Critiques
Getting students comfortable enough to discuss their art and the art of their peers can be a challenge. There are many ways to do successful critiques, including one-on-one conferencing, daily reflections, and public presentations.
One strategy for Intro to Art students’ first critique is called “2 Glows and a Grow.” I like to have students set up their art on table easels while they are in process and take a quick walk around the room. Once they have observed everyone’s art, they have the opportunity to write two “Glows” (things that are working well) and a “Grow” (something that may need some work) on a sticky note. These sticky notes are then left on the art. I recommend each student write at least three. These notes provide everyone an opportunity to reflect and discuss the art being created in the room, and it reiterates important art vocabulary!
Over the years, I have seen Intro to Art students take all of this newfound knowledge and run with it. With prompt-based lessons and the freedom to explore, their art becomes a strong base in their portfolios from which to grow.
A strong Intro to Art course is truly the key to the success of courses that come after it. Each advanced course allows a bit more freedom allowing students to create some amazing work when they get to their AP Studio courses. So, consider what and how you teach your Intro to Art courses. You might be excited about the outcome!
If you would like to hear Debi discuss all of the ideas in this article in more depth, make sure you check out the Art Ed Radio podcast tomorrow! She will join host Tim Bogatz to talk about why Intro to Art is your most important course!
Do you think your Intro to Art course is the most important course you teach?
How do you teach your Intro to Art curriculum?
Magazine articles and podcasts are opinions of professional education contributors and do not necessarily represent the position of the Art of Education University (AOEU) or its academic offerings. Contributors use terms in the way they are most often talked about in the scope of their educational experiences.