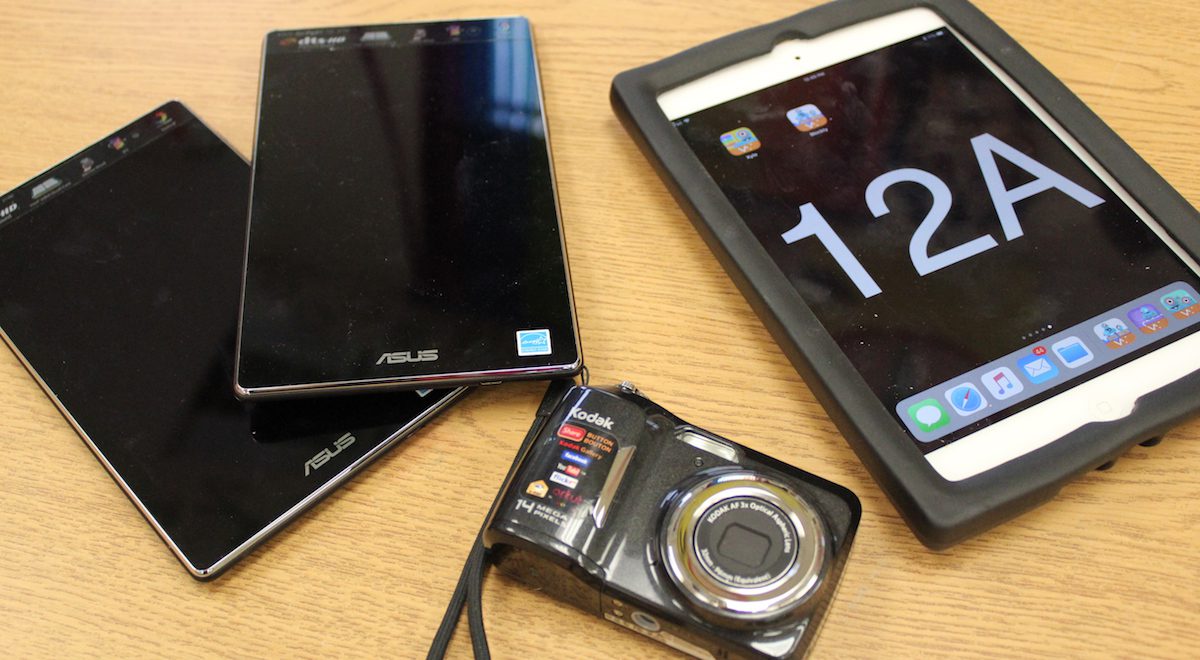
It’s never been easier to share what you do in the art room with others. From blogs and online portfolios to classroom websites and social media sites, there are infinite ways to use technology to promote your art program. But, almost all of these strategies also require the same time eating task: capturing photographs of student artwork.
Instead of personally sacrificing hours of potential planning time, why not consider turning the responsibility of classroom photography over to students?
After all, the National Art Standards specifically ask teachers to help students “interpret and share artistic work” through the “Presenting” standard. But, as you may be well aware, younger kiddos don’t always have the skills they need to capture great images of their work. Let’s look at ways to change that.
Here are 3 simple strategies to help your elementary students capture better photos of their work.
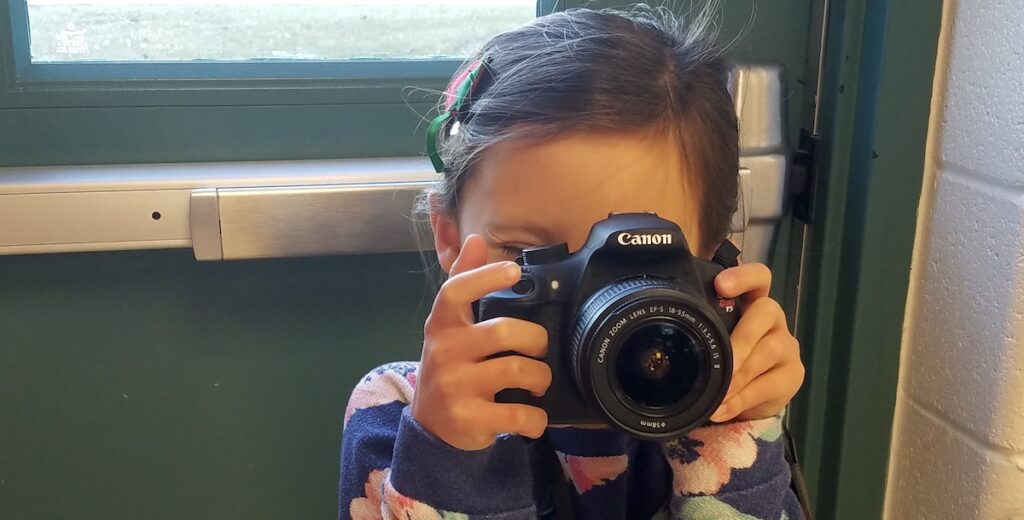
Step 1: Let go of your adult aesthetic.
From an advocacy perspective, is vital that we represent our art programs in the most professional way possible. Our websites, blogs, and newsletters need to reflect our deep commitment to quality visual arts education through their content and design. Our “hand,” as a teaching artist, should be evident in these publications.
But, these tech-based advocacy platforms are also the place to showcase a student perspective, through both text and image. Allowing student-directed photography at the elementary level requires you to let go of your adult aesthetic and embrace the beauty of age-appropriate photography. Just as we inherently see the beauty in developmental mark making, we need to recognize the same in photographs, as our youngest artists learn to master their craft.
This means you (and your program stakeholders: parents, administration, and colleagues) need to be comfortable with a portion of your photographs being student-quality. Educate them with a short explanation accompanying the student photographs, articulating the benefits of student-led artwork documentation. Over time, adult viewers will see the value in allowing students to practice this process.
Step 2: Set them up for success with a station.
One roadblock to getting a good artwork photo is that there are so many variables to consider. It’s a lot for an elementary artist to manage! You can give your students a jumpstart by creating a station for them. In this way, you can make some smart choices that will influence their photos before they even begin.
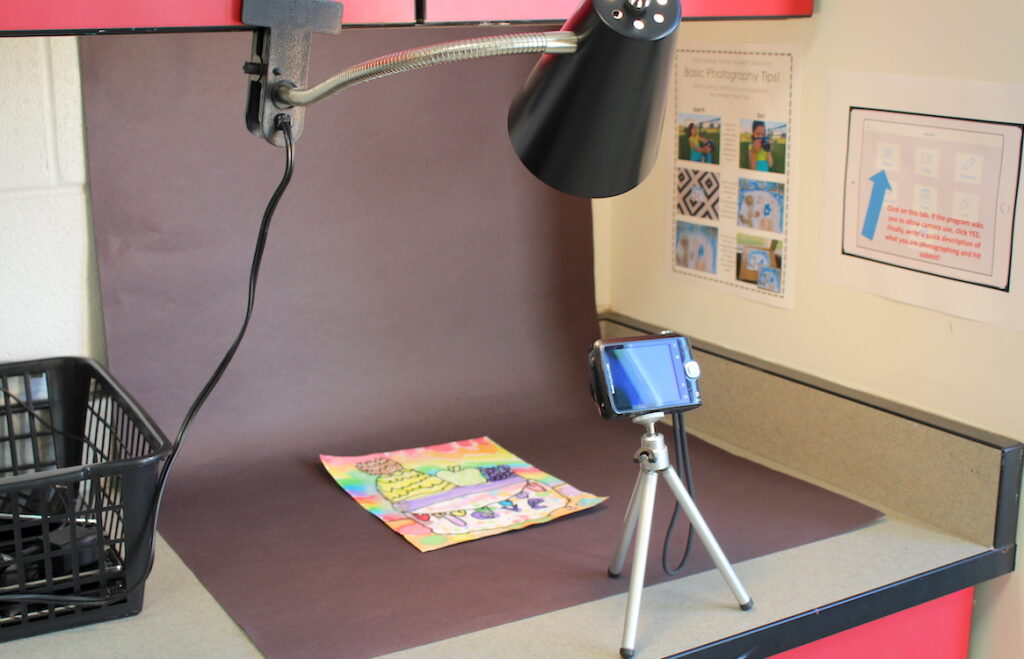
You’ll want to consider the following:
- Lighting
For the easiest lighting solution, place the station close to a window, so your students have the advantage of a lot of natural light. - Background
Make sure you have a solid colored background set up. You can use poster board, cloth, roll paper, or anything else you have lying around. Frequently, young photographers include more than just their artwork in the shot. This tip can eliminate the need for cropping. - Stability
It is difficult for our littlest artists to hold a camera or iPad still during a photo shoot. Consider purchasing a tripod, iPad stand, or creatively building another apparatus to keep the camera stationary for them. - Checklist for Saving Work
Finally, post simple directions (with images!) to illustrate how to correctly name and save their photos. If they are using a digital camera, instruct them to photograph their name before shooting their artwork. A precise procedure for saving work now will save a lot of time later.
Step 3: Teach VERY simple photography skills.
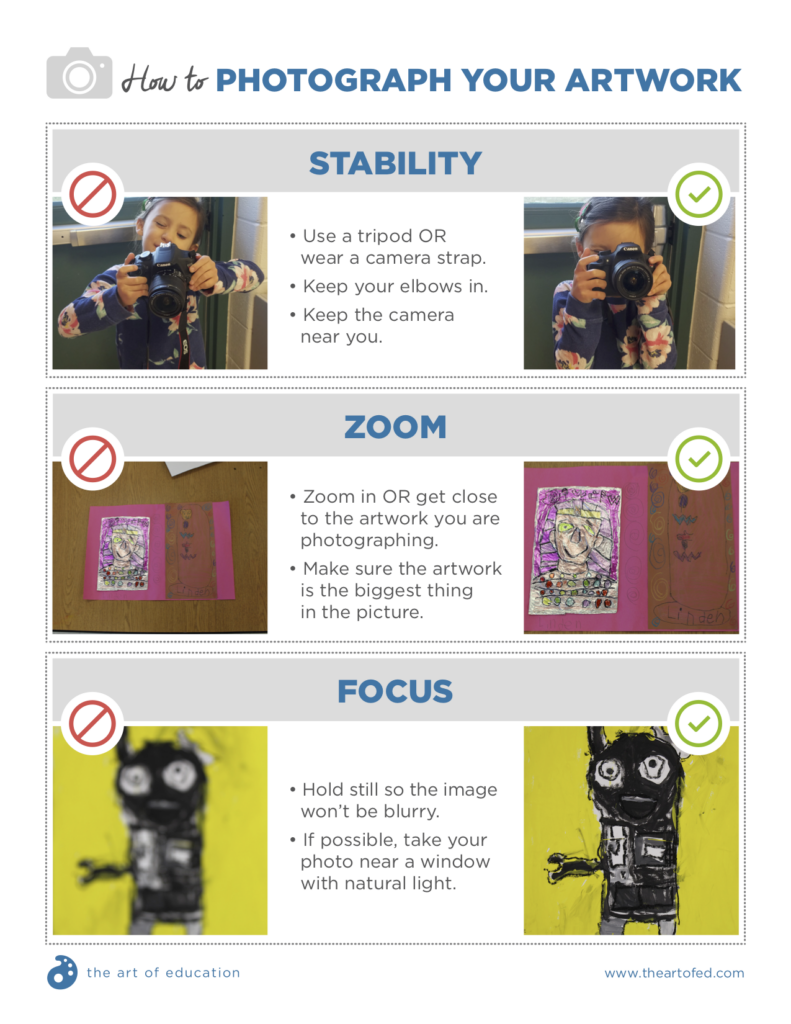
Artists have spent lifetimes learning and refining the art of photography, so it is tempting to include dozens of technical details and examples. But, for presentation purposes, our elementary artists only need to “focus” on a few. Teach them some very basic ideas, and let them grow their photography from there! Download the guide below to share with your students! It would make a great anchor chart for your station.
Here are 4 suggestions:
- How to hold the Camera/iPad
While our students are adept at texting, using apps, and navigating the Internet, many have only used a camera on a cell phone. Whether you are using an iPad or a digital camera, be intentional about your first instructions. Show them how to hold the device safely, and explain where the primary function buttons are (power, shutter, zoom, focus, etc.) Next, you can delve into the use of those features. - How to Focus
Most students’ experience with photography has probably been on phones, which autofocus on the subject. Therefore, depending on your device, it may be necessary to introduce the idea of focusing on the central object. Often, this is easiest to teach using non-examples. Once students see a “fuzzy” image, they are more aware of the need to focus on the subject. - How to Center an Image
Explain that the purpose of the photograph is to share their artwork. This means the artwork should fill the whole frame so viewers can see all of the beautiful details. Demonstrate how to zoom with your device, to make the artwork the “hero” of the photo. - How to Hold the Camera Still
If you can provide a tripod or other method of keeping the camera stationary, this won’t be an area of concern. If not, plan to teach the students how to hold the camera close to their bodies. Often, this can be accomplished by keeping their elbows in, and even momentarily holding their breath as they take the photo.
Now your students have been introduced to the fundamentals of photographing their artwork! Over time, you can help them to improve and fine-tune their skills. With practice, your elementary students will develop their craft. Eventually, the reward will be more significant student involvement in the digital presentation of artwork.
What tips do you have for getting successful artwork photography from your younger students?
If you already have an artwork photography station, what tips do you have for starting one?
Magazine articles and podcasts are opinions of professional education contributors and do not necessarily represent the position of the Art of Education University (AOEU) or its academic offerings. Contributors use terms in the way they are most often talked about in the scope of their educational experiences.
