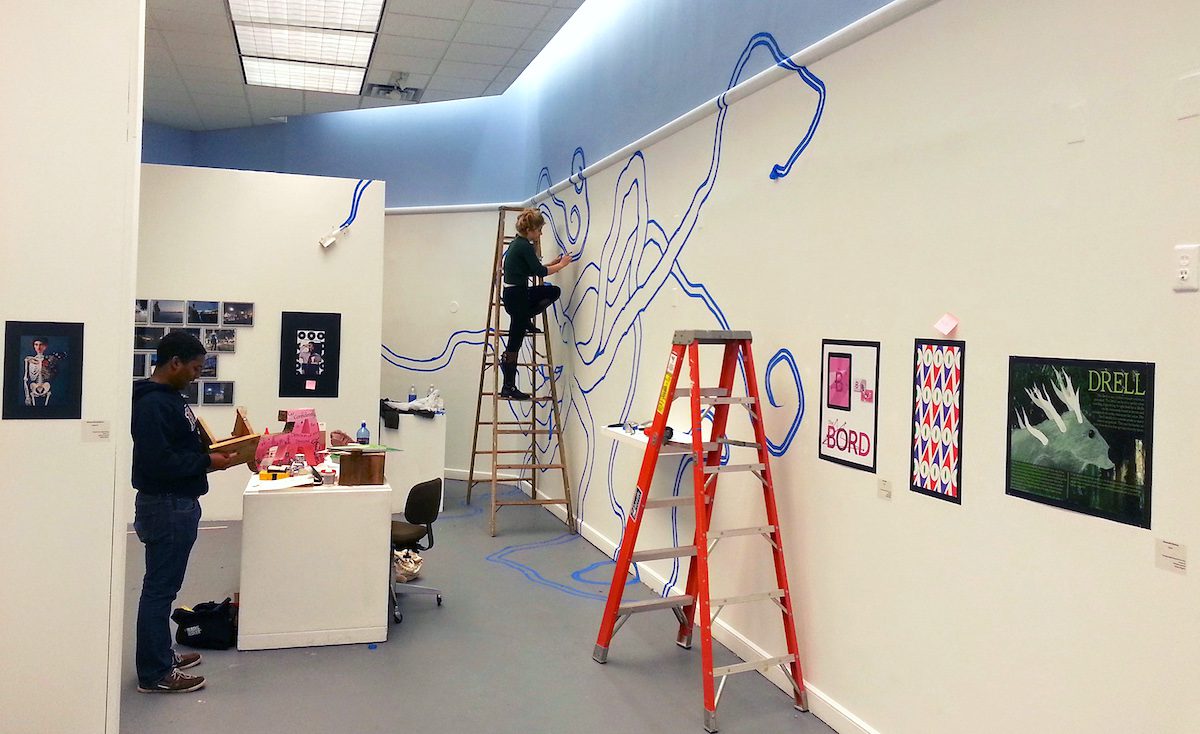
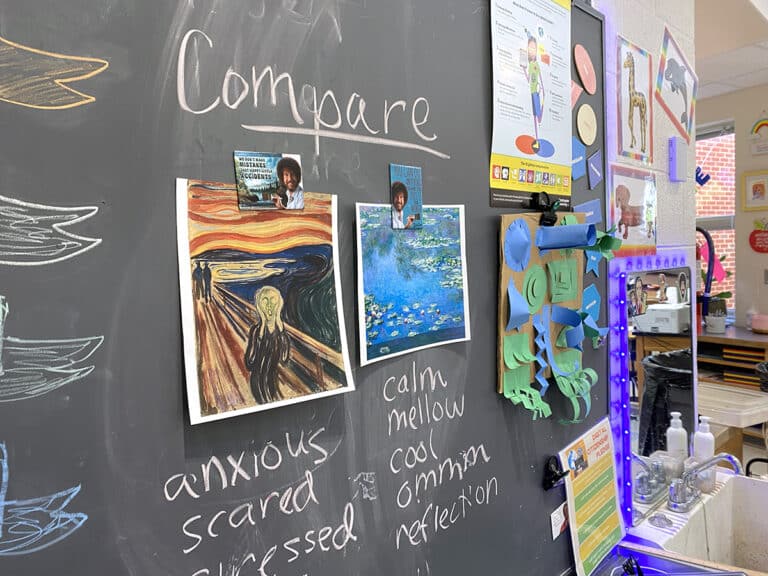
Having students choose the artwork for their own exhibition isn’t a particularly new idea. Many art teachers already bring students into the decision-making process of choosing work for display. But talking through the specific processes and decisions that go into picking works, laying out a show, and completing the installation can give your students a deeper understanding of everything that goes into being an artist. We’re talking curatorial decisions and installation practices.
So what does it look like when we allow students to lead?
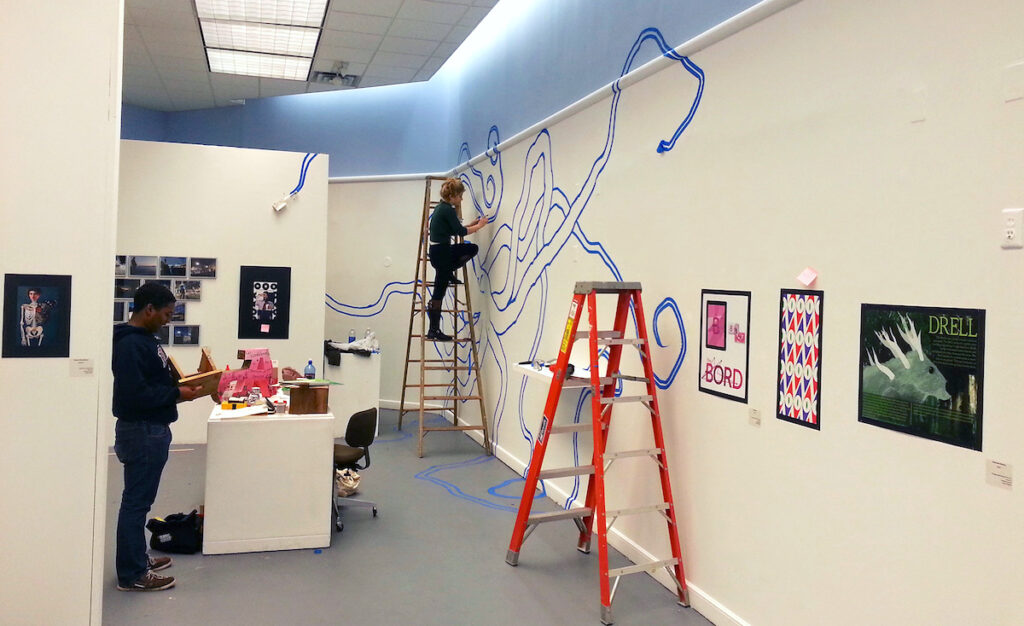
Assigning Student-Led Projects
In my classes, I make clear the expectation that students will be involved in all phases of the artistic process. That means not just making the work, but also the presentation, display, and discussion of their artwork. It’s not something students usually get excited about, but it’s a skill that serves them well in any content area.
Being able to talk about one’s work and answer questions from an audience is something students don’t practice nearly enough. Talking about their own artwork, though, can be a great entry point. Once you get students past the typical, “I did it because I liked how it looked,” or, “That’s what I was told to do for the project,” kind of responses, they can go on to articulate some amazing ideas. This is mostly because their piece is something they’re very familiar with since they made it! I also give examples of other artists sharing or talking about their work via YouTube to help students get a sense of how it’s done.
If you are an elementary teacher looking for information specific to putting on an elementary show, be sure to check out the Secrets to Running a Successful Elementary Art Show Learning Pack. And, if you’re wondering how having students choose their own work looks at the elementary level, be sure to read this article from our archives!
Setting up a Team
It is helpful to agree on specific student roles for this process.
Here are a few suggestions for lead roles to help keep track of each of the various parts of the process.
- Curatorial Lead
- Installation Lead
- Marketing and Promotional Lead
It’s great if you’re able to keep everyone involved in all phases of the process, but having one or two students in charge and responsible for a component provides accountability.
I usually let students choose what roles they take on. But, depending on the class dynamics or time of year, you may want to assign roles randomly, based on strengths or areas of growth, or through a student-led nomination process.
Choosing the Artwork
What does it look like when we choose artwork for an exhibition? We can’t hang everything that gets made. (Not to mention sometimes students don’t want to show anything. But let’s assume that you haven’t given them that option.) Additionally, some shows have a theme or focus that creates guidelines for the artwork choices. So there are some tough decisions students have to work through to decide what will be shown.
Bringing in, or Skyping with, an expert who does this professionally is a great place to start. Ask a curator or gallerist from a local institution to come to talk with students about the process of creating one of their exhibitions. By providing them with a model to look at and an expert to bring questions to, it provides students a context, as well as more confidence, when they are handed the reins.
You may also want to create a series of parameters to aid students in the decisions around choosing artwork.
You may ask students to think about things such as:
- Does the work fit with the theme of the show?
- Is there any other work in the show similar to this piece?
- If this is a multi-student show, how many pieces does a particular artist already have in the exhibition?
- Can this piece realistically fit in the space? (i.e., Is it too big? Too difficult to hang?)
- Can you picture this exhibition without this piece?
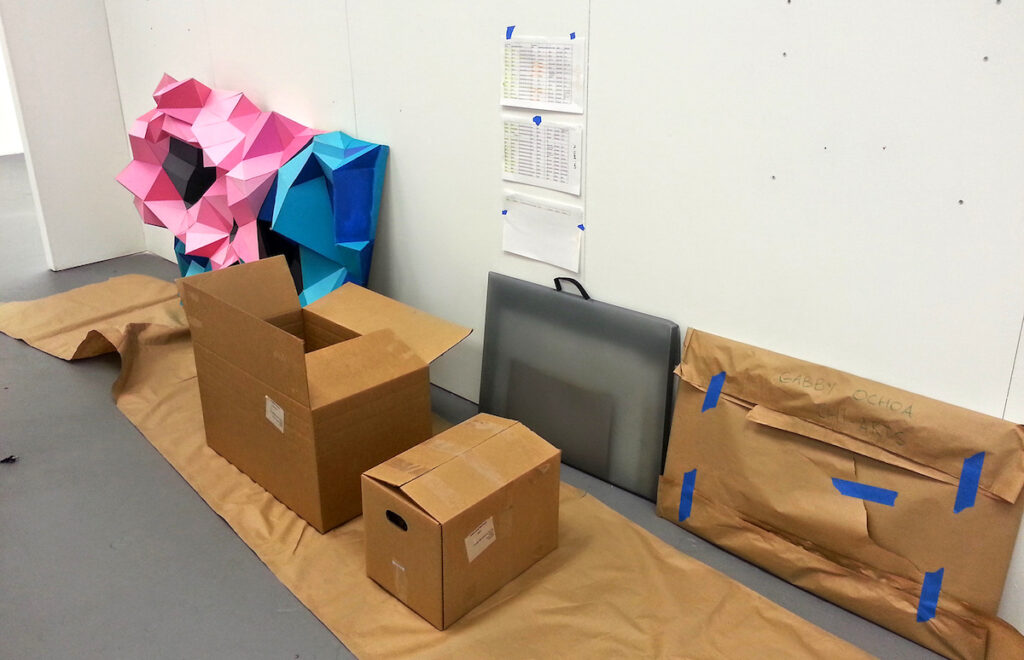
Arranging the Artwork
The layout is another topic that can be addressed by your guest curator or gallerist. If they’re able, have the expert work with students to start laying out the pieces in the space and walking artworks back and forth to find the right fit. Because the interpretation of a work can change when it’s moved to a different area, encourage students to be active in their considerations. Also, different artworks can impact each other when they’re placed in close proximity. This is a great moment to talk to students about the kind of story or narrative that’s created when you arrange the artworks.
If you don’t have the final pieces, using craft paper cut to the approximate sizes of the works can give you a sense of how things would fit in the space.
Installing the Artwork
Now comes the fun part! It’s time to break out the tools and start hanging the artwork.
Wait, what’s that? Your students have never used a hammer, much less hung a painting? Well, no time like the present to get them involved. Go over some general safety information before starting the actual work, and try not to take over each step from them. Will some of the pieces end up getting hung a bit crooked? You bet, but that’s ok. Make it part of the process. You can be there to serve as a problem-solving partner when there are questions, but have the students guide the actual install.
In addition, don’t forget to consider the following before installing the show:
- Have you checked with your school engineer or facilities person about hanging artwork?
- How will labels be printed? And what information will be included?
- What hanging height will you use to create an accessible space? Be considerate of your audience. Hanging everything at adult eye level leaves smaller kids out of the mix to view artwork.
Check out these installation guidelines from the Smithsonian Institute. They’re a bit more thorough than what you’ll need, but it’s helpful to see what the pros use!
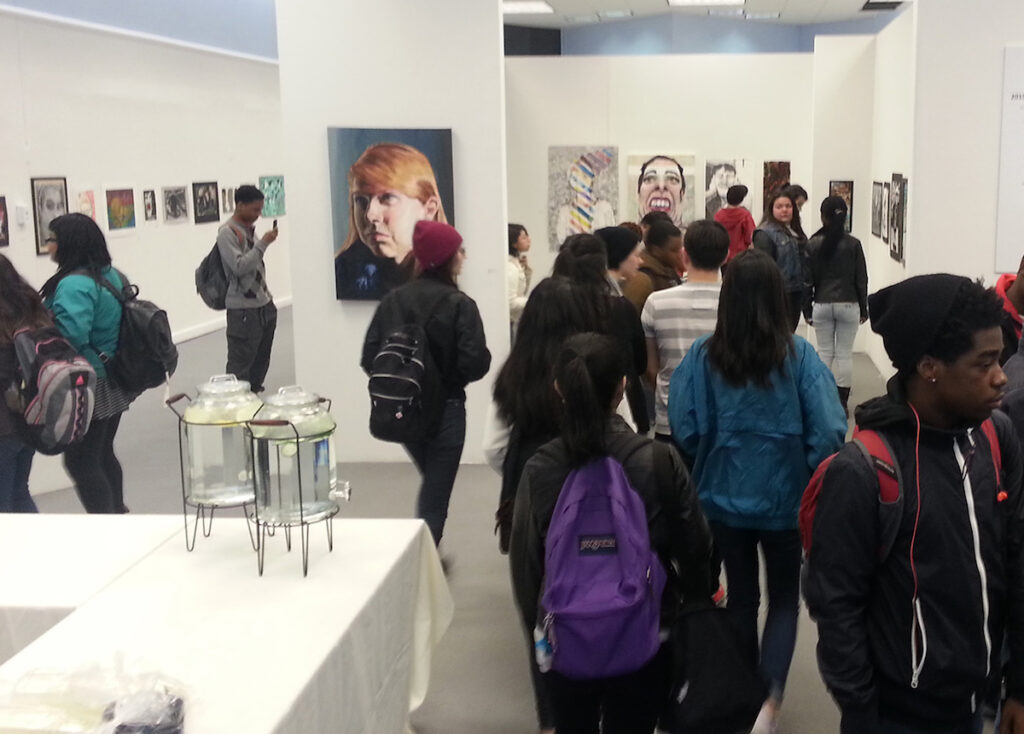
The Opening!
So the artwork is hung and ready for viewing. It’s time to celebrate! Put the students in charge of promoting and planning a reception. Provide them with a few parameters in which to work.
You will want to have them think about the following questions as they plan:
- Is there a budget for food? Could the administration chip in to cover the costs?
- Is there anyone with some design skills? A poster or flyer promoting the event would be great (activate Marketing and Promotional Lead!).
- Is a performing group in the music department interested in playing during the opening?
Congratulations! Your students have curated and planned an exhibition of student work! Handing over control can be stressful, but it gives students a chance to walk through the entire process of being an artist and highlights the steps they don’t normally consider after the work has been made.
What other tips do you have for student exhibitions?
Do you have stories to share about students creating their own exhibitions?
Magazine articles and podcasts are opinions of professional education contributors and do not necessarily represent the position of the Art of Education University (AOEU) or its academic offerings. Contributors use terms in the way they are most often talked about in the scope of their educational experiences.
