I love to teach my students the magic of watercolor painting! As a watercolor artist, it’s one of my favorite lessons. I believe the success of mastering this media lies in the art of learning to trust watercolor because it’s ultimately going to do what it wants to do. This is why I often call this lesson, “embracing happy accidents!”
This lesson can become as complicated or as simple as you’d like. For secondary or more advanced students, you can follow the process as it’s written here. For younger students, you may want to limit the information, techniques, and artists you present.
Here’s how to get started.
Step 1: Get to Know the Medium
I begin the lesson by introducing my students to watercolor terms, supplies, techniques, and artists. We learn vocabulary, discuss the different types of brushes, papers, and paints, and look at master artists. We discuss why certain paintings are so enjoyable and I demonstrate ways in which artists can creatively manipulate watercolor to play with value and color mixing.
Did you know that AOEU has a Studio: Painting – Watercolor course? It’s true! Learn more about this exciting medium while creating your own art and finding new ideas for your classroom. See more, including a sample assignment, right here.
Let’s take a look at each of these parts in more detail.
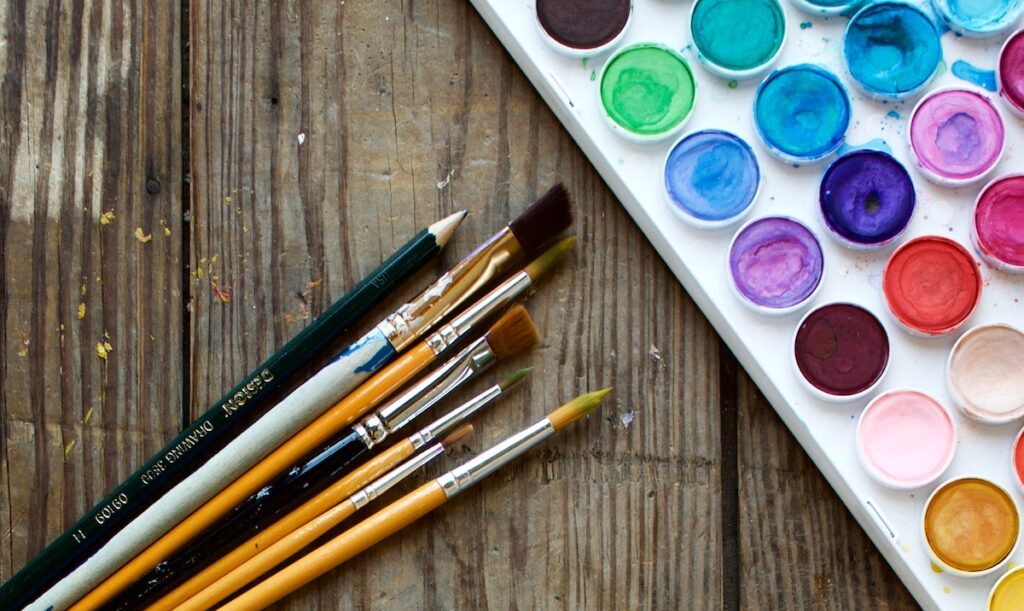
Brushes
Watercolor brushes come in many shapes, sizes, and price points, and the choices can quickly become overwhelming. I recommend starting your students out with synthetic brushes. The quality is good, and they’re much less expensive than natural brushes. A small round brush, an angled brush, and a big flat brush for washes are all your beginner students will need.
When students progress to Art II or other more advanced classes, you can begin to invest in natural bristle brushes in more shapes and sizes.
Here are 8 different brushes you might consider providing.
- Round
Round brushes are the most popular for watercolor artists because they are versatile. They have a rounded ferrule (the metal part that holds the bristles) and rounded tip which allows them to create fine or thick lines. I recommend every student start out with a round brush. - Flat
Flat brushes have a flat ferrule and a straight edge. This brush can create beautiful lines and shapes. - Bright
Bright brushes are a type of flat brush. They often have shorter hairs and are good for controlled strokes. - Filbert
Filbert brushes are also a type of flat brush. Filbert brushes are oval shaped and are wonderful for painting foliage and landscape scenes. - Mop
Mop brushes have a lot of soft hair and can hold a lot of water. They are great for painting large wash areas. - Hake
Hake brushes are hand-made in Japan. They are made of goat hair and are extremely soft. These are specifically used for laying down large washes. - Spotter
Spotter brushes are good for painting details due to their short hair length. The bristles don’t bend, so these are great for dots and tiny details. - Rigger
Rigger brushes were originally designed for calligraphy and lettering. I love them because they make great grass or foliage lines.
Paper
I recommend using a watercolor paper that is at least 90lb. Best practice states that if the paper is lighter than 300lb, it should be stretched. However, I’ve found it is just as easy to mount or mat the final piece, which saves time and stress. I also recommend purchasing the highest-quality student grade watercolor paper your budget will allow because that will ensure the most successful final pieces.
When choosing paper, consider the following 3 factors.
- Quality
As with many art supplies, there are two main categories of watercolor paper: artist quality and student grade. While sometimes it pays to spring for artist quality materials, I’ve found student grade watercolor paper often works great. - Weight
Watercolor paper comes in both heavy and light varieties. Heavy paper can absorb more water and is often more expensive. I buy paper in the 90-140lb range for my students and have them tape it to their drawing boards. - Texture
Watercolor paper also comes in a variety of textures. Hot press paper has a smooth, hard surface while cold press paper has semi-bumpy or rough texture. The majority of watercolor artists prefer cold press. There is also a rough paper I seldom use but is wonderful for pure washes.
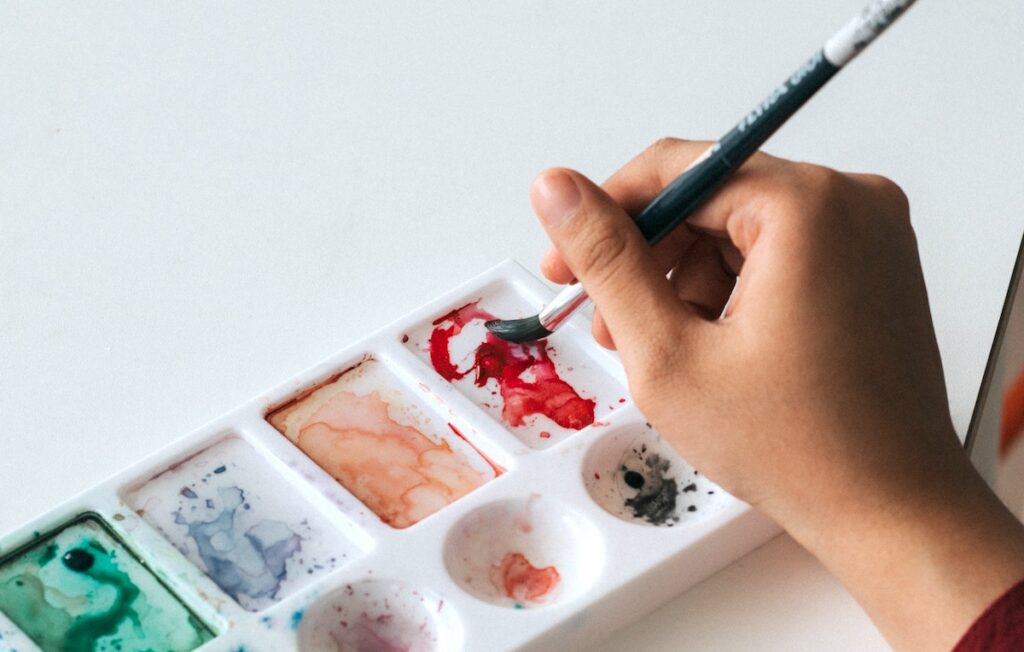
Paint
Watercolor paint is made with a pigment that is then mixed with a binder. Binders are what hold the pigment together. Different types of paint use different types of binders. Watercolor paints are more vibrant and transparent because watercolor has fewer fillers and the binder, which is usually gum Arabic, is absorbed by the paper. Therefore more color can show on the surface of the paper or board.
Watercolors contain both pigment and a binder. Pigment provides the color while binders hold the pigment together. Watercolors are more vibrant and transparent because the binder in them is weaker compared to other types of paint.
3 Types of Watercolor Paint to Explore
- Pan or Cake
These types tend to be the choice for most art educators. They are affordable and easy-to-use. Simply add more or less water to vary the intensity. These paints are portable and come in a variety of qualities. They are great for beginners as well as seasoned watercolor artists. - Tube
Tube watercolors are a great choice as well, although they tend to be a bit more expensive than the pan paints. I have found when using them with students; if the lids don’t get back on, they can dry out pretty quickly. Therefore, if my students choose to use tubes versus pans, I have them purchase their own set and bring them to and from class. - Liquid
Liquid watercolors are becoming more and more popular in art rooms across the nation for several reasons. First of all, they are beautiful and vibrant and make for a quick painting lesson. They can be diluted to create lovely washes, and they are easy to clean up. Plus, they have a relatively inexpensive price tag.
For even more information about watercolor paints and how to use them in the classroom, be sure to check out the following PRO Packs! Look for these Packs in PRO Learning. Connect today to learn more about how to get PRO Learning in your school or district.
- Getting Started with Watercolor Painting
- Exploring Color Theory through Watercolor
Master Artists
Watercolors have been around for ages. However, the Golden Age of Watercolor ran from the mid-1700s to the mid-1800s.
Here is a list of 20 watercolor masters through time you may want to share with your students for inspiration.
- Albrecht Durer
- William Blake
- J.M.W. Turner
- James McNeill Whistler
- Winslow Homer
- Thomas Moran
- John Singer Sargent
- Paul Klee
- Arthur Dove
- Edward Hopper
- Charles Demuth
- Georgia O’Keeffe
- Loïs Mailou Jones
- Morris Graves
- Andrew Wyeth
- Nell Blaine
- Janet Fish
- Eric Fischl
- Cecily Brown
- Eric Christensen
Step 2: Experiment
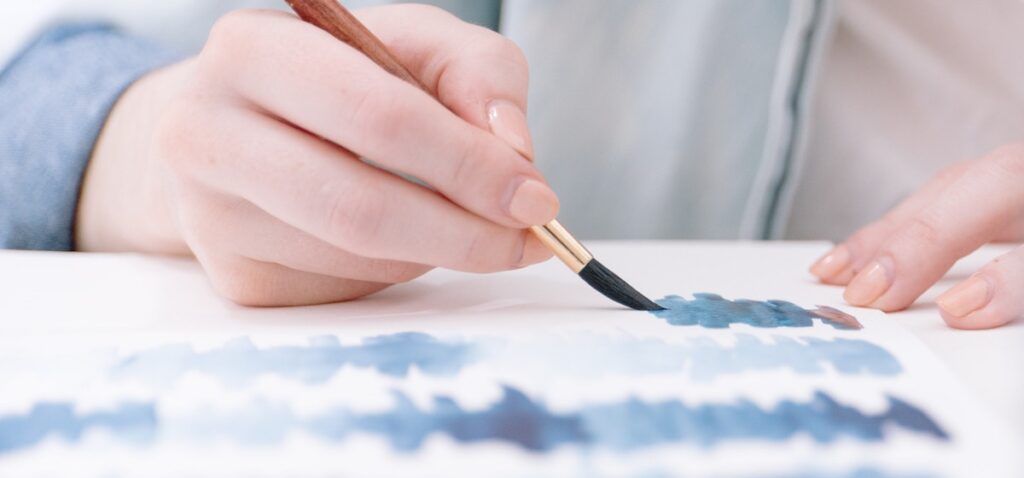
Next, I like to have students experiment with the watercolor paint to see what effects they can create. (You can find fourteen different techniques to try with your students in this article from our archives.)
Have your students fold their paper horizontally four times and vertically four times, so they have sixteen spaces to experiment and play. (Limit this number for younger students.) I give students a handout laying out several techniques, such as wet-on-dry, wet-on-wet, resist, drip, gradated values, salt, alcohol, white ink pen, saran wrap pull, paper towel prints, etc.
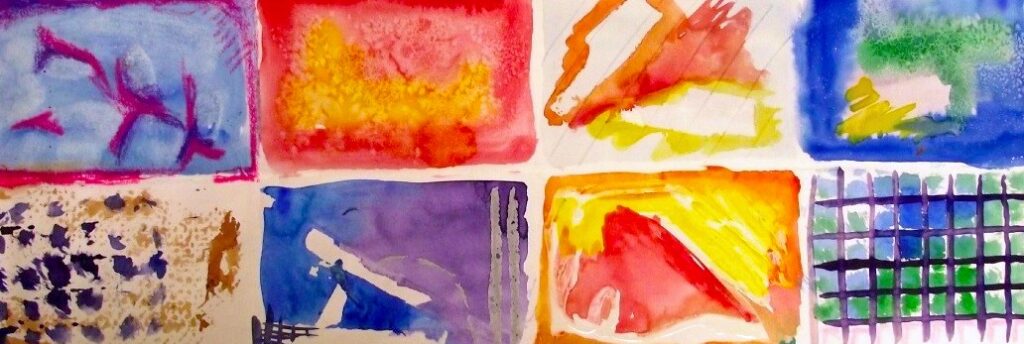
I have students select sixteen and practice each one in a specific rectangle on their paper. By giving students this time to experiment and play with watercolor, it frees them up for the actual art lesson. It also teaches them that watercolor “bleeds” can be very interesting and that, often, the looser they are with the paint and water the more successful and creative their final pieces will be.
Step 3: Create Final Piece
Once we complete our experimentation days, we move into the actual lesson.
Here are the 3 simple steps I use to help them complete this lesson successfully!
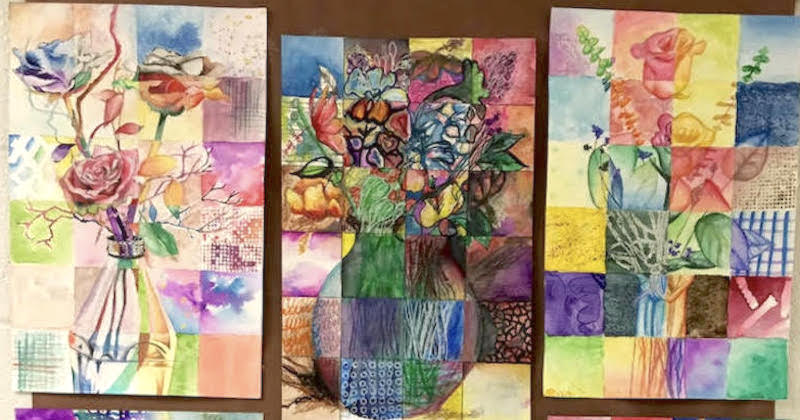
- Set up still-life and sketch.
In my room, I set up plastic flower arrangements at each table and have students lightly sketch out a contour of what they see using a 2b graphite pencil on a 12” x 18” piece of white watercolor paper. While students work, I reiterate the importance of direct observational drawing. If you are doing this lesson with young students, you can have them draw a simple arrangement or single flower. You may also want to work on a smaller scale. - Add grid.
Once the still-life has been drawn, students add a grid on top. If using 12″ x 18″ paper, 3″ x 4″ rectangles work well. Some students like to use graphite for their grid, while others prefer thin black marker lines. I leave that choice up to them. Once again, limit the number of rectangles for young students. You may consider folding the paper in half once each way, creating four different boxes. Whatever you choose, it’s time for the real fun to begin! - Add watercolor.
Students go back and look at their experimental papers and find the techniques they enjoyed the most. Then, they use one technique per box to add color to their drawing. Students experiment with the colors they see in their still-life flower arrangements and end up with fantastic paintings combining the art of seeing with the art of watercolor!

This lesson teaches students about the power of experimenting and playing with materials as they create unique paintings. When they are all hung in a hallway exhibit, they are simply breathtaking!
How do you teach watercolor techniques in your classroom?
Do you think adding in time for experimentation with media is an important element to a successful lesson?
Magazine articles and podcasts are opinions of professional education contributors and do not necessarily represent the position of the Art of Education University (AOEU) or its academic offerings. Contributors use terms in the way they are most often talked about in the scope of their educational experiences.