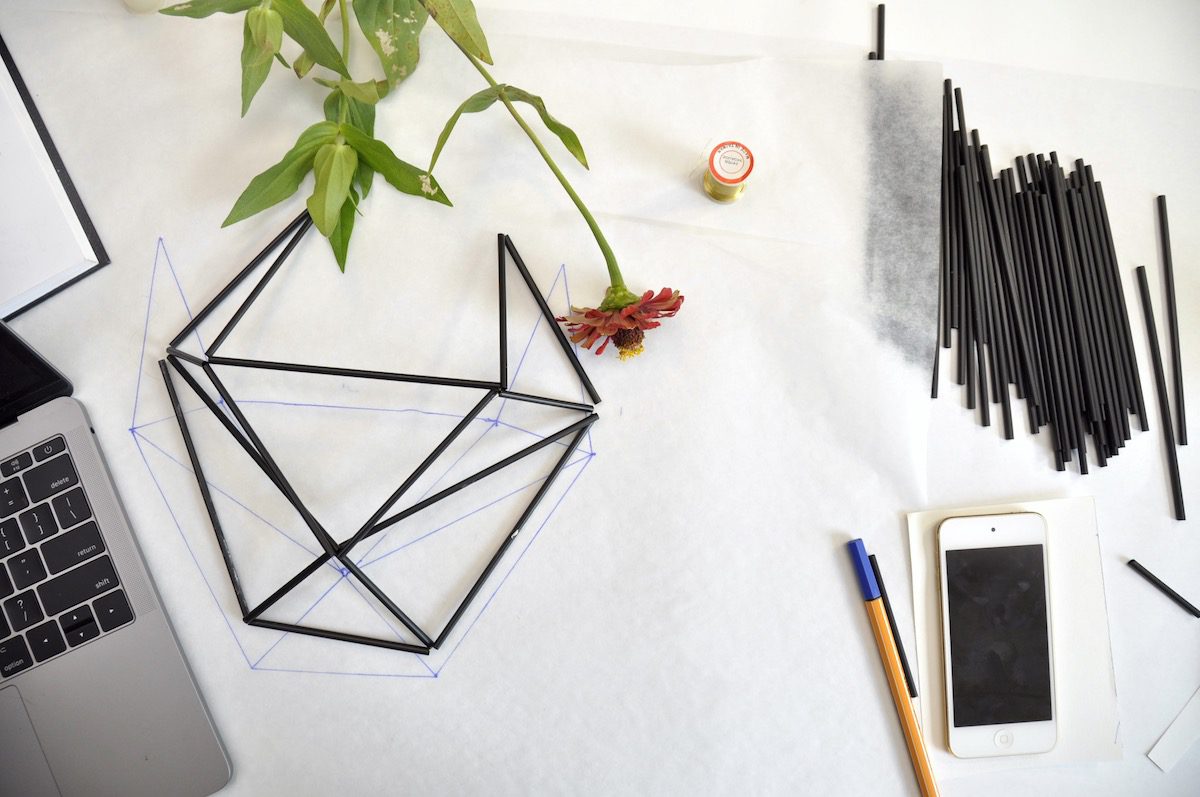
While my abilities in the kitchen are limited to making coffee or eggs, I’ve always had a love for the restaurant supply store. I tend to leave with arms full of random items. My most recent purchase was a box of black straw coffee stirrers.
I bought the straws with the idea of making mobiles but quickly realized they could be used for that and so much more.
Here are 3 ideas you can try in your classroom.
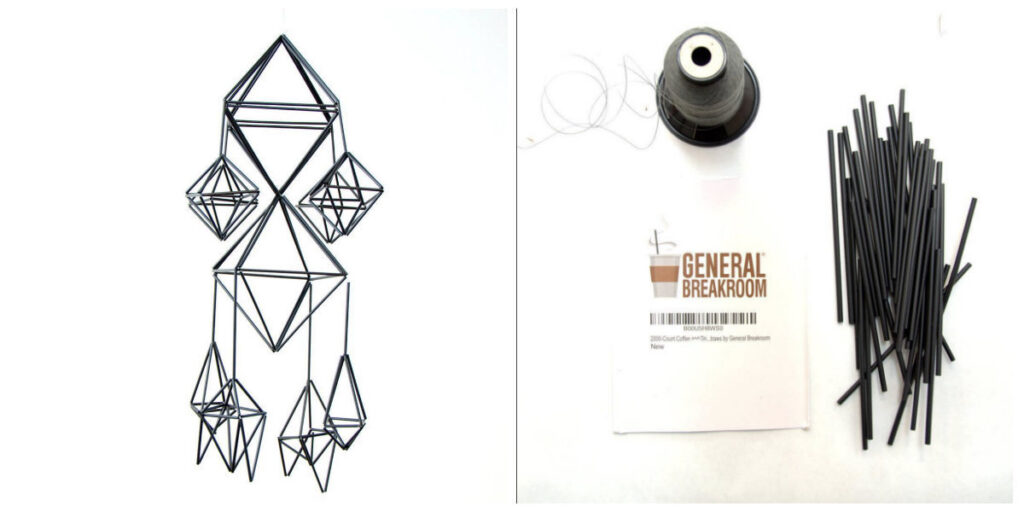
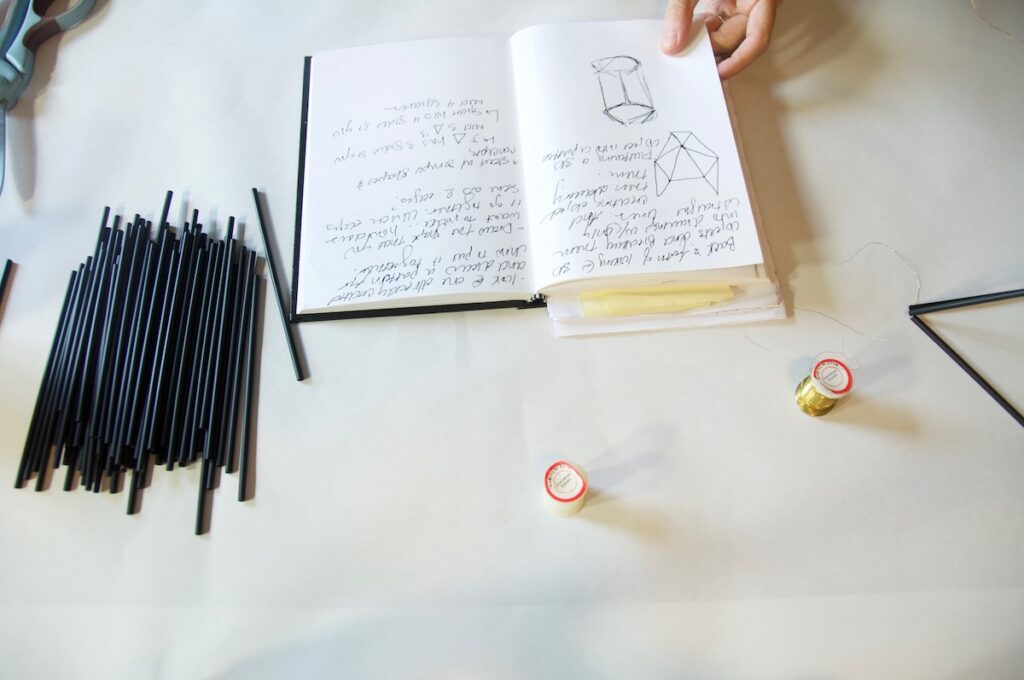
To get started, collect the following supplies.
- Straws (coffee stir size or other)
- Thread or wire
- Needle (if you’re using thread)
- Paint (if you want to change the color of your straws)
- Sketchbook
Before diving into any of the following projects, walk your students through a warm-up activity.
All of the following ideas require students to have a basic understanding of linking straws together to create a 3-D form. Begin by having all students create a few basic shapes to help them understand the concept. I recommend starting with a pyramid. Have students draw a pyramid in their sketchbook, then work through building one with their straws.
Remind students in order to make connections; they’re going to have to go through some of the straws more than once. While there is no one right way to thread the straws together, challenge your students to search for the path that requires the least amount of thread or wire.
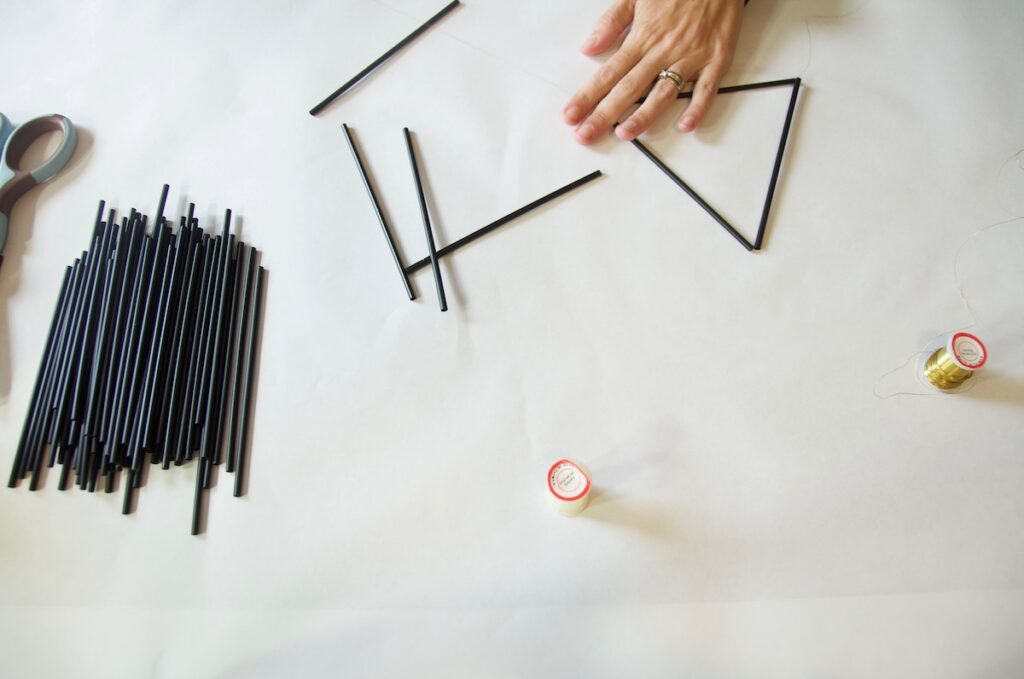
Students often find it challenging to think about how to build 3-D shapes. Encourage them to keep holding their pieces together to help understand where additional stirrers are needed to create a 3-D form.
For younger students, you might have them work to create a 2-D triangle.
After students successfully create a triangle, have them think about what other shapes they can use to build off of their form. For example, students may realize they can put two triangles together, creating a diamond. Have them make at least one complex shape.
As students go through the process, they’ll have to problem solve, determining the best order for linking their straws together.
Project 1: Collaborative Mobile
You can have students create individual mobiles, but I’ve found this is a fun group project.
Start by showing students examples of mobiles, talking about balance, shape, form, and movement. Depending on the age of your students, you can vary the size and complexity of the mobiles they’re creating.
Next have students begin to plan their mobile. It’s easiest if students select one shape or form and use varying sizes of that shape or form to create variety. To challenge students, push them to create more complex forms. Remind students they can cut the straws.
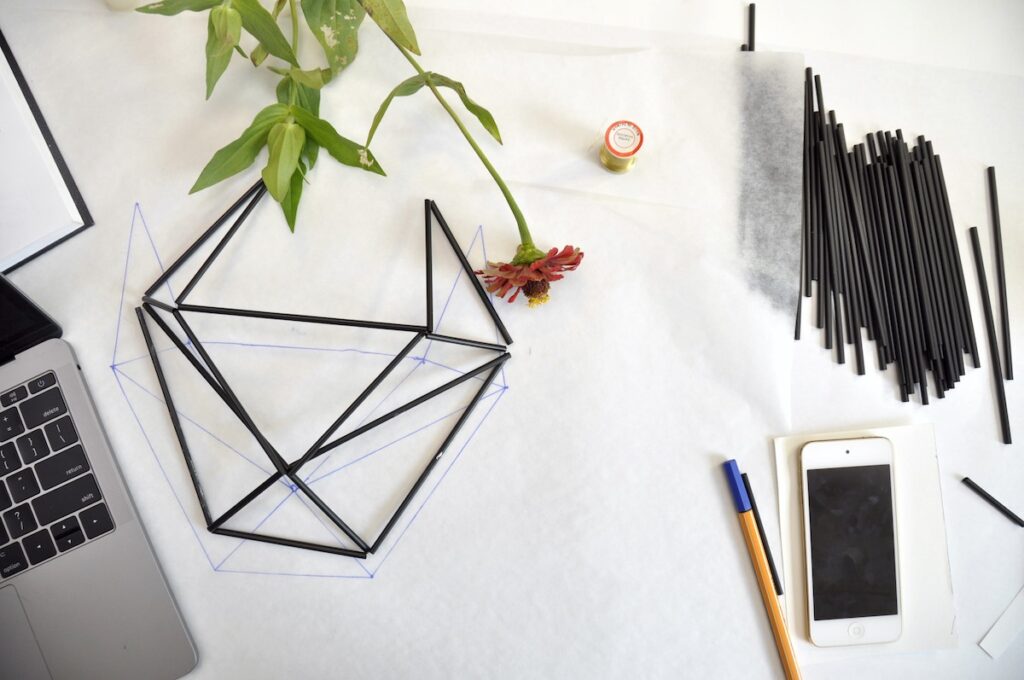
Have students create drawings of their mobiles. This is good practice for students to think about how to draw 3-D forms. If they’re having trouble, have them create one of their forms, then practice drawing it.
Once students have a plan, it’s time to put it into action and begin creating.
Take it a step farther by adding in mixed media items like beads, tassels, or pom-poms.
Project 2: Ornaments or Garland
As it gets closer to the holidays, you’re likely getting requests to create decorations.
Have students create ornaments by making individual forms. This is the perfect time to challenge students to make complex forms since they’re only making one or two. You might also choose to have each student make several ornaments, each being a different form. Scaffold this lesson by exploring size and complexity. For example, you might challenge students to use exactly twenty-seven straws in their design.
Turn it into a collaborative project and have students connect their forms on a string, making a decorative garland.
Project 3: Animal Busts
Start by having students select an animal they wish to create. Once they’ve selected their animal, have them use reference images and work to draw the animal using only straight lines. Provide struggling students with a printout, and have them start by drawing directly on top of the image.
Once students have their drawing complete, have them create a pattern to scale, allowing them to lay the straws out and cut to scale. After they’ve determined how many straws they need and have cut them to length, they’re ready to create.
Students can either leave their finished pieces as is and mount them directly to a wall, or use a piece of cardboard to create a mount for their high-relief sculpture.
As you begin exploring the straws, you’ll quickly find there are endless options. They’re forgiving, inexpensive, and easy to take apart if something isn’t working as planned.
What’s your favorite non-art material to use in your classroom?
What works best for you when teaching students how to build 3-D forms?
Magazine articles and podcasts are opinions of professional education contributors and do not necessarily represent the position of the Art of Education University (AOEU) or its academic offerings. Contributors use terms in the way they are most often talked about in the scope of their educational experiences.
