Today, I’m reaching out to all the art educators and creators out there who don’t have clay or kiln access.
You’re not alone.
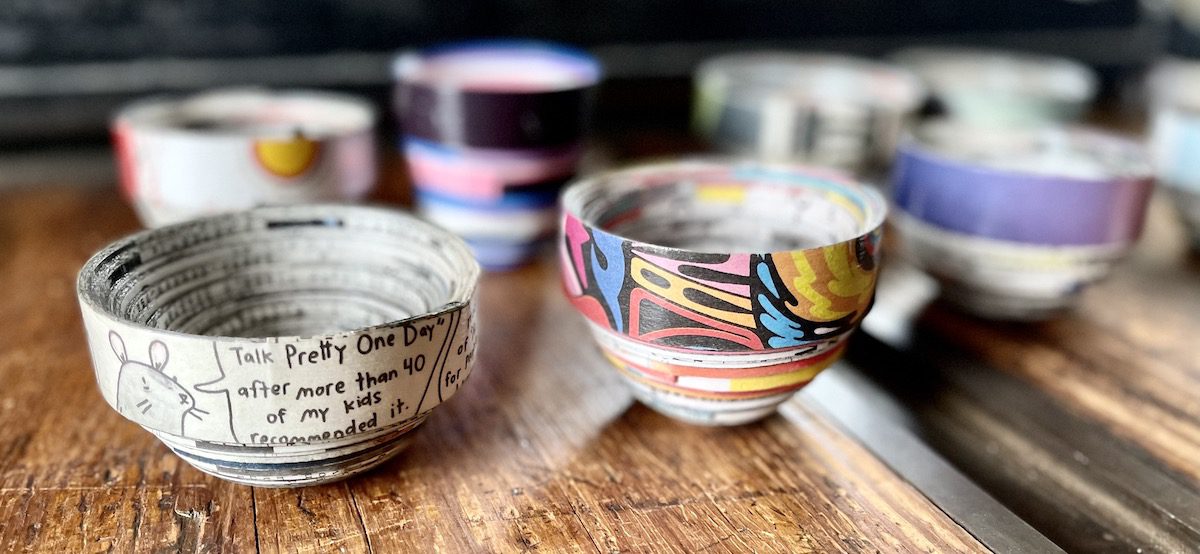
But, there is an awesome alternative for you: paper pottery! Paper pottery is super fun to make, requires minimal materials, and features many opportunities for differentiation, making every piece of pottery unique to each student.
A Step-by-Step Guide to Paper Pottery
Step 1: Preparing Materials
For this project, you will need:
- One-inch paper strips (newspaper, magazines, construction paper, paper bags, old artwork, old messy mats, etc.)
- Tape (transparent or masking)
- Mod Podge® (or a mixture of glue and water)
- Soft bristle brush
- Black permanent markers (for labeling)
Your first task is to cut strips for your students. Cutting a lot of strips is important for the sake of time and width consistency, especially when working at the elementary level.

Paper strips can be any width you like, but one inch is a great place to start. Recycled newspaper has an excellent thickness and looks really cool when wound together. If everyone you know reads their news online, try reaching out to families in your school for donations. Magazines are an alternative to newspapers, especially for middle or high school students.
The strips can be cut, folded, and customized entirely by your students. This makes each cup or bowl a particularly unique, one-of-a-kind piece, not to mention it saves you lots of prep time!
Another option is to use construction paper, old project exemplars, or tired messy mats. So, start saving scraps and enjoy the various color combinations your students come up with.
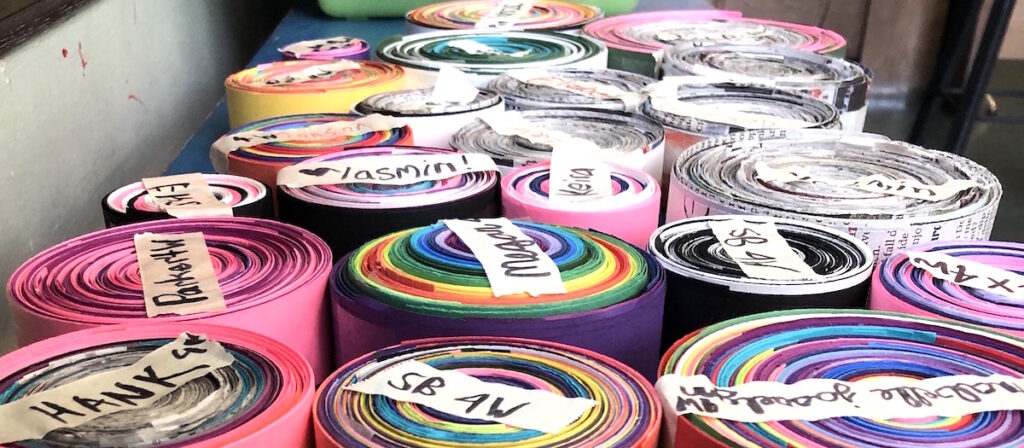
Step 2: Building the Puck
Paper pottery begins with a core that grows into a “puck.”
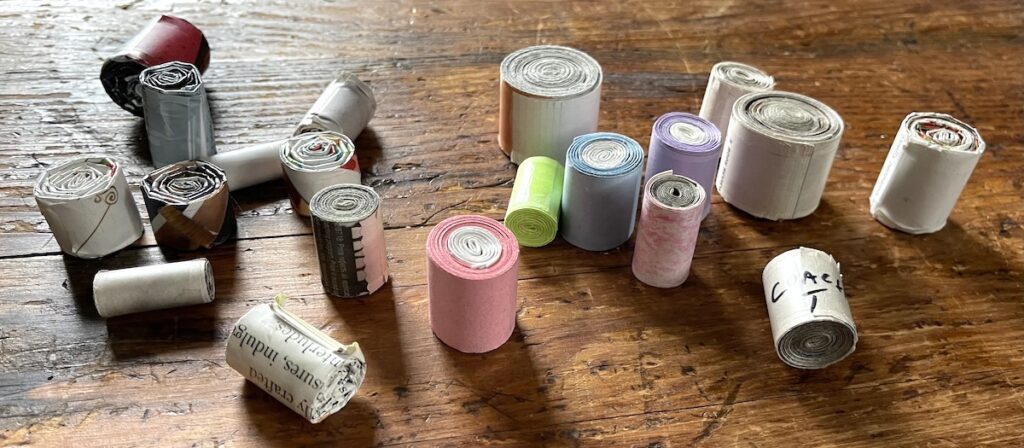
Make the core by taking a strip (if using newspaper, you will start at the folded edge), making the tiniest fold imaginable, and continuing to fold the strip over itself until it is a solid cylinder. Use a piece of tape to secure the end.
Pro tip: Proactively prevent “the pop.”
- Start every class with a group reminder, “I will not fidget with my puck! Stop the pop!”
- If the core pops out of the puck, the entire process needs to be restarted.
I always get a few chuckles from students by saying, “Imagine a tiny roll of toilet paper has come unraveled. It’s your mission to wind it back up tighter than a fresh roll from the package!” This will give elementary friends a silly visual and help them relax during this challenging step.
Once you’ve got your core, put a piece of tape on the edge of another strip like a tag, adhere it to the core, wrap the strip around as tightly as possible, and secure the end with more tape.
Pro tip: The core/puck is the only thing that moves.
- Use your dominant hand to rotate the core and your non-dominant hand to pull the strip tightly from beneath or above, depending on what’s comfortable for you.
- Rotate the core/puck, tighten the strip, adjust your grip. Repeat.
Tightness is key for a successful project. Each strip should be attached where the previous one ended.
For younger friends who are nervous about the newspaper strips, which can be a bit tricky to hold from the folded edge, there is always the option to add one strip of construction paper at a time. As they get more comfortable with the process, have them stack and stagger three or four construction paper strips, add the tape to one end, so they all stick together, attach the stack to the growing puck, then wrap and tape at the other end as usual. Both ways work, but adding one strip at a time does take longer.
Here is a good time to remind your students, “It’s never a race; artists work at their own pace.”
Pro tip: Be prepared for various finishing times.
- This project takes 4–6, 40-minute classes.
- Label work with a black permanent marker on masking tape spread across the top of each puck.
- Early finisher options include: Make more pottery, or become an assistant and help classmates cut tape, get more strips, and boost confidence with encouraging feedback.
If you’re a more visual learner, check out the Newspaper Pottery presentation from the 2019 Art Ed NOW Conference: https://youtu.be/fUWLv4uFlHg
Step 3: Molding the Puck
Students should build their pucks to be a minimum of four to five inches wide.
Having a definitive metric helps students who enjoy setting small incremental goals, for example, “By the end of class two, try to get your puck two inches wide.” Reaching small goals can be useful for morale and confidence, especially with younger learners. Some students do love the look of minis, though, which can be a fabulous early finisher activity. Once pucks measure four to five inches or larger, they are ready to be molded into a cup or bowl.
To mold the puck:
- Hold the puck as though you are about to take a bite of a large sandwich: thumbs on the bottom, fingers supporting the top.
- In slow motion, apply pressure with your thumbs and push the bottom of your cup toward the supporting fingers.
- Keep pushing and adjusting your puck until you are satisfied with the shape.
- You have about half to three-quarters of an inch to work with between each layer of strips.
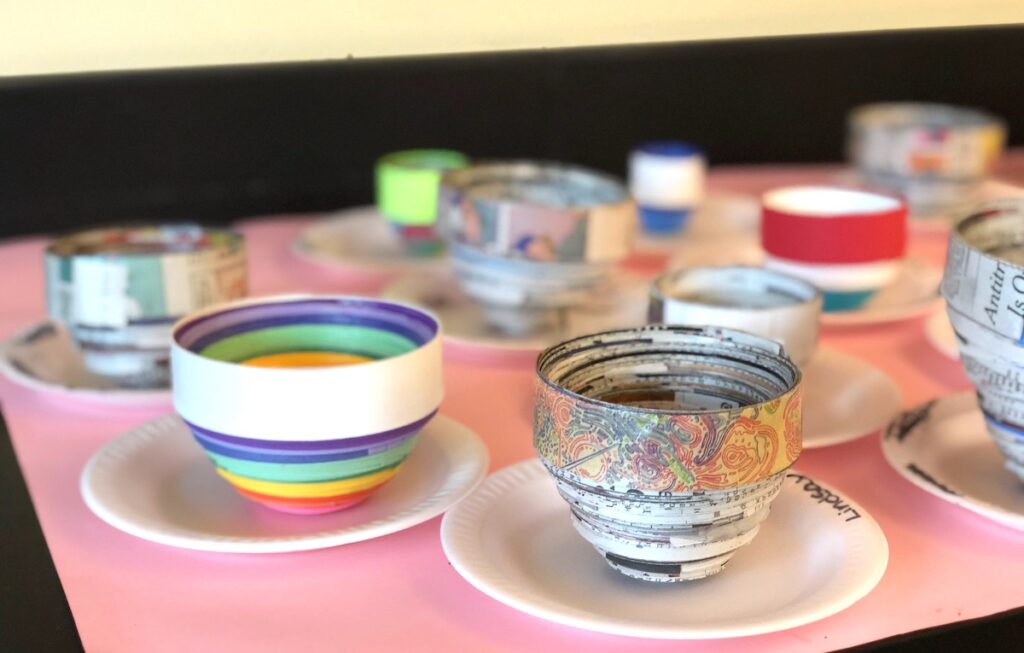
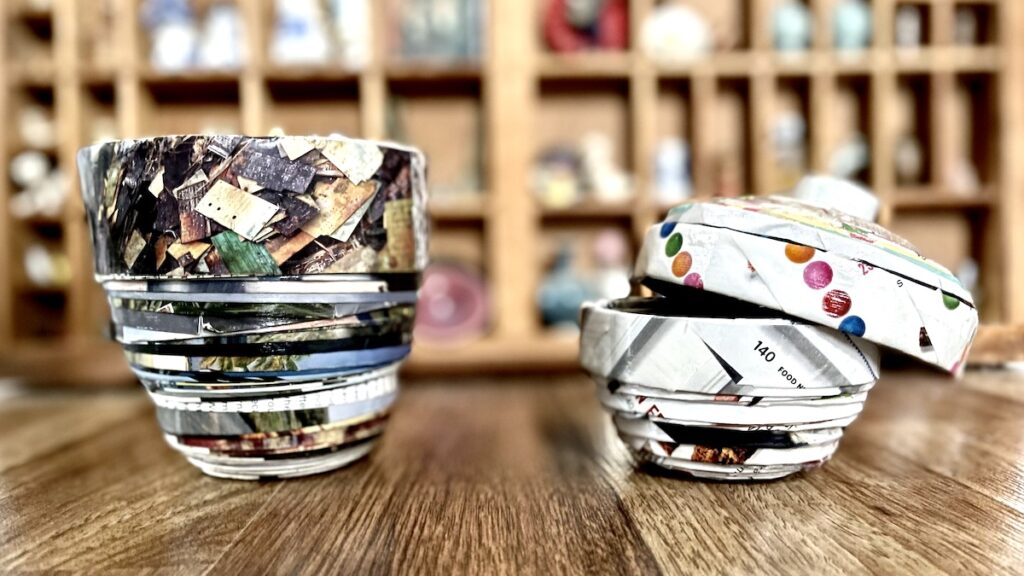
This means, if you don’t push very far, you will get a shallow bowl, or if you push each section a bit further, revealing more space between each strip, you will get a taller cup or goblet.
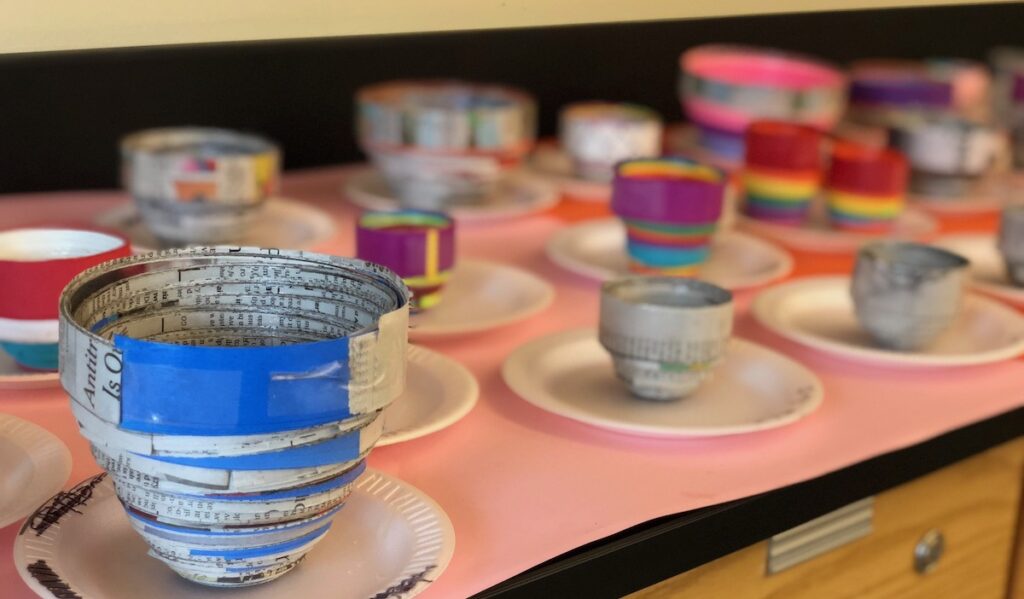
The center of the cup or bowl (which I refer to as the “bowl bum”) should be at least one inch wide (I reference the size of Oreo cookies with my littles). Any smaller than that, and the pottery will tip over. The “bum” needs to be substantial for the pottery to maintain its structural integrity.
Check out this article for more art activities and lessons to try at home!
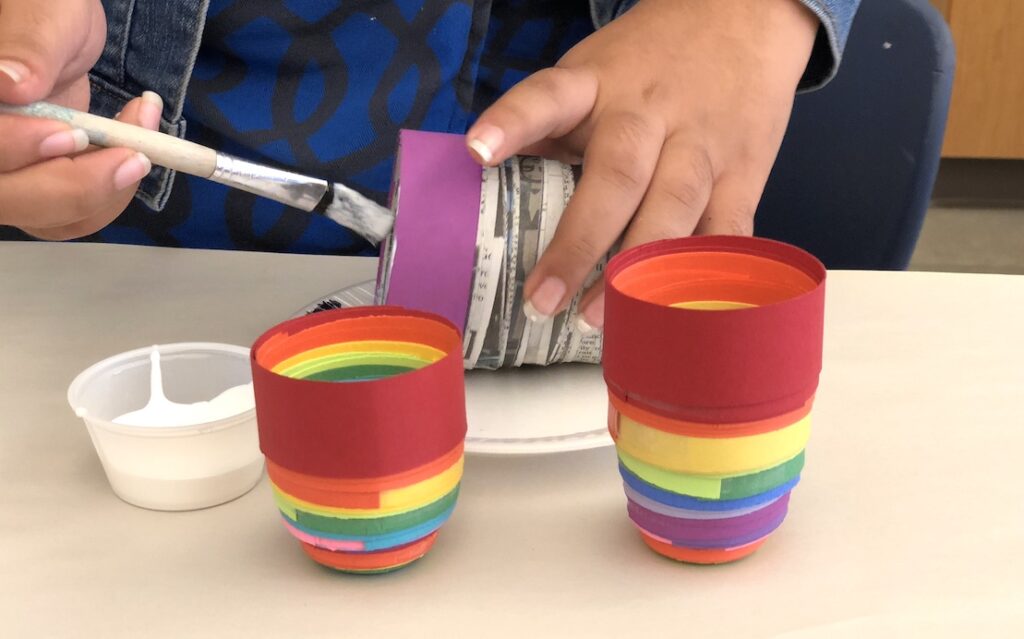
Step 4: Adding Mod Podge
Once your pottery has been molded, it’s time to add Mod Podge or overall finish. The classic gloss finish gives it a polished look; however, matte or glitter may be more your style. If you don’t have Mod Podge, try mixing liquid glue with a little bit of water. You will have a more matte finish rather than a glossy one, but adding glitter will give a cool sparkly texture.
Using a soft bristle brush is important as the pieces can be fragile, and a hard brush might alter the shape of the cup or bowl. Start by adding an even layer of Mod Podge to the inside of the pottery and let it dry overnight.
The cup will be sturdy at this point, and all you need to do is flip the pottery over and add one additional layer of Mod Podge to the outside and bottom.
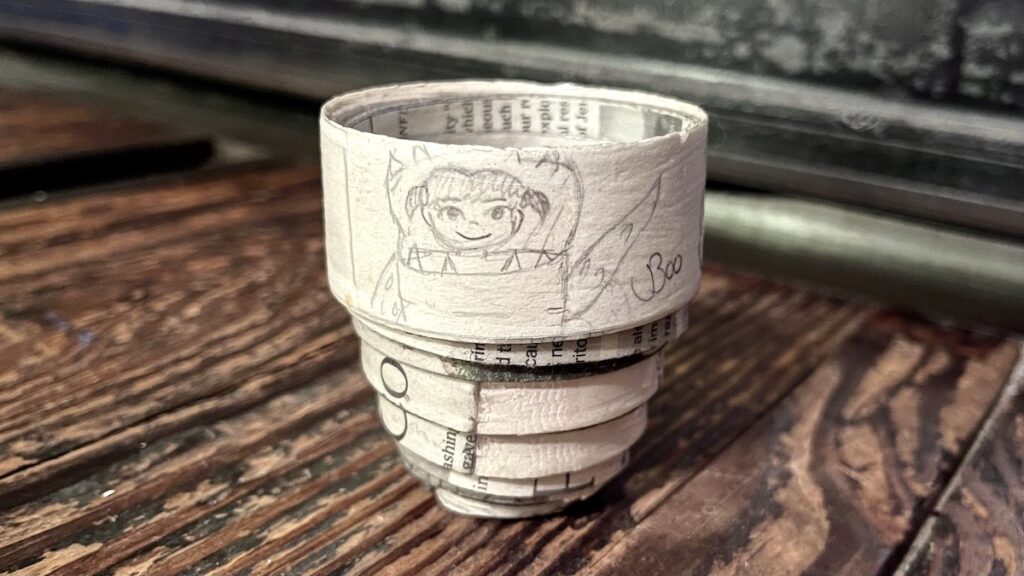
Pro tip: Personalize it.
- Before adding Mod Podge to the outside layer, invite your students to design their own final strip.
- Glue this designer strip around the rim of their piece.
Watch the full tutorial.
Including sculpture in your curriculum is important on many levels. Different processes expose your students to the wonder of three-dimensional and functional art, build hand strength, enhance dexterity, and refine motor skills. Kiln-less art teachers and creators are denied the glory of real clay, fire, and glaze, and often the alternatives can be rather underwhelming. Air-dry clay and Model Magic® have their merits, but why replace the irreplaceable? The versatility of paper can be just as majestic as clay, so try out some paper pottery. Your students will never expect that tiny strips can look so cool as giant bowls or mini-goblets.
Have you tried paper manipulation as a sculpture unit?
What do you use as a clay alternative in your classroom?
Magazine articles and podcasts are opinions of professional education contributors and do not necessarily represent the position of the Art of Education University (AOEU) or its academic offerings. Contributors use terms in the way they are most often talked about in the scope of their educational experiences.