Lights, camera, creativity! Video is a powerful tool for art educators to engage and inspire students. The best part is ANYONE can do it with what they have. You possess the skills of innovation and storytelling and have an aesthetic eye, making you a natural videographer. As online learning and technology are more accessible than ever, more educators are embracing video creation to bring lessons to life. Whether you’re a seasoned pro or just getting started, this article has easy, practical, and affordable ways to elevate your video presence. Unleash your inner director and captivate your audience with engaging content. Grab your camera, find your best angle, and let’s go!
Unleash the Video Revolution: Captivating Stats for Art Teachers
Video content is not just a passing trend—it’s a powerhouse in the world of art education! Nearly 60% of people ages 14 to 23 prefer YouTube as a learning tool. That, paired with videography’s visual nature, it’s no wonder why more and more art teachers are jumping on the video bandwagon. When students watch instructional videos, there is an increase in engagement and understanding.
Not only that, but art teachers who create captivating video content also reap the benefits. With a strong online presence, you open the door to unique professional growth opportunities, broadening your audience and circles of influence as an art teacher leader. If you enjoy making videos and sharing your experience and expertise with others, present at the next NOW Conference, the largest online conference for K-12 art teachers.
Keep reading for eight simple tips to elevate your video content today!
1. Make setup easy.
Getting started with video creation doesn’t have to be complicated or require fancy equipment. With simple tools, you can make videos that stand out. Let’s look at three easy setup tips to get you rolling.
1. Utilize a document camera.
A document camera is your mini-movie studio and something you may already have in your classroom. You can show real-time art demonstrations and tutorials for students to follow. Check if your document camera can record and save to your computer. Alternatively, you can share it on your computer screen and do a screen recording.
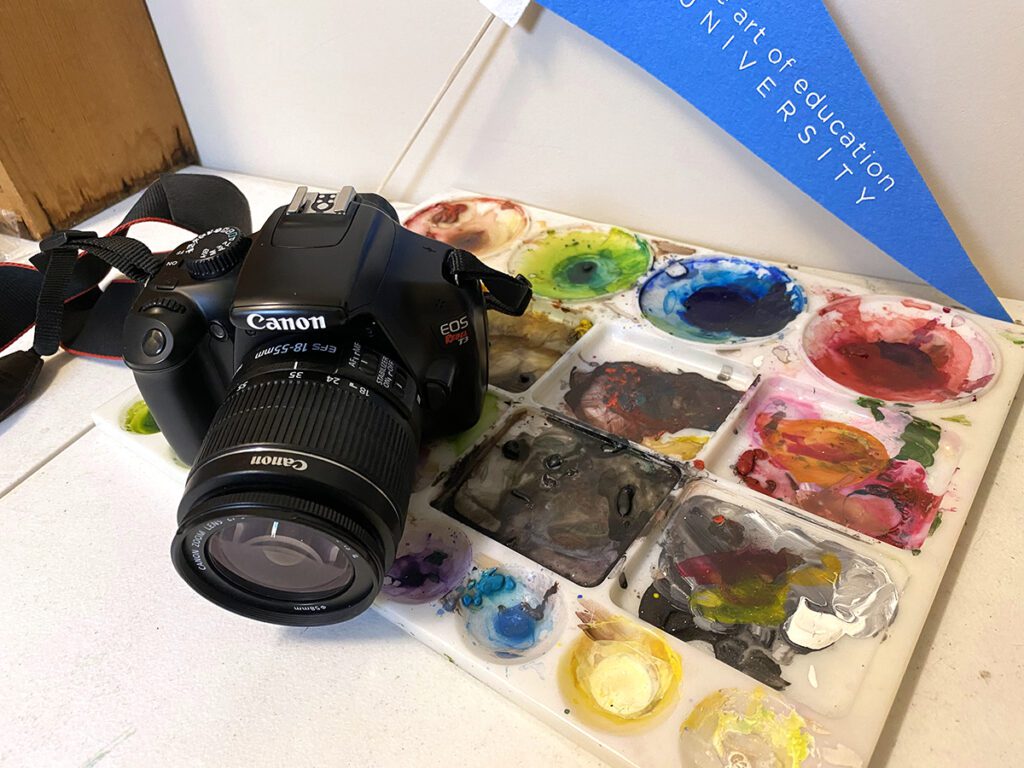
2. Optimize your smartphone for high-quality recordings.
Your smartphone is your trusty sidekick in video creation. Most smartphones today come equipped with high-quality cameras that are more than capable of capturing content in stunning detail. To get the best results, optimize your smartphone’s camera settings.
Here are some settings to adjust:
- Select the 4K option to capture ultra-clear visuals.
- Choose a higher frame per second (fps) for smoother clips.
- Ensure you have enough storage; clips with a higher frame rate in 4K tend to be large files.
3. Borrow tech from the IT Department.
If you don’t have access to a document camera or a high-quality smartphone, don’t fret! Many schools have IT Departments or Media Centers that lend out cameras and equipment to teachers. Reach out to the appropriate person in your school and borrow the equipment you need.
2. Determine the purpose.
Before hitting the record button, clarify your video’s purpose. Will your videos be teacher-facing, parent-facing, community-facing, and/or student-facing? Will they show a tutorial, highlight art teacher humor, provide instruction, or advocate for your program? Also, consider what platform you will be using. This will determine the orientation (horizontal or vertical) and duration (some platforms have time limitations.)
Generally speaking, snappy and shorter videos (between 3-10 minutes) work best to hold students’ attention. Videos around 3-5 minutes work best for elementary students and slightly longer videos for secondary students. Incorporate breaks to allow students time and space to process and practice the content consumed.
3. Film steady footage.
To make your videos professional, it’s essential to keep your footage steady. Steady footage ensures your students can focus on the instruction without the distractions of shaky hands, a bobbing camera, odd movements, and strange angles. This is especially true when filming art technique tutorials. If you are demonstrating how to shade with charcoal, slip and score clay, or hold a paintbrush, you will need to have the camera steady in order to see the proper angle and positioning of the tool.
Here are three easy tips to achieve steady footage:
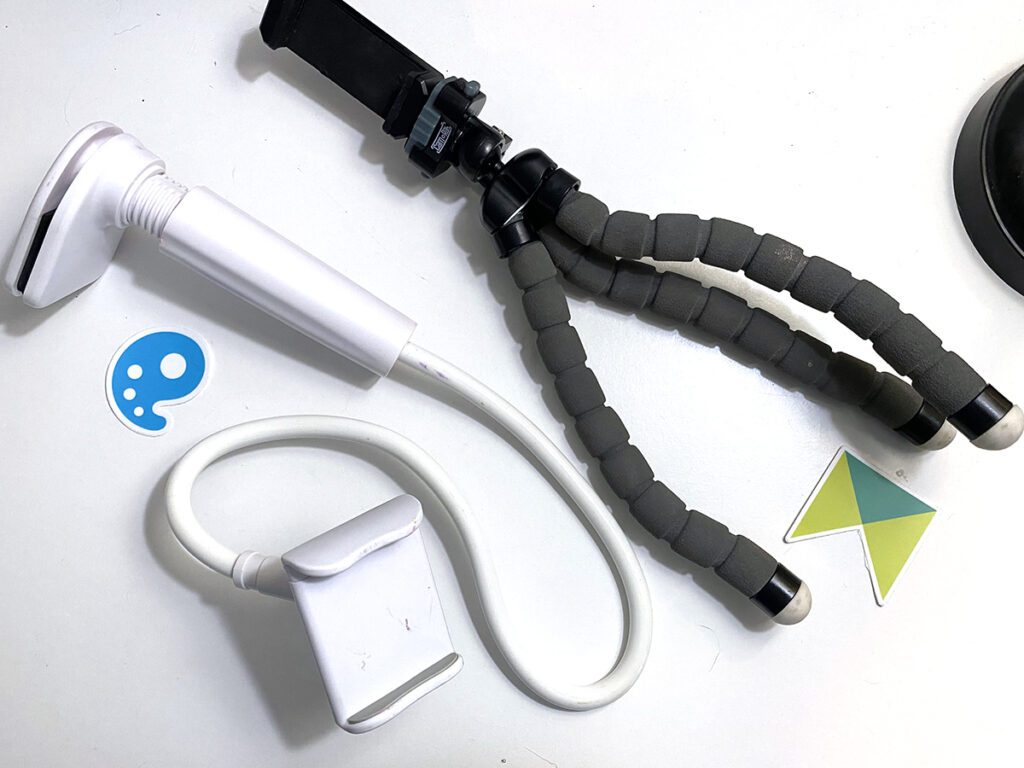
- Invest in a tripod or a smartphone holder.
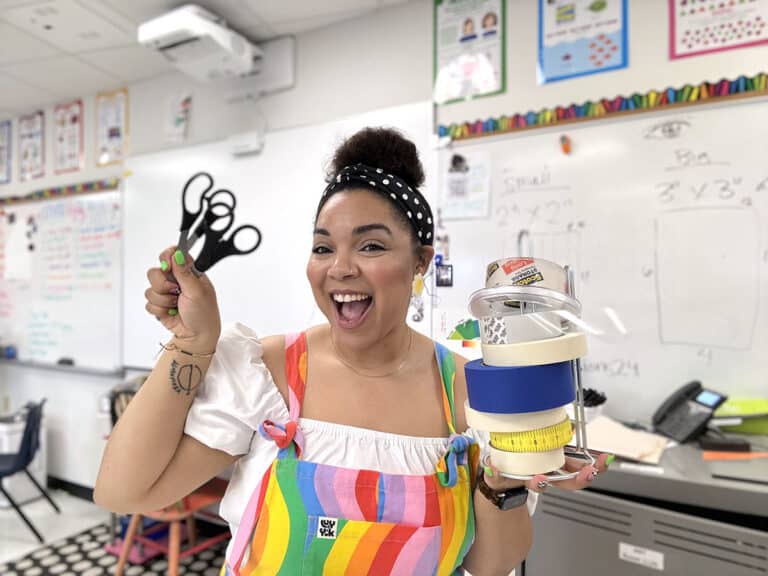
A tripod is like having an extra set of hands! It keeps your camera steady and allows you to focus on delivering art content. If you’re using a smartphone, get a holder that attaches to a tripod. - Create DIY stands for alternative filming setups.
Get creative and make your own filming stands. Use household items like books, boxes, or even a stack of building blocks to craft a simple DIY stand to keep your camera steady. Don’t be afraid to get inventive! See how Matt Young, a high school art teacher, transforms a milk crate and a ring light into a custom lightbox in the video below. - Ensure steady hand movements.
You don’t need to be a Hollywood filmmaker, but a steady hand makes a big difference. Use both hands to stabilize the shot. Avoid sudden movements and remember to breathe naturally while recording. This will result in smooth, professional-looking footage.
4. Enhance lighting.
Just like photographing artwork, the right lighting will transform your videos from ordinary to extraordinary. Good lighting highlights the details and colors of the content and elevates its presentation.
Here are two simple tips to enhance your video lighting setup:
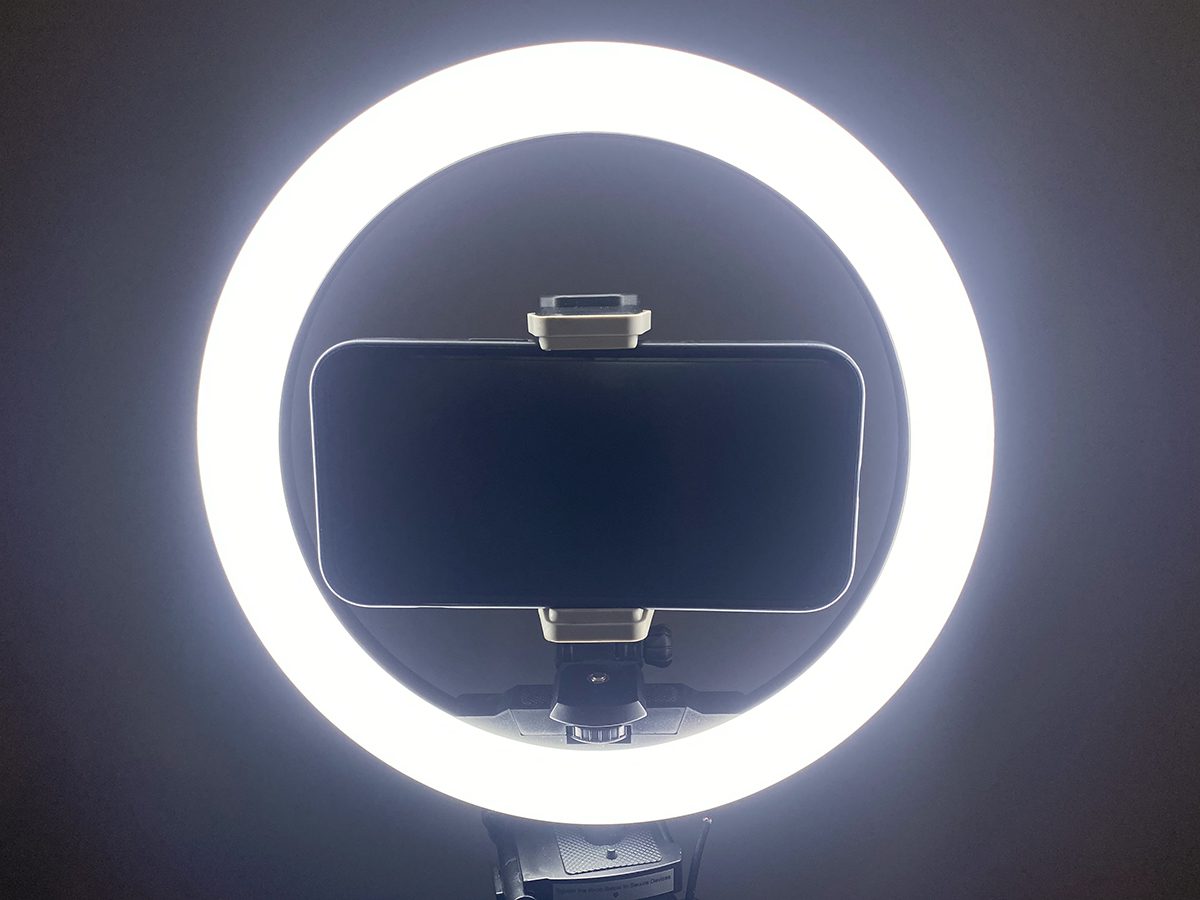
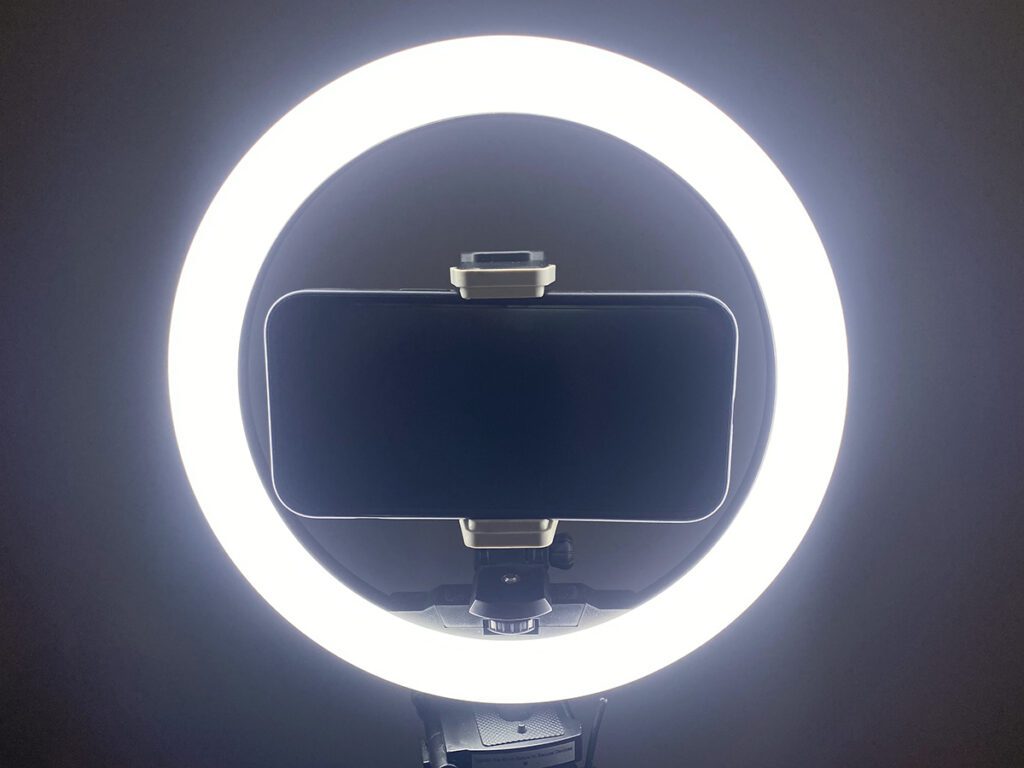
- Optimize natural lighting or use affordable LED bulbs.
Nature’s spotlight is the best secret for stunning visuals. Position yourself near a window with plenty of natural light—just be mindful of shifting light and shadows. If you’re filming in a darker space or at night, purchase LED lights in Daylight to mimic natural sunlight or hang up soft twinkle lights for a warm and cozy ambiance. - Adjust lighting angles for effective highlights.
Play around with the lighting angle by moving the light source to the side, front, above, or behind the figure or subject matter to see what looks best.
5. Keep it short.
Make your videos bite-sized bursts of creativity. Keep it snappy by editing out unnecessary pauses and repetitive points. Add transitions such as fades or wipes for variety, however, limit them to a couple of styles so they don’t become distracting.
To maximize student attention, aim for videos that are generally less than 10 minutes long. Concise videos are easier for students to follow and absorb and will increase retention. To keep it short, incorporate time-lapses and timestamps, or break a tutorial down into a playlist with several micro videos, one per tutorial step.
6. Embrace mistakes!
Embrace mistakes and bloopers because they add genuine charm to your videos! This authenticity makes you relatable and encouraging. When facing a challenge, showcase your problem-solving skills. If you prefer not to show a mistake, that’s okay too. Pause and redo the step and edit that portion out of your final video.
7. Utilize scripts for clarity.
Use a script or outline to paint a clear path for your audience. This will also reduce your recording and editing time as you will come to these steps organized and on track! Emphasize clear and concise explanations in your narration and keep the language simple.
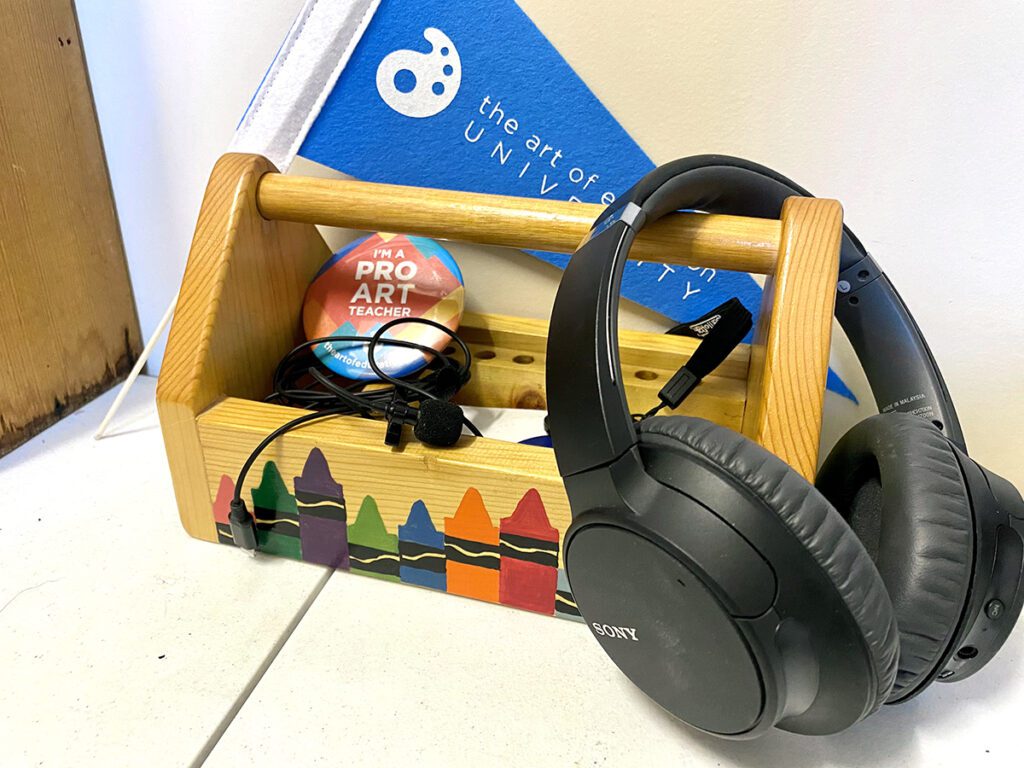
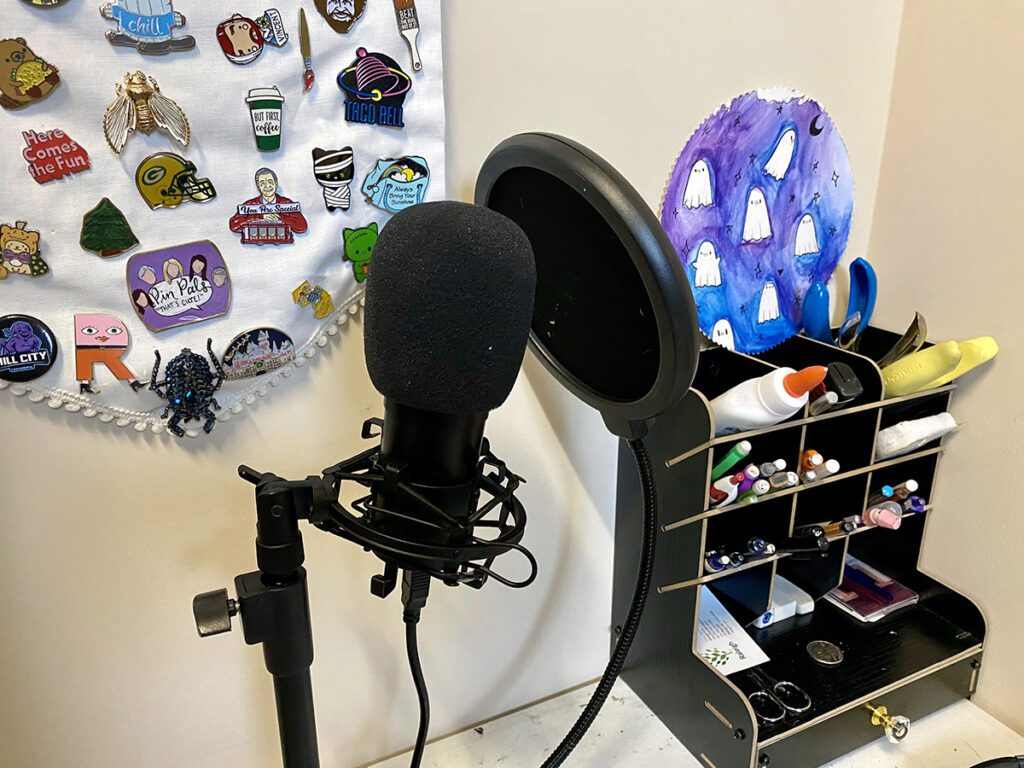
8. Record quality audio.
With crystal-clear audio, your art instruction will resonate with your students like a beautiful symphony. Use a microphone to eliminate background noise like HVAC units and save your teaching voice. You can get a large mic or a small mic that plugs right into your smartphone.
Add background music, sound effects, or a voiceover to enhance the video. When choosing music, use royalty-free tracks to avoid copyright issues, especially if these will go online. For shorter social videos, incorporate trending tracks to boost views and engagement. Fine-tune your audio to ensure it’s at a reasonable and consistent volume and filter out any unwanted background noise. Add a voiceover to clarify points or narrate hands-on portions of your video.
Lights on, cameras rolling, and action! With your new video creation skills, you’re set to captivate and inspire students with engaging content to enhance learning and boost retention. Videos also allow for easy reference to certain archived content for students who need extra review or are absent. No matter where you are on the proficiency meter of technology, with a clear purpose and easy setup, it’s simple for anyone to create content. Film steady footage and use bright, natural light and crisp audio to be well on your way. Reference a script, keep your video short and snappy, and embrace mistakes to have a confident and authentic camera presence. Now you’re ready, so press record and go!
What types of videos have you created in the past or what would you like to make moving forward?
Share a filming tip or question below!
Magazine articles and podcasts are opinions of professional education contributors and do not necessarily represent the position of the Art of Education University (AOEU) or its academic offerings. Contributors use terms in the way they are most often talked about in the scope of their educational experiences.