Once upon a time, long, long ago, there was a little art room quite unlike anything you’d ever seen before. With gadgets, gizmos, and paper strewn about, only the wise and experienced art teachers would dare set foot in this room.
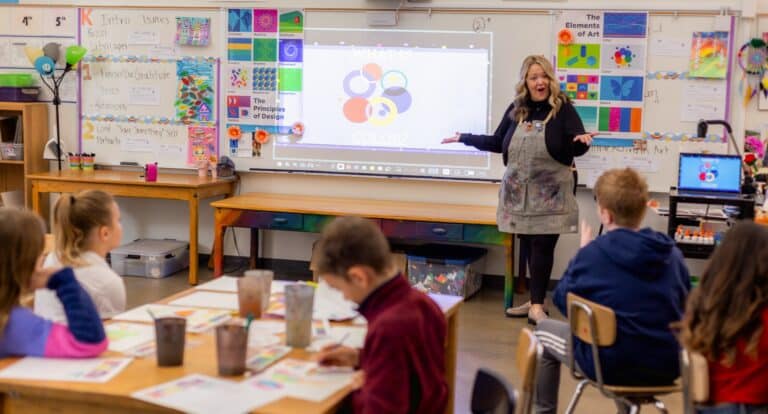
Both the fairytale art room of the past and yours today have the same timeless goal of bringing visual arts to as many students as possible. Still, art education used to look very different 30 to 50 years ago. There are art teachers in classrooms now who remember a time before computers, phones, and the internet. Advanced technology is the biggest difference these teachers describe between modern classrooms and those of the past. Watch the videos below to see some of the fascinating finds the AOEU team uncovered while cleaning out an old art room!
Seasoned art teachers once navigated a very different world in their classrooms. Keep reading to remember art rooms past and foster a deeper appreciation for the innovations that make our jobs easier today!
Prepare for Instruction
1. Sharpen pencils on a crank sharpener.
In theory, sharpening pencils is a great early finisher job for your art room—except when you have to pause every two minutes to help your students unjam your state-of-the-art electric pencil sharpener! Terri J. Smeltzer laments how she “didn’t have to teach students how to use ‘an old fashioned’ crank sharpener.” Sure, the new ones are efficient and convenient, but those metal wall pencil sharpeners are durable and easy to repair.
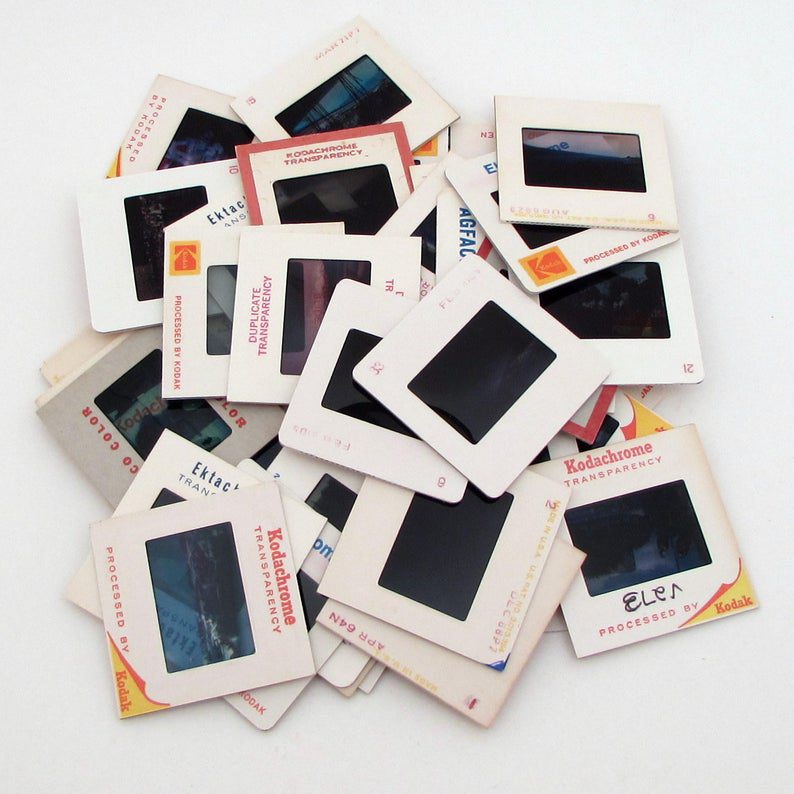
2. Search through slides or transparencies for artwork reproductions.
Do you need to show a student Rachel Whiteread’s negative space houses and rooms? No worries—just pull it up on your laptop or phone with a quick internet search. But thirty years ago, things weren’t so simple. To reference artworks, Erin Eshelbrenner Green received a binder of transparencies to dig through along with her first set of new textbooks. You could only show students what you had in your stash of physical resources. Plus, many images were still in black and white! Printing transparencies in color was “the coolest thing ever” back then, according to Meaghan Kelly O’Reilly. In this “no doc cam, no projector” era, Kelly Carlisle Parsons used a slide carousel to share images, while other veteran teachers relied on overhead projectors.
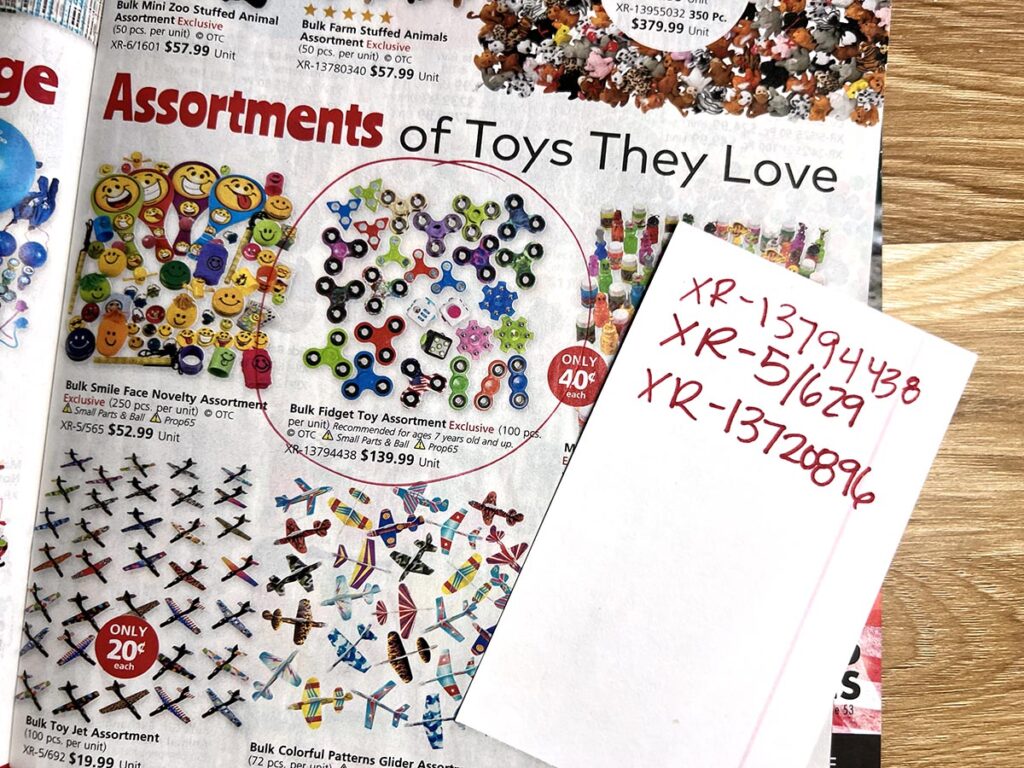
3. Review catalogs to order art supplies.
A world of convenience and choice is at your fingertips when it comes to replacing your dried-out markers, crusty oil pastels, and other basics for your art room. With just a few clicks or taps on a screen, you can peruse countless options, compare prices, and place orders within minutes. It’s nothing like the time-consuming process of flipping through catalogs, meticulously jotting item numbers down, and carefully dictating them on the phone or sending them in via snail mail and an order form.
4. Copy worksheets on a mimeograph or ditto machine.
You can print and copy Judith Scott’s artist bio from FLEX Curriculum for all your fiber-loving fourth graders without setting down your morning coffee. The copier spits out crisp, clean sheets and they are nothing like the “purple copies that were slightly damp and had a certain smell” that Annette Witte Eberhardt remembers from her days using a mimeograph machine. These duplicating machines forced ink through a stencil or transferred ink from a wax template to make copies.
Teach Engaging Lessons
1. Visit the computer lab or library for research.
Your students pull out their tablets or Chromebooks to research contemporary artists. Within minutes, they have a list of sources on their internet browsers. Heidi Scolari says, “When my students used to research an artist online, they couldn’t just search by asking a question on Google… They had to do the research themselves!” Teachers like Heidi used to plan visits to dedicated spaces to allow students access to shared computers or printed resources for research purposes.
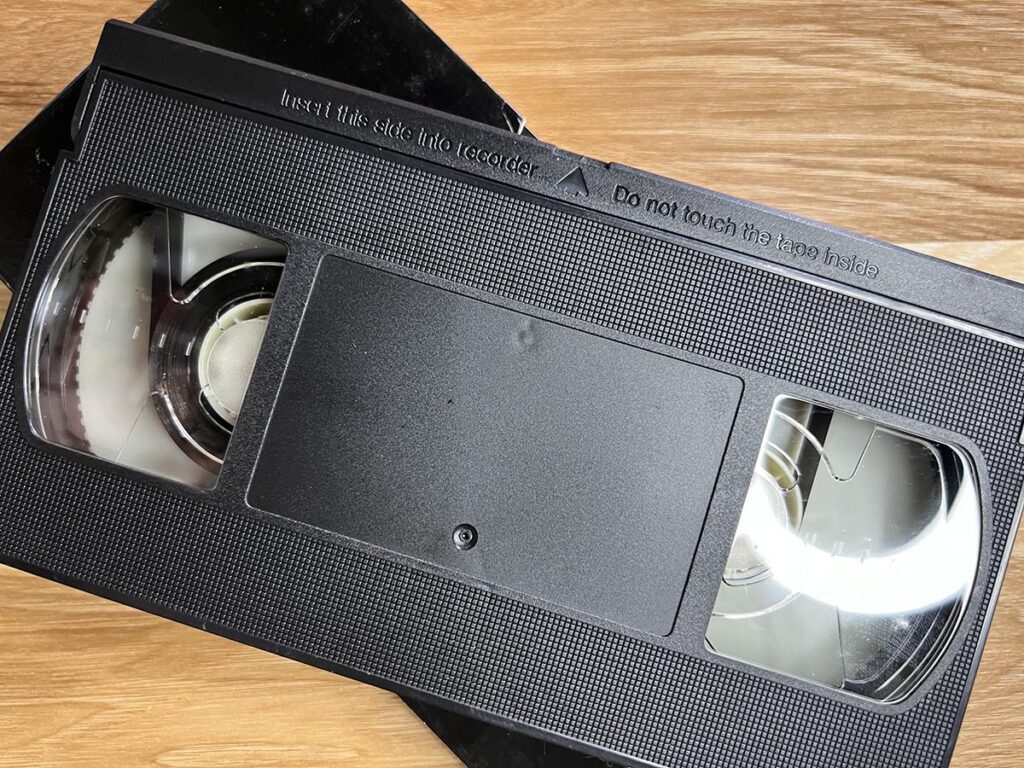
2. Watch instructional videos via VHS tapes played on a cart TV.
Do you need to play a video to introduce the element of Line for your first graders? Pull up the What is Line? video from FLEX Curriculum and cast it onto your smart board. Thirty years ago, a similar activity would take much more planning. You would procure a VHS tape from the store or library and reserve the cart TV. Duster Tucker remembers, “My first year, my whole team shared one VCR and tube TV on a cart.” Imagine rolling in a TV every time you want to play an art video!
3. Develop photos in a darkroom or at a local convenience store.
Tap. Snap. Repeat. The camera roll on your phone is full of hundreds of pictures and videos of your art room. You can edit and upload them to social media instantly with the press of a button. However, traditional photography requires an expensive camera, a precise chemical process, and patience to take and develop a single photo. Even with disposable cameras or later film cameras, you still had to drop your film off and wait for it to be ready! Amy Knepper Pflasterer emphasized, “The one guy in my college classes who took the time to really learn Photoshop was the weirdo.” To witness darkroom magic, watch the video below.
4. Make connections to the 90s and Y2K pop culture.
Your students come in chattering about the latest MrBeast challenge that dropped on YouTube. They communicate with memes, gifs, and TikToks. Referencing these pop culture phenomena makes you a definite G.O.A.T.! To be the real deal back in the day, Deb Mager Rickner says, “Teenage Mutant Ninja Turtles and Power Rangers were passengers in our Subway project.” Commercials, sitcoms, celebs, athletes, songs, and characters like these made the best fodder for references in the art rooms of the past. However, stay tuned because 90s and Y2K pop culture is making a comeback!
Run the Art Room
1. Record a mix tape to draw parallels between art and music.
Want to blast some music to help your students connect to a piece of art? Cue up the song to stream to your speakers over Bluetooth to give your students an immersive experience. Hooking students with music in the art room once involved a bit more forethought. Veteran teachers recorded music on cassette tapes to replay in class. Barb Barlow remembers, “I had to take an audiovisual class in college to teach me how to troubleshoot a cassette player, overhead projector, and slide carousels.” That’s how complex the process used to be!

2. Submit attendance on paper at the end of the day.
One of your students missed art again this week, but you know from checking your digital attendance system that they still have the flu. In an era before computerized systems, this information would not have been readily available. Deanne Conlon had “no computers, no internet, and no phones,” and she “kept a paper grade book and attendance.” Teachers like Deanne took manual records and submitted them to the office at the end of the day. No real-time updating and if you wanted a backup copy, you’d write it twice or use carbon paper!
3. Handwrite physical lesson plans and curriculum.
You pull up the next lesson in FLEX Curriculum and quickly review the supplies and resources you need to get ready during your prep period. Instead of using a computer to easily access digital done-for-you lesson materials, Billy Claire remembers, “I had to handwrite end-of-term comments and lesson plans.” Veteran teachers rifled through filing cabinets of handwritten stacks of paper and folders to get the information they needed.
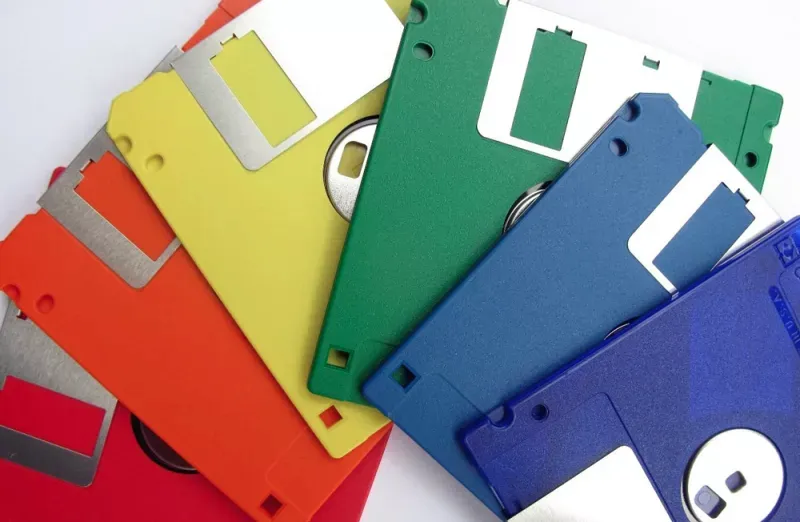
4. Turn in report cards on floppy disks at the end of the semester.
Writing individual feedback for hundreds of students will always be a daunting undertaking. However, most of us have digital gradebook systems that allow for easy access, efficient storage, and automated report card generation. Teachers like Misty Hartzog say, “My 1st year, we had to submit final grades on a 3.5″ disk at the end of the semester.” Imagine being the administrator dealing with compiling and sending those report cards home through snail mail!
Network and Communicate
1. Walk down to the main office to call home.
One of your more challenging students has really turned a corner in art class and you can’t wait to let his people at home know! How will you communicate this to them? You’ll most likely opt for an email or LMS app message. You have a plethora of choices that don’t require you to walk down to the main office, rifle through hundreds of family information cards, and then make the call for the entire office to hear. Phew!
2. Deliver professional communication by hand, snail mail, or fax.
After the latest NOW Conference, you decide to write the featured presenter an email to see if they will collaborate with your class on a mural project. Email is the reliable way professionals communicate these days, but it didn’t used to be. Bethany Lynn learned a lot from her supervising teacher, however, she had to teach him how to send an email! When Dena Mell-Dorchy first started teaching she says, “I wasn’t issued an email address.” Shocking!
3. Subscribe to art education magazines that come in the mail.
You get your creative art teacher fix through TikTok, Instagram, Twitter (now X), and AOEU Magazine & Media content for immediate access to the brightest ideas in art education. The only way art educators of the past could access these ideas was in physical magazines. These magazines came to your mailbox each month and it was such a treat! Some veteran art teachers likely still have stacks of them in their houses and classrooms.
4. Meet with art educators face-to-face to share stories and tips.
Are you planning to join the next online NOW Conference to engage with your AOEU community and gain inspiration, motivation, and classroom strategies? Well, 50 years ago, virtual conferences did not exist and networking required a lot of travel and planning. While face-to-face interactions remain invaluable, technological advancements have expanded opportunities for virtual collaboration and learning in the art education community. Our family is bigger than ever!
From using slides and VHS tapes to overhead projectors and physical art supplier catalogs, these practices played significant roles in shaping art pedagogy into what it is today. Embracing modern technologies, digital resources, and contemporary methodologies revolutionized how to teach and experience art in classrooms. We can expose students to more artists and processes with ease than ever before! With more efficient ways to do everyday tasks, we can dedicate our extra time and energy to crafting immersive and mesmerizing lessons for our students. Continue to bring the fairytale art room of the past’s mission of bringing the visual arts to as many students as possible into your art room of today. Let’s inspire our students to fall in love and appreciate art happily ever after.
Which art education practice of the past is most surprising?
What other blast from art rooms past would you add to this list?
Magazine articles and podcasts are opinions of professional education contributors and do not necessarily represent the position of the Art of Education University (AOEU) or its academic offerings. Contributors use terms in the way they are most often talked about in the scope of their educational experiences.