The beginning of a new school year begs for fresh, engaging art projects! If you’re looking for ways to get your students hands-on this year and excited to come to class, incorporate printmaking. This medium is flexible and fun for students of all ages. Whether you’re a newbie or a veteran printmaker, we’ll uncover four main processes: relief, planographic, intaglio, and stencil. These processes will give you a better understanding for your own knowledge base and help you break down this medium for your students.
Break printmaking down into four simple processes to get your students itching for more!
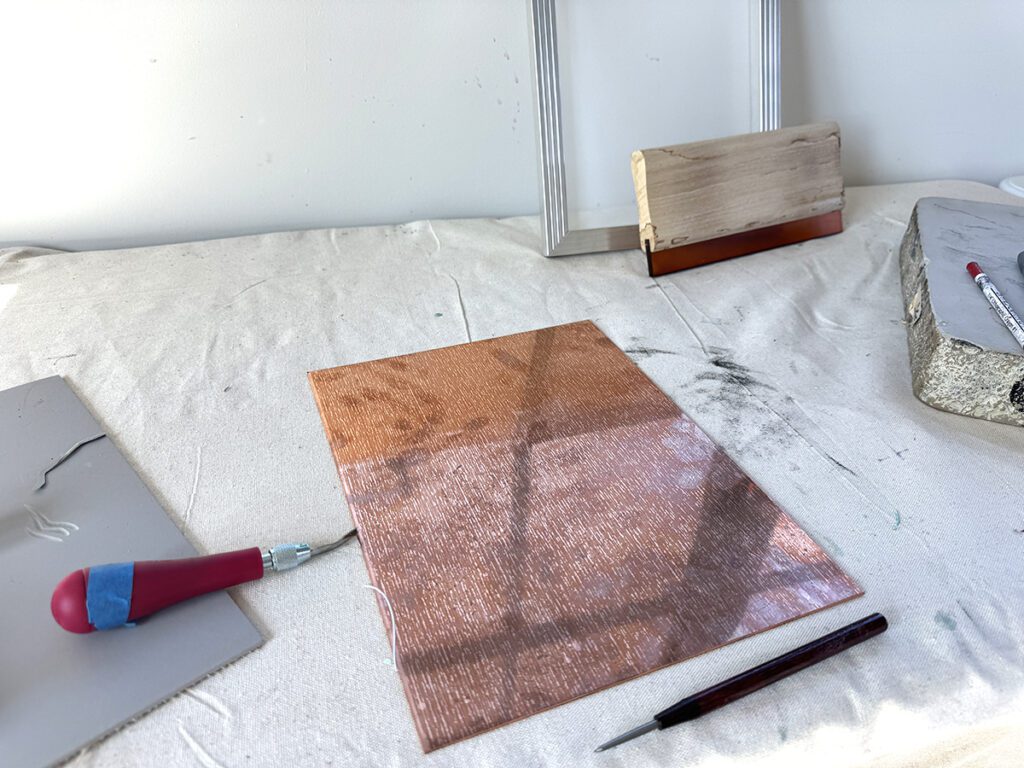
What is printmaking?
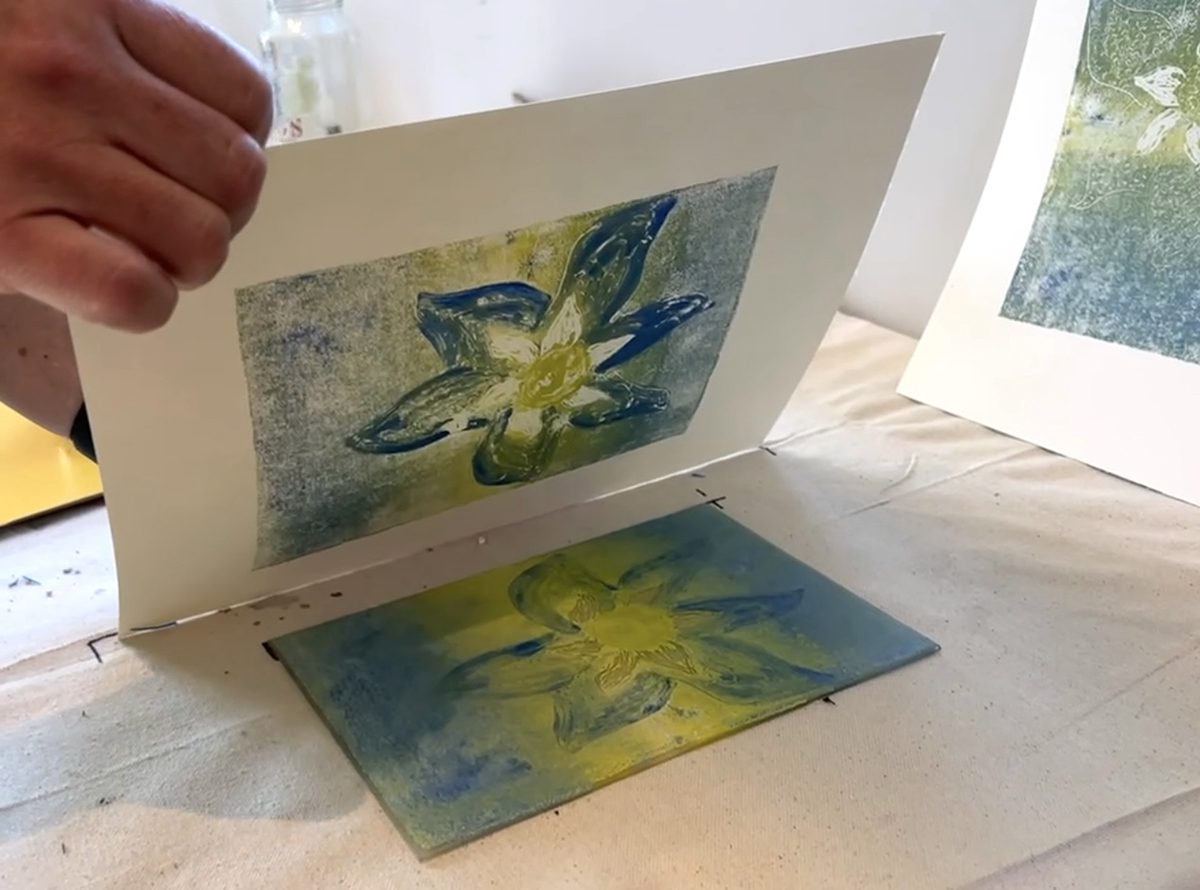
Printmaking is an ancient artistic process where students transfer an inked image onto paper. The wonderful thing about printmaking is that it lends itself to making multiples of an image or imagery. This was revolutionary before there was technology to copy and paste or hit the print button. Printmaking is not only an art form, but it’s also a journey of exploration and discovery!
Let’s take a look at some of the benefits of incorporating printmaking into your curriculum:
- Promotes problem-solving.
The troubleshooting and adjusting required helps students develop critical thinking and creative problem-solving skills. - Builds patience and focus.
The step-by-step nature of printmaking teaches attention to detail and careful planning and execution in a culture of instant gratification. Pulling their first print at the end of the process is extremely rewarding! - Adapts to your inventory and budget.
There are various ways to adjust the process to use what you already have in your closet. There are also many cheap alternatives and hacks for tools and materials. - Boosts confidence.
The constant alteration to the original image encourages students who struggle with drawing to take a risk and feel more confident with their final work. - Supports differentiation.
Because there are so many options, there are many ways to adjust requirements and outcomes to meet the needs of all of your students. - Introduces new vocabulary.
This unique process has many steps and tools. - Offers opportunities to discover artistic voice.
This medium has so many variations for endless creative possibilities! This makes it a perfect medium for your students to get hands-on and express their individuality.
If these benefits are intriguing to you and you want to learn more about printmaking, enroll in the graduate course, Studio: Printmaking. This course will show you how to effectively bring printmaking to your students without any advanced equipment. It also breaks down various printmaking processes for any age level with developmentally appropriate information and strategies.
1. Relief Printing
Relief printing is one of the most accessible forms of printmaking, making it an ideal starting point for beginners. The artist starts with a block or plate, which is the material where you create the original design. This technique involves carving away the negative space of a block, so the artist can ink and print the raised areas.
The three common relief printing techniques include:
- Linocut: A relief print pulled from a block of linoleum.
- Woodcut: A relief print pulled from a block of wood.
- Engraving: A relief print pulled from a plate of metal.
In your classroom, start relief printing with these basic materials:
- Block or Plate
Choose from linoleum, wood, or metal. - Carving Tools
Carve designs with linoleum cutters or woodcutting tools. Substitute pencils or skewers for simpler projects. - Printing Ink
Use water-based relief ink for easy cleanup. Swap for acrylic paint or oil-based ink if that’s what you already have. - Palettes
Load the brayer with ink with a piece of acetate, glass, or plexiglass. - Brayers
Apply ink evenly to the printing surface with roller tools. - Barens
Rub the paper to transfer the ink with a flat, circular tool or spoon. - Paper
Print on smooth, sturdy paper such as cardstock.
These three resources will get you started with relief printmaking:
- An Inspired and Simple Printmaking Lesson for All Levels
- The Best Way to Scaffold Your Printmaking Instruction
- No Printing Press, No Problem: How to Build a Bottle Jack Press
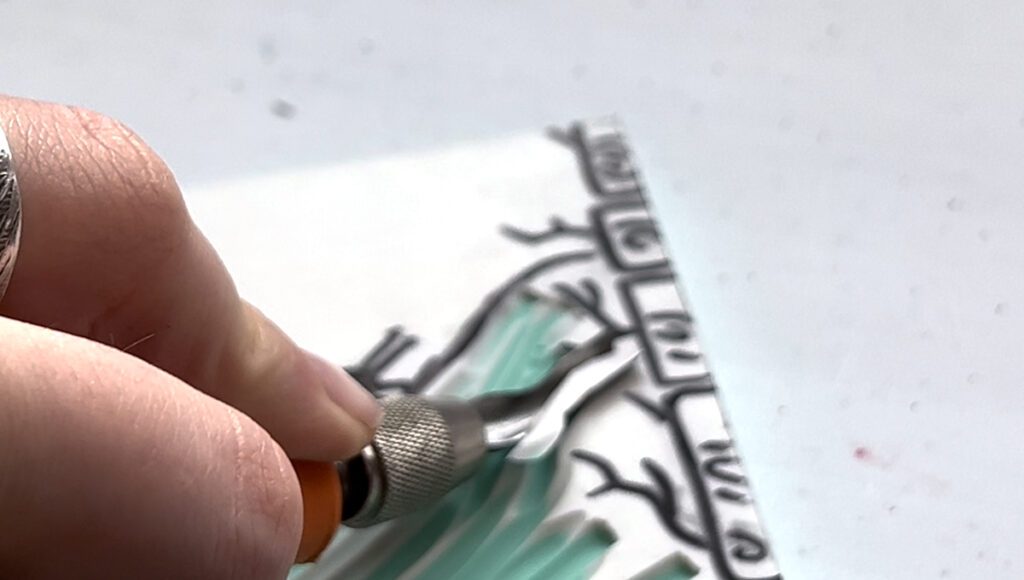
2. Planographic Printing
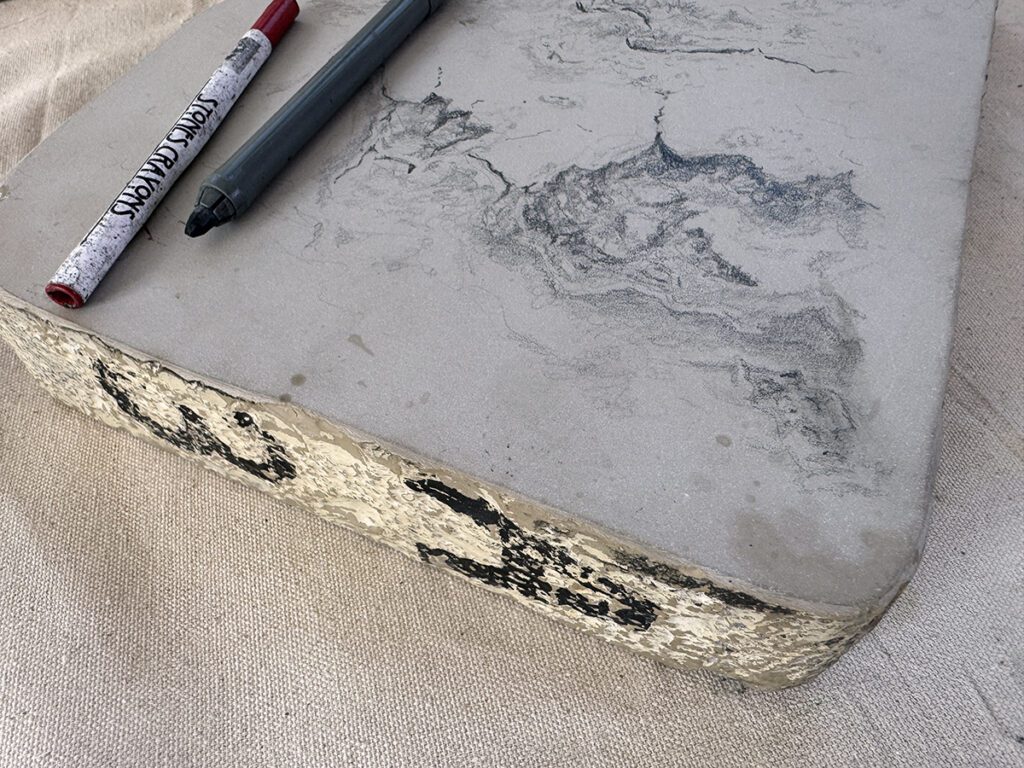
Planographic printing, or flatbed printing, involves creating an image on a flat surface without any raised or recessed areas. The most common traditional planographic printing technique is lithography. It applies the principle that oil and water repel each other. The artist applies a drawing to a stone with an oil-based crayon. Then, they process the stone with rosin, talc, and gum arabic, along with a few other steps, allowing the oil-based image to grab the ink and the damp blank stone to repel the ink. Other planographic printing processes include monoprinting and gel plate printing.
To set up planographic printing in your classroom, you’ll need the following:
- Plates or Stones
Acquire specialized stones or metal plates for lithography or a gel plate for gel plate printing. Replicate the process with aluminum foil, plastic plates, plexiglass, or smooth tiles. - Drawing Materials
Add images with lithography crayons, grease pencils, or permanent markers. - Printing Ink
Use lithography or oil-based ink. - Brayers
Apply ink evenly to the printing surface with roller tools. - Press, Baren, or Roller
Apply pressure with a printing press, baren, roller, or heavy spoon. - Paper
Print on smooth, sturdy paper such as cardstock.
3. Intaglio Printing
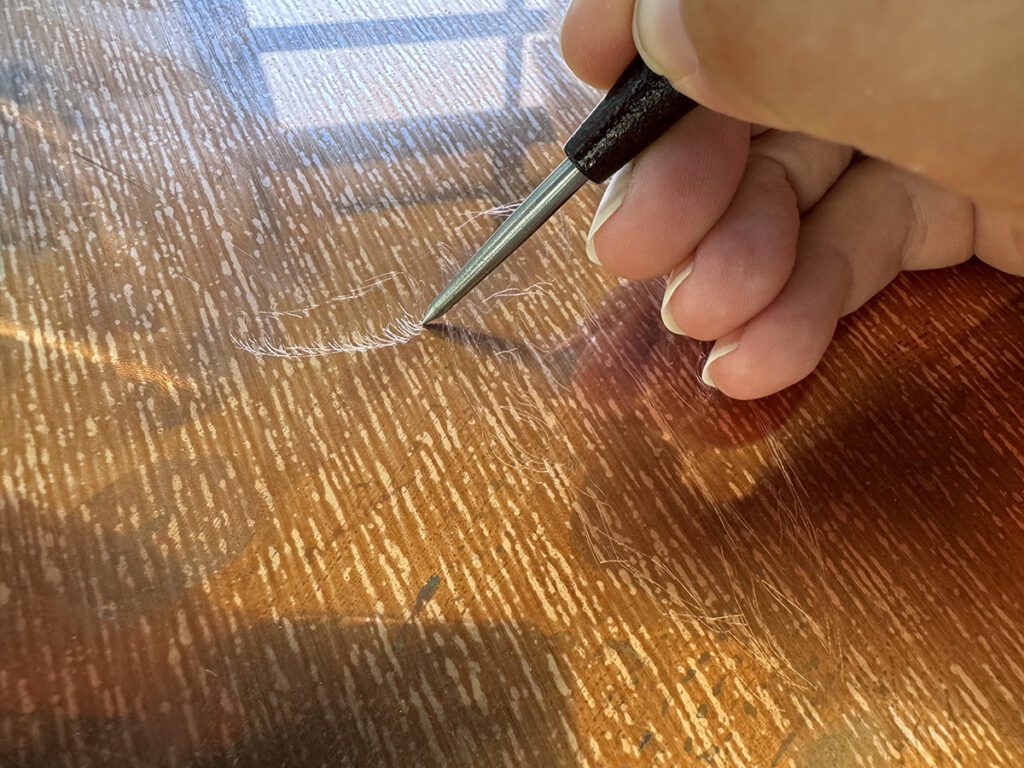
Intaglio printing involves incising or etching a design into a metal plate, filling the incised areas with ink, and then transferring the image onto paper.
The two standard intaglio printing techniques are:
- Etching: Incise lines with acid into a copper or zinc plate.
- Drypoint: Incise lines into a copper plate with a sharp tool, creating a burr for the ink to catch on.
To bring intaglio printing to your students, gather the following materials:
- Metal Plates
Start with a copper or zinc plate. Trade for aluminum foil or acrylic sheets in a pinch. - Etching Needles
Incise lines with needles, nails, or even toothpicks. - Acid
Bite the design into the plate with nitric acid. Use safer alternatives like ferric chloride or vinegar. - Printing Ink
Use oil-based ink. - Press, Baren, or Roller
Apply pressure with a printing press, baren, roller, or heavy spoon. - Paper
Print on smooth, sturdy paper such as cardstock.
4. Stencil Printing
Stencil printing offers a versatile and straightforward approach to printmaking, making it a favorite among artists of all levels. This technique involves creating a template with openings. Then, the artist applies ink or paint to produce a design.
Common stencil printing techniques include the following two:
- Screen printing: Force ink through a mesh screen onto another surface.
- Street Art and Stencil Graffiti: Apply spray paint through a template to create a shape.
Grab the stencil printing materials below to try screen printing:
- Stencils
Create using paper, cardboard, or acetate sheets. - Cutting Tools
Cut out the stencil using scissors, craft knives, or laser cutters. - Screens and Frames
Stretch traditional screens over frames. Substitute embroidery hoops or stretched pantyhose. - Emulsion
Photosensitive emulsion creates a solid layer on the screen that ink cannot pass through. Ensure your brand does not require darkroom conditions. - UV Light
Expose the emulsion-coated screen so it hardens into a solid layer. If your budget doesn’t allow for a UV light, use the sun! - Screen Printing Ink
Use water-based screen printing ink or try acrylic paint as an alternative and fabric ink for textiles. - Image Materials
Sketch with paper or gather images of student artwork. Trace with permanent markers on acetate. - Scoop Coater
Apply emulsion evenly across the stencil or sub with a squeegee or piece of cardboard. - Squeegee
Pull ink evenly across the stencil or sub with a piece of cardboard. - Red Polyethylene Tape
Frames the printing area on the screen and is residue-free and reusable. - Paper or Fabric
Print on smooth, sturdy paper such as cardstock or fabric.
Try The Easiest Screen Printing Lesson Ever to introduce this process to your students.
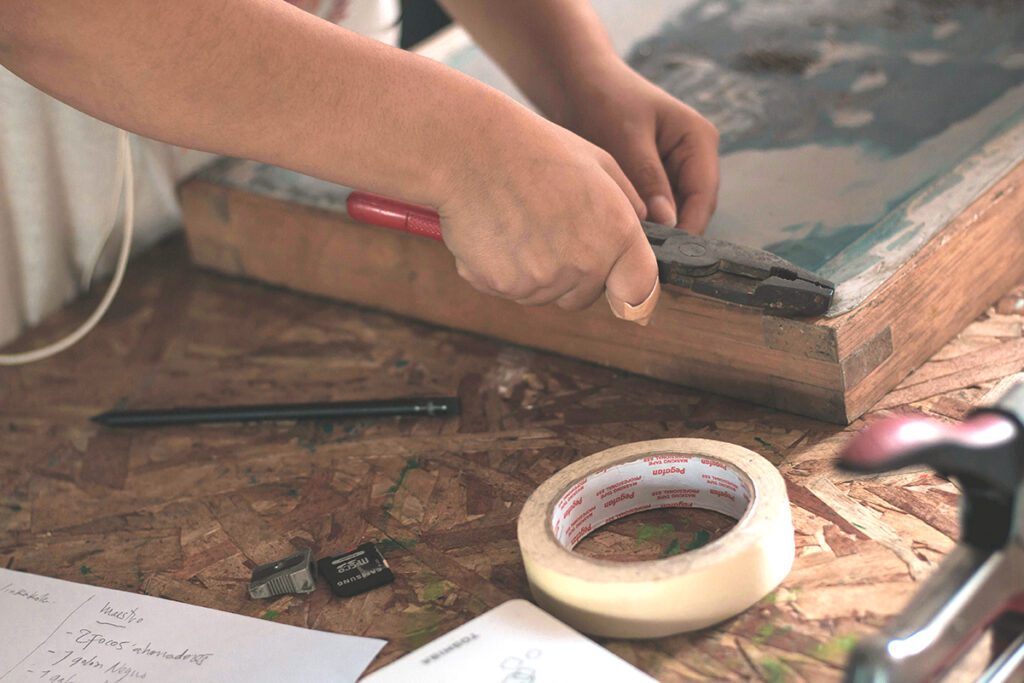
Printmaking brings endless possibilities! Whether you are guiding students through carving intricate designs into linoleum blocks, teaching color theory with tinfoil lithography prints, etching intricate patterns into metal plates, or creating bold stencil designs, printmaking offers a wealth of opportunities for creativity and self-expression. Despite all of the variations, simplify printmaking into four basic processes: relief, planographic, intaglio, and stencil. Pick one process and get printing in your classroom today. Watch your students gain confidence through the magic of printmaking!
Share the printmaking technique you are most looking forward to trying with your students.
Which printmaking materials do you already have in your classroom?
Magazine articles and podcasts are opinions of professional education contributors and do not necessarily represent the position of the Art of Education University (AOEU) or its academic offerings. Contributors use terms in the way they are most often talked about in the scope of their educational experiences.
