One of the most satisfying feelings as a teacher is the sense of student accomplishment. On the opposite side of the spectrum, one of the worst feelings is defeat. Unfortunately, most art teachers experience this feeling of defeat at some point during their career. When I first started teaching, I certainly came across some “mini-battles” I was able to problem-solve and overcome, but others weren’t so easy. One of the areas I felt most defeated in was with my special education students.
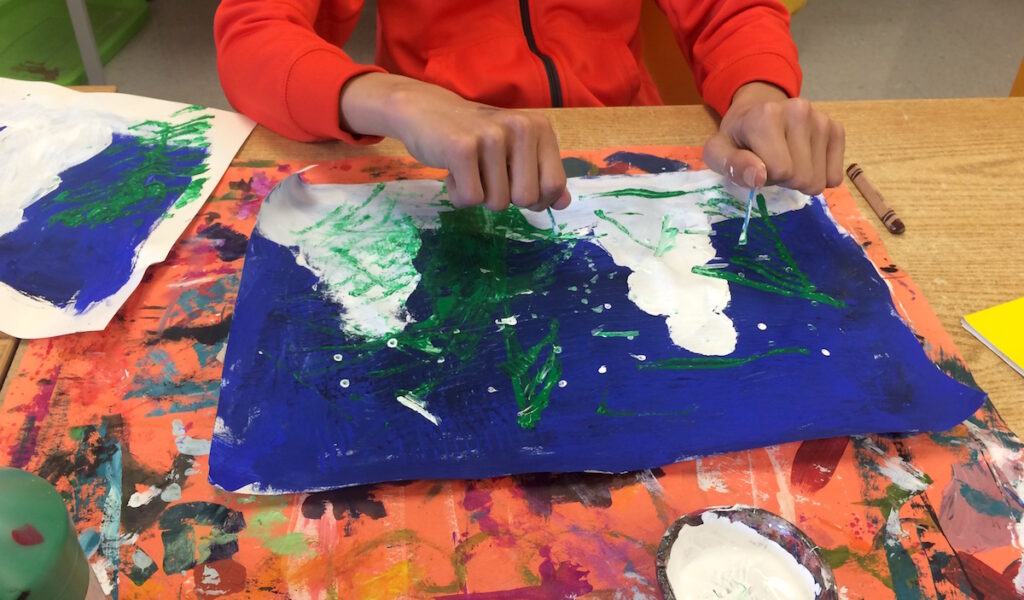
I was often able to make adaptations for students that were mainstreamed into my classroom in an inclusion setting. However, I struggled with my classes comprised entirely of students with more severe challenges. Although it took some time to learn what my students needed, once I figured out how to differentiate and meet their individual needs, everything went much more smoothly.
Today I am going to share 5 project techniques you can use in your adaptive art classes to turn defeat into victory.
1. Painted Paper
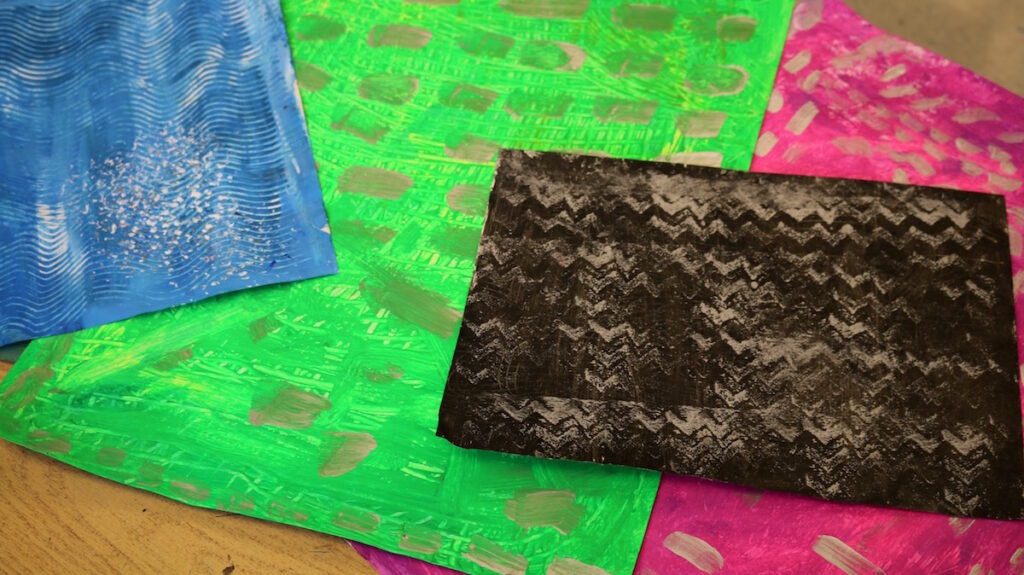
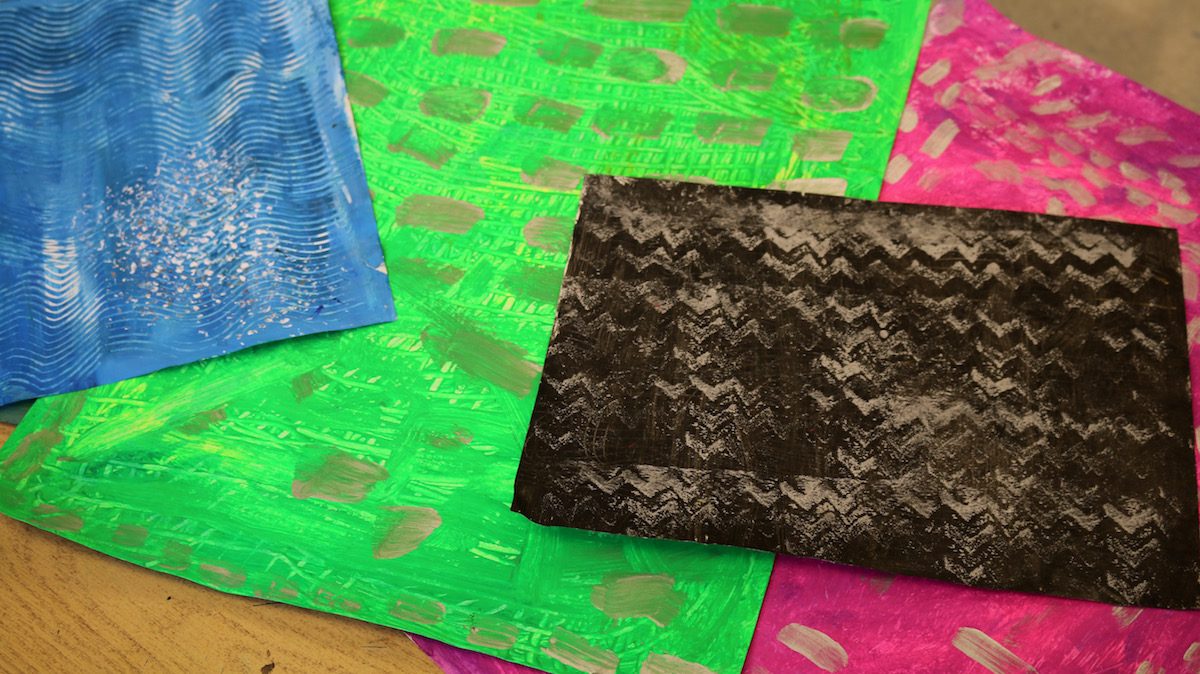
Paint can be a messy material, but when it comes to adaptive art classes, paint is your best friend. There are countless ways to use paint with your adaptive art students, but one of the best is by creating painted paper. One of the more challenging obstacles for students in an adaptive art class is the vast range of fine motor skills. Some students may not be able to hold and control certain sizes of paintbrushes. For those students, explore different tools and textures, like household cleaning brushes and dusters, to apply paint. Having a stock of painted paper will allow you to create beautiful art pieces throughout the year.
2. Torn Paper Collage
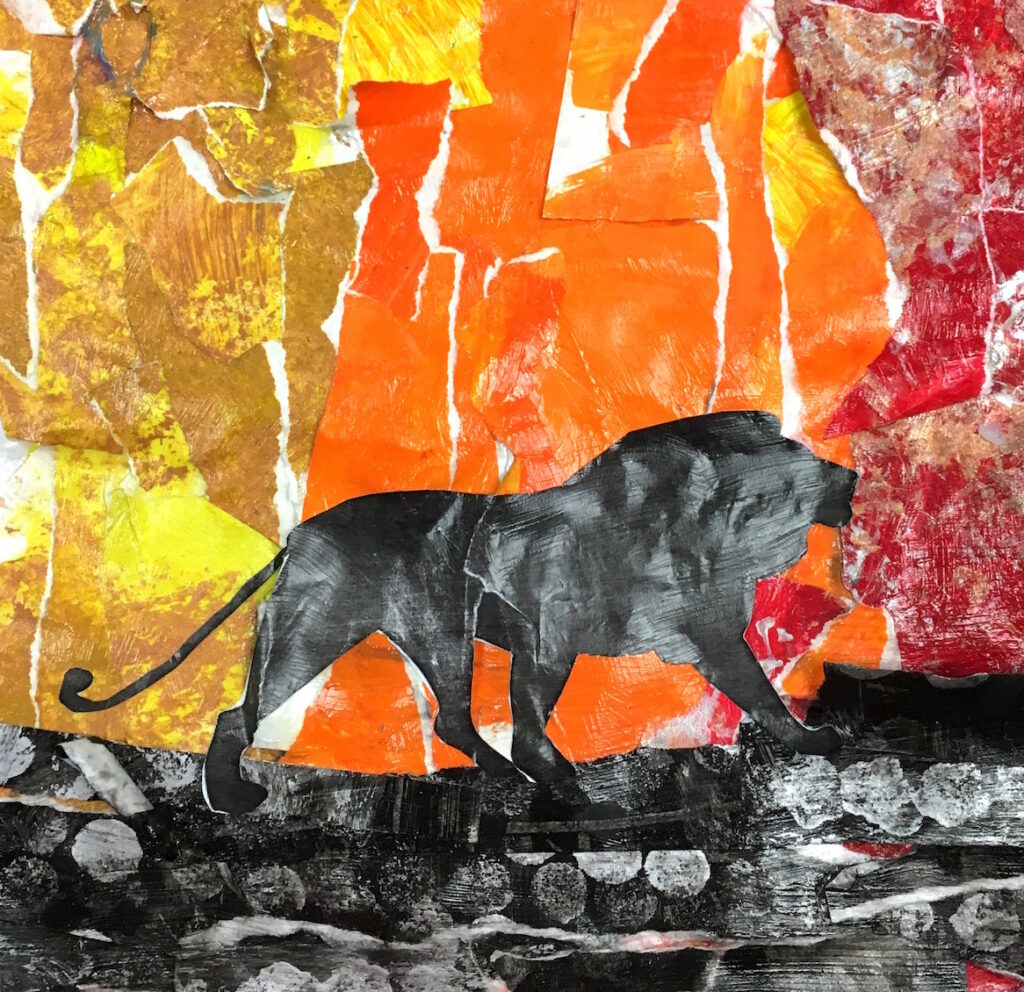
Rarely do we tell our students to tear, rip, and destroy a piece of paper. Many of your students will embrace the opportunity to rip something up as they embark on a torn paper collage. To create these collages, you can use construction paper, but painted paper will enhance the final look. This is a fantastic way for students to create imagery without having to use scissors. The torn pieces of paper act as small pieces of mosaics coming together to create an artwork. Having a pre-drawn image on a piece of paper will give students a visual reference when placing the torn pieces to form an image.
3. Stamping & Printing
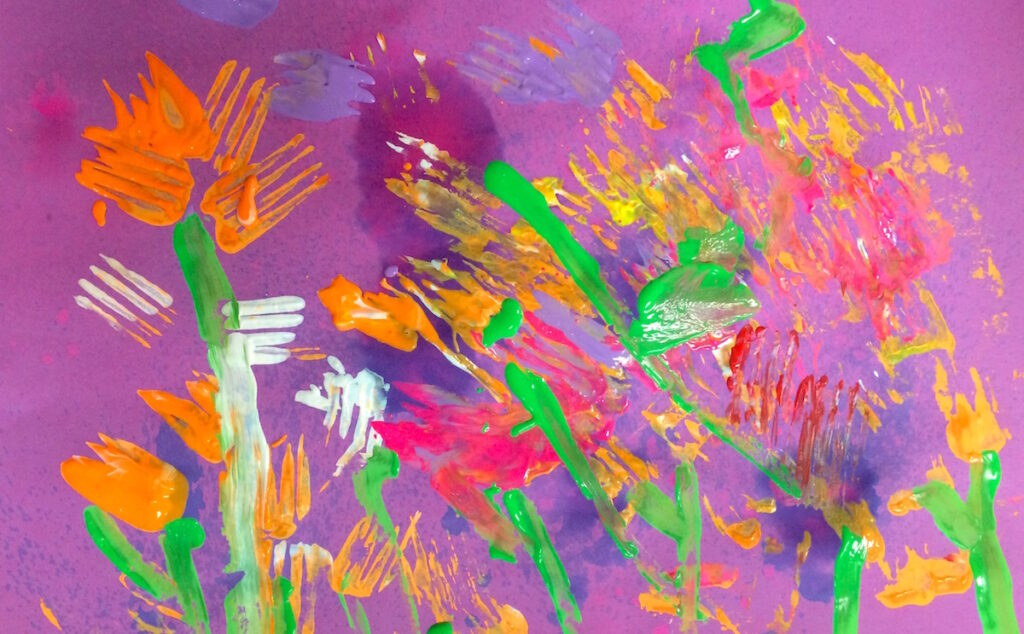
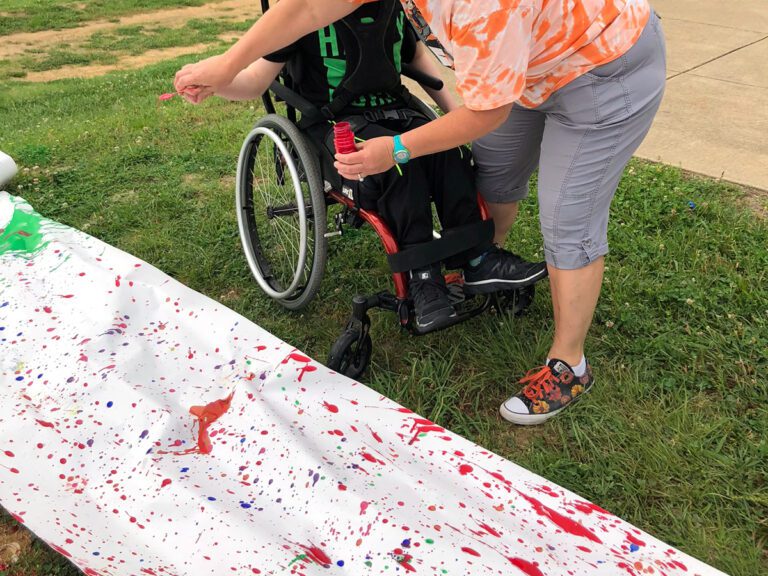
Many students in an adaptive art class are fascinated with cause-and-effect. Using printing and stamping techniques will enamor your students. They won’t want to stop creating! Using everyday items like forks, toilet paper rolls, and cardboard are great tools for students to stamp and print with. Printing with non-traditional items, like leaves and sea shells, will bring the details of these objects to life.
4. Stencils
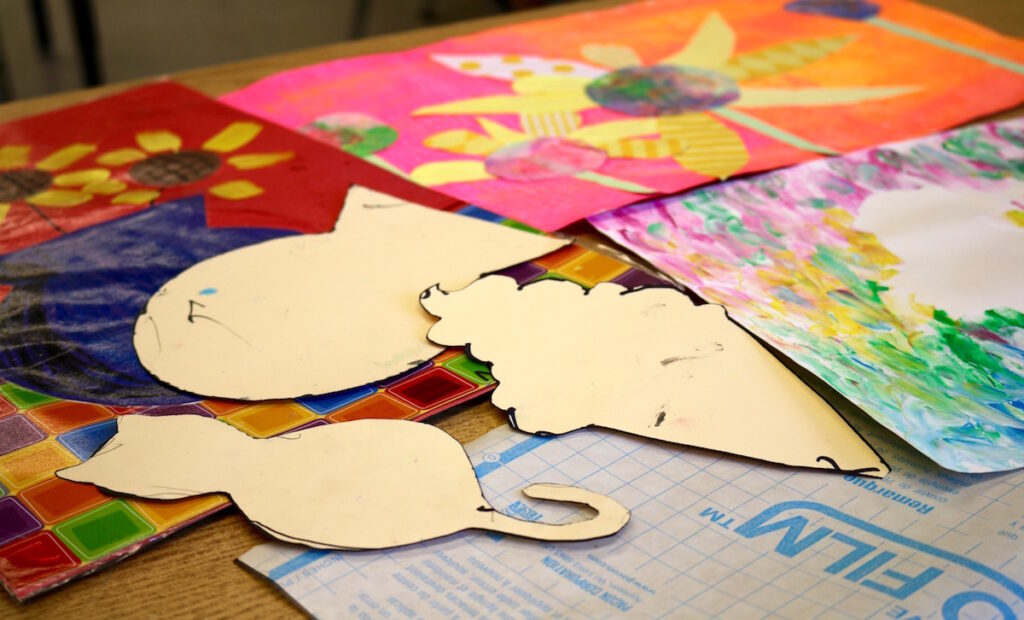
Using stencils with students is a wonderful way to increase control of fine motor skills. Often, adapted art students will need some extra assistance when it comes to cutting. As you get to know your students, you’ll come to find which students can handle cutting and which students need pre-cut materials. Pre-cut stencils made simply of cardstock or oak tag paper can be very helpful. Contact paper is another way to use stencils to create an image that will stick directly to the paper. Using a variety of materials, like paint or chalk, students can cover the entire paper. When completed, the contact paper can be peeled off to reveal a beautiful image!

5. Simple Clay Techniques
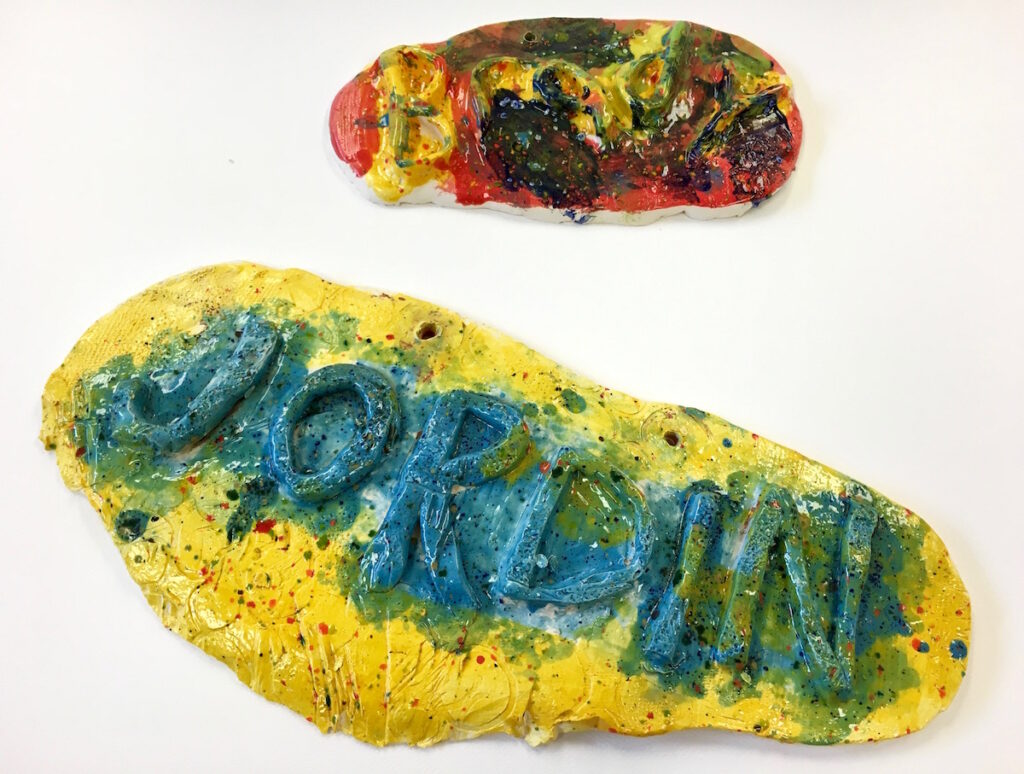
3D building techniques are a fan favorite in an adapted art class. Using clay is an easy way for students to mold and create. Simple clay techniques, like pounding or rolling slabs, are great to use with students. Try using stamps and clay tools to add a little texture. Students often have a great ability to roll thin coils which can be used to create an image or even to spell out their names. Some assistance will likely be needed when attaching clay pieces and smoothing out rough edges.
For students who might not like the way clay feels on their hands, try having them wear gloves or put the clay in a clear plastic bag to be molded. Another idea to try is using alternative modeling materials like Model Magic.
Remember, when working with adapted art students what works for one student might not work for another. Patience will be key in feeling comfortable with your students. Be prepared to expect the unexpected and adapt with your students as you use these five techniques in your classroom.
If you’re looking for even more techniques to bring into your classroom, be sure to check out the course, Reaching All Artists Through Differentiation where participants learn to use the appropriate tools to maximize learning for all students.
What are your favorite techniques when teaching adapted art?
Please share in the comments below!
Magazine articles and podcasts are opinions of professional education contributors and do not necessarily represent the position of the Art of Education University (AOEU) or its academic offerings. Contributors use terms in the way they are most often talked about in the scope of their educational experiences.
