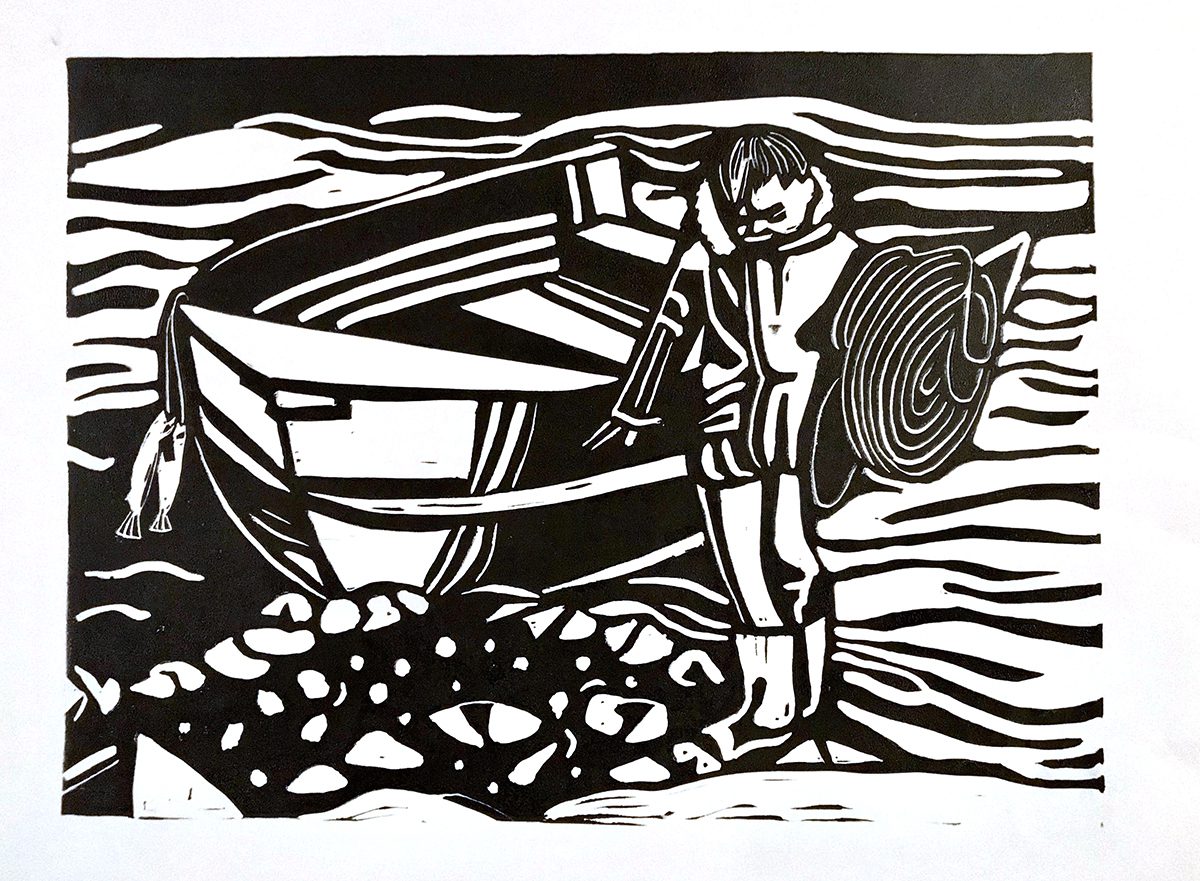
Since its inception, printmaking has revolutionized the world as we know it. It gave writers, publishers, and artists the advantage of making copies. In turn, it exposed more people to their work faster. Some of the earliest printing methods were used in China around the 9th century, which involved using hand-carved blocks. In the 15th century, the Gutenberg press made printing on a mass scale quicker than previous methods. In the digital age, we may take the idea of making multiple copies of something for granted because we can have it with a quick scan or a click.
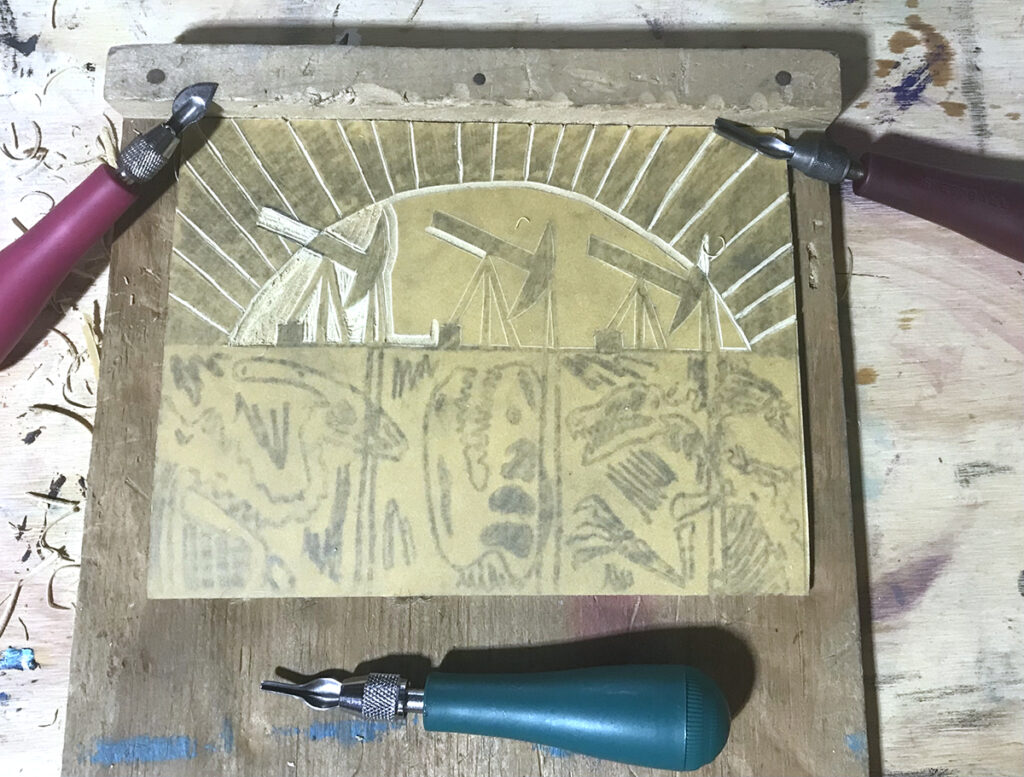
Do not underestimate the printmaking process. Exposing children to this artform is exciting and opens the door to many creative possibilities. For example, check out the Illustrative Printmaking lesson in FLEX Curriculum. Many art teachers opt for hand printing methods because they do not require a press. If you are fortunate to have access to a printing press in your studio, consider yourself one of the lucky few. If you are searching for an affordable press, with a few simple hand and power tools, you can build your own using an automotive bottle jack.
Depending on the prices of local materials, you can build this press for $100–$300. In comparison, most retailers carry etching or platen-style presses for hundreds if not thousands of dollars more. The most expensive purchases for this DIY are the automotive bottle jack and slotted steel. If you are thrifty, you can purchase a bottle jack second-hand as long as you ensure it does not leak and the piston goes up and down smoothly. A six-ton jack should suffice for all of your classroom printing needs. If you need anything bigger, it will require taller slotted steel, which costs more. Anything smaller than three-ton may not provide enough pressure for certain print types.
Another thing to consider is if your school district can put the money for this build into your art budget. If you have to pay out of pocket, inquire about a reimbursement program. Applying for a grant is another option to try.
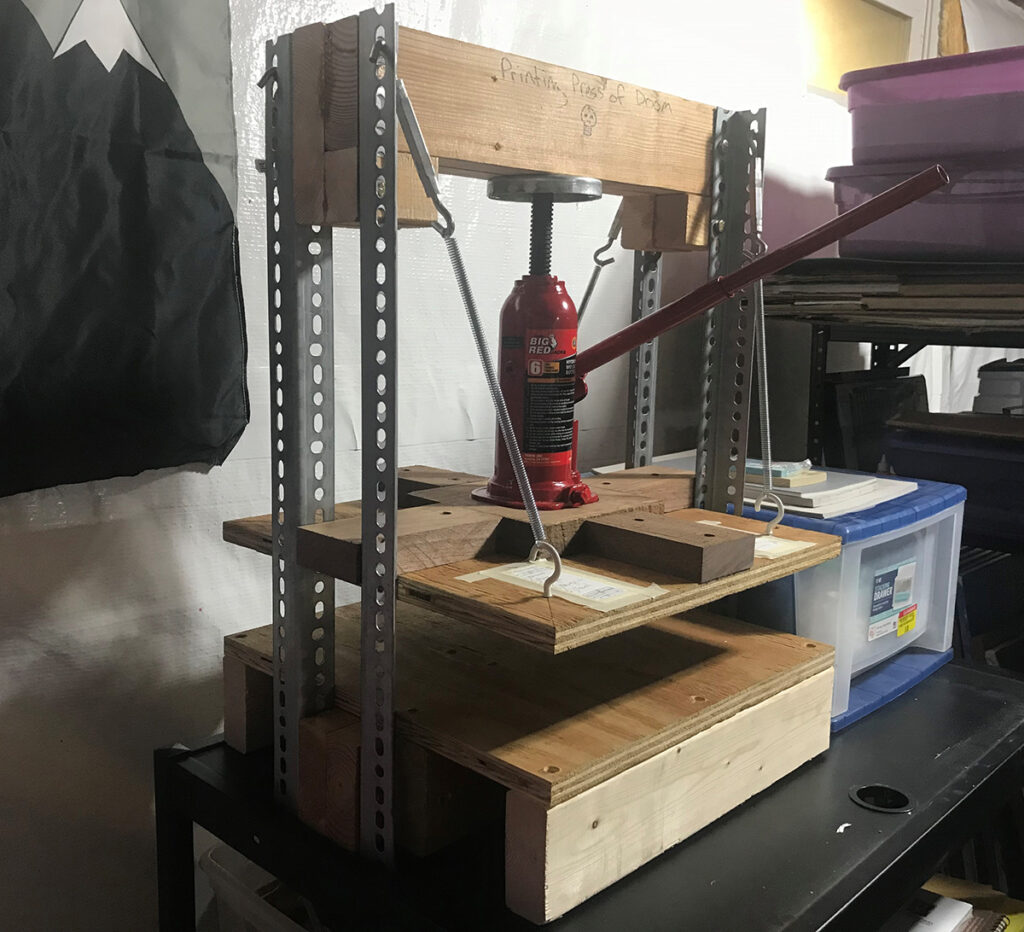
Let’s look at the materials you will need for this build:
- 2 x 4s for the bottom frame and header
- ½″ or ¾″ plywood or OSB board (one for the base and one for the platen or pressboard)
- Slotted steel
- 3″–4″ hex bolts with nut fittings
- 2″–2 ½″ wood screws
- 4 eye hooks
- A pair of bungee cords or 4 springs and 4 turnbuckles
- 1 metal electrical box or circular metal plate for the ram cup
- 1 3–6 ton bottle jack
Here’s a list of tools you will need:
- Circular, miter, or radial arm saw (a handsaw will work too)
- Drill and impact driver with bits
- Tape measure
- Wood clamps
- Wood glue
Once you have gathered all of your materials and tools you are ready to build! The video, How to Build a Bottle Jack Press Demo, is exceptionally helpful in visualizing the press and steps. Keep in mind you can modify this in any way to fit your needs!
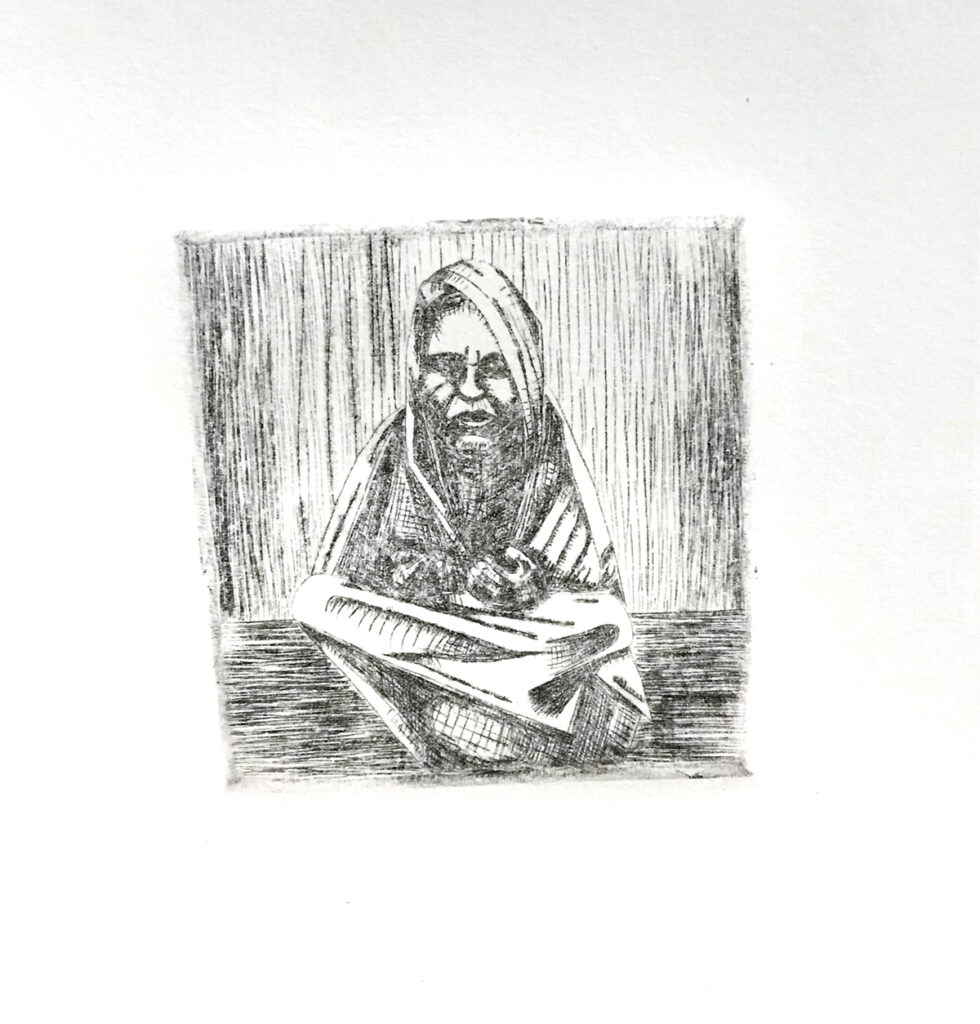
Here are 10 steps to build your bottle jack printing press.
1. Make a sketch and diagram for your build.
Determine all the sizes and dimensions of your press like the width, length, and height. Keep in mind to keep things relatively smaller, even with a six-ton press. It is advisable not to exceed a 20″ width or length on the base.
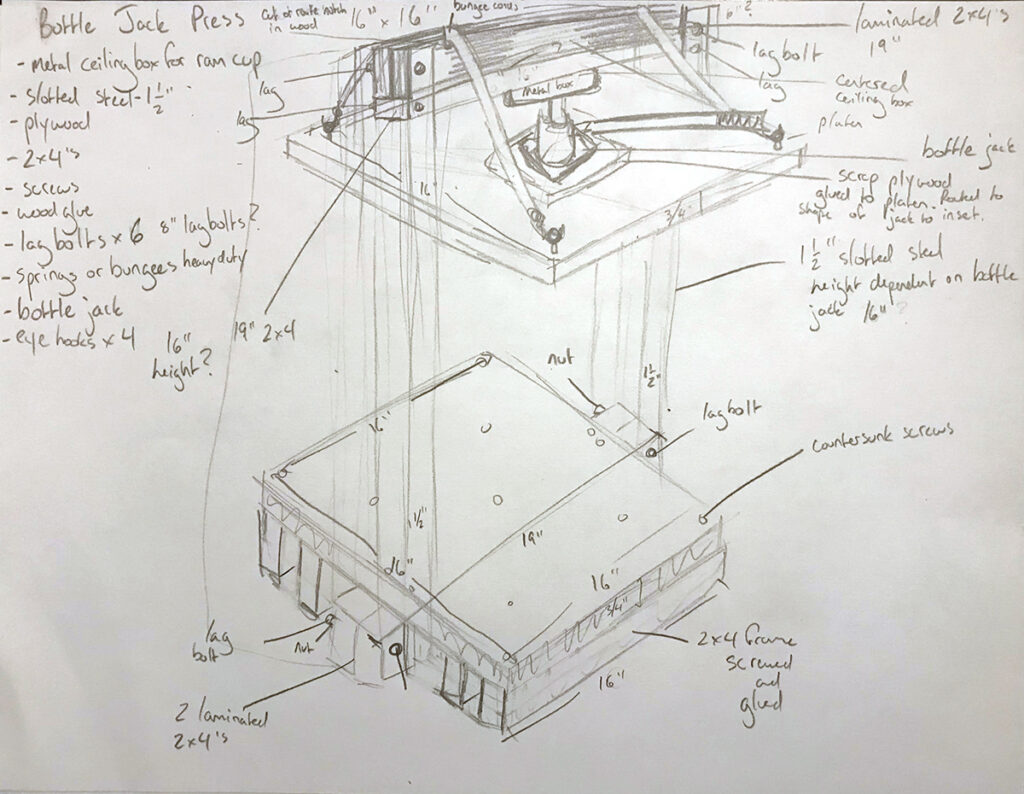
2. Cut 2 2 x 4s for the header and then glue and clamp them together.
Once dry, set the header piece aside for later. Make sure it sticks out long enough to attach to the slotted steel for a later step.
3. Cut 2 2 x 4s for the middle of the base and then glue and clamp them together.
After it dries, this will be the center of your press base. Ensure it sticks out long enough to attach to the slotted steel for a later step.
4. Cut and screw the 2 x 4s to frame out the press base.
Use the laminated 2 x 4 in the middle of your base. Use other 2 x 4s to make a framework for the top of the base.
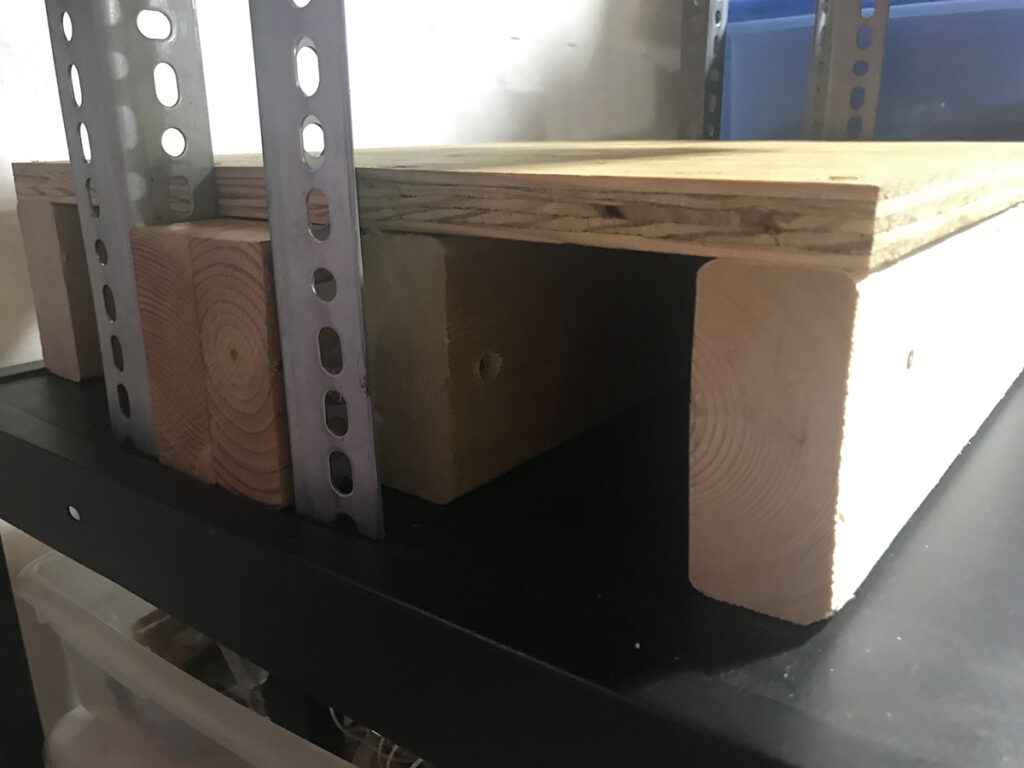
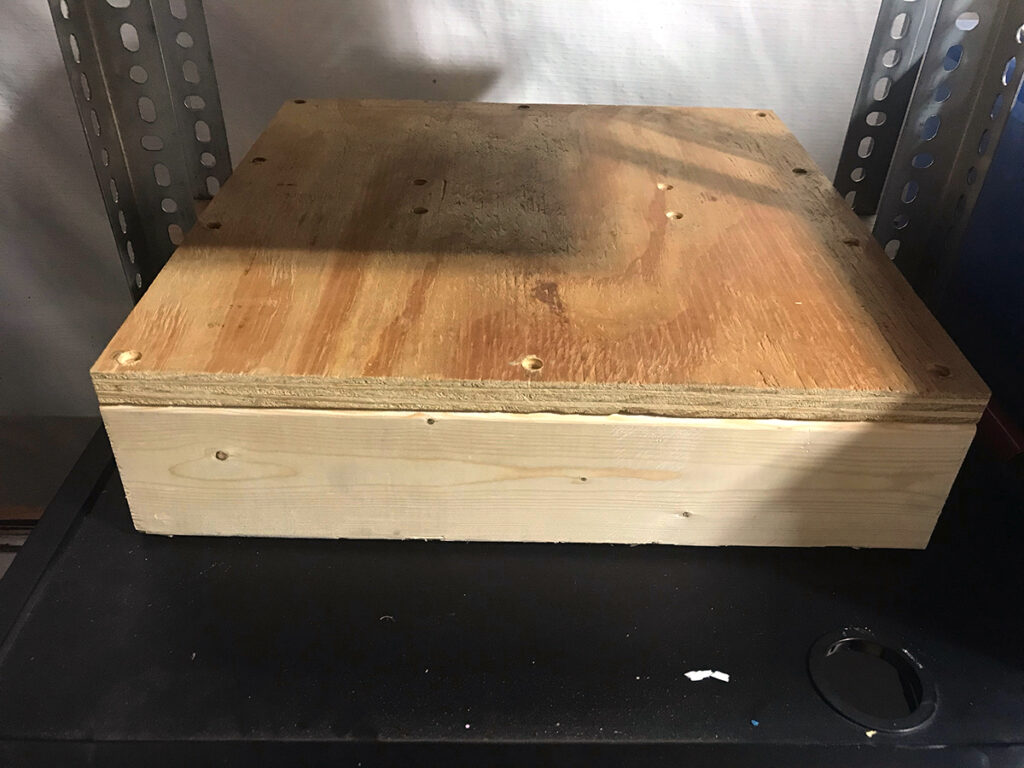
5. Cut and screw the plywood for the top of the base.
Screw the plywood right on top of the 2 x 4 base. It is recommended that you countersink your screw heads so they don’t show up on a final print.
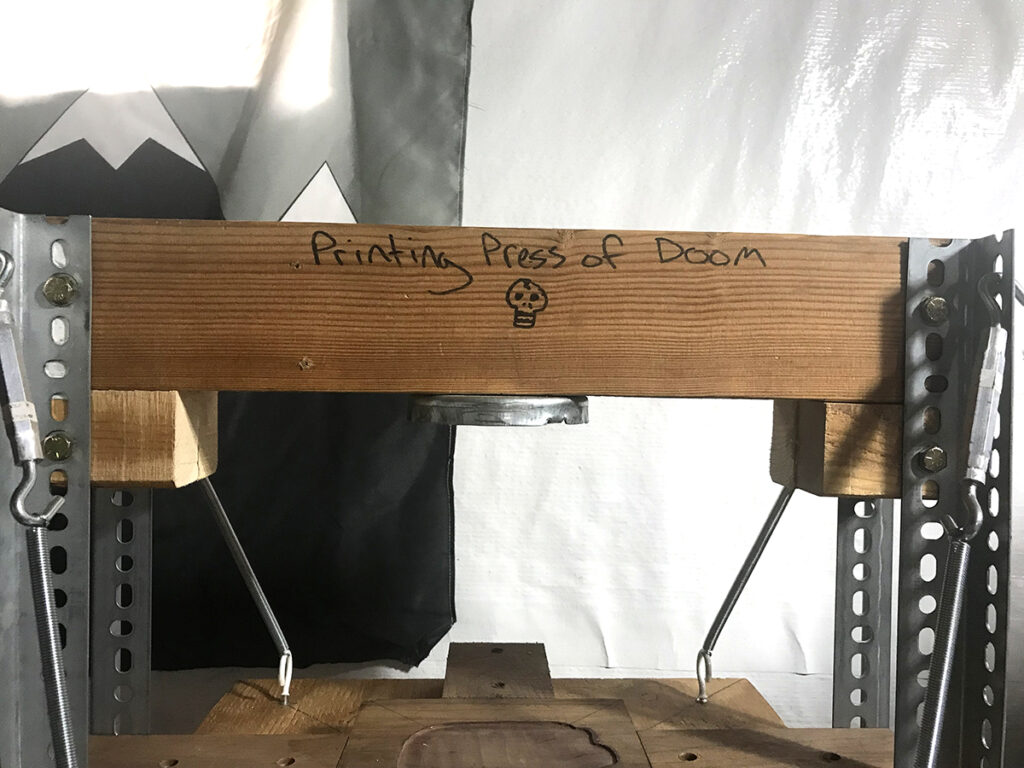
6. Set up the slotted steel on each side of the laminated base and insert the laminated header for the top. Then, drill holes and insert the hex bolts.
This part can be tricky so use a wood clamp or two to hold the steel in place while you drill and drive your hex bolts. If you do not have an impact driver for the bolts, you can use ratchets and a wrench to secure them in place. Make sure it is snug!
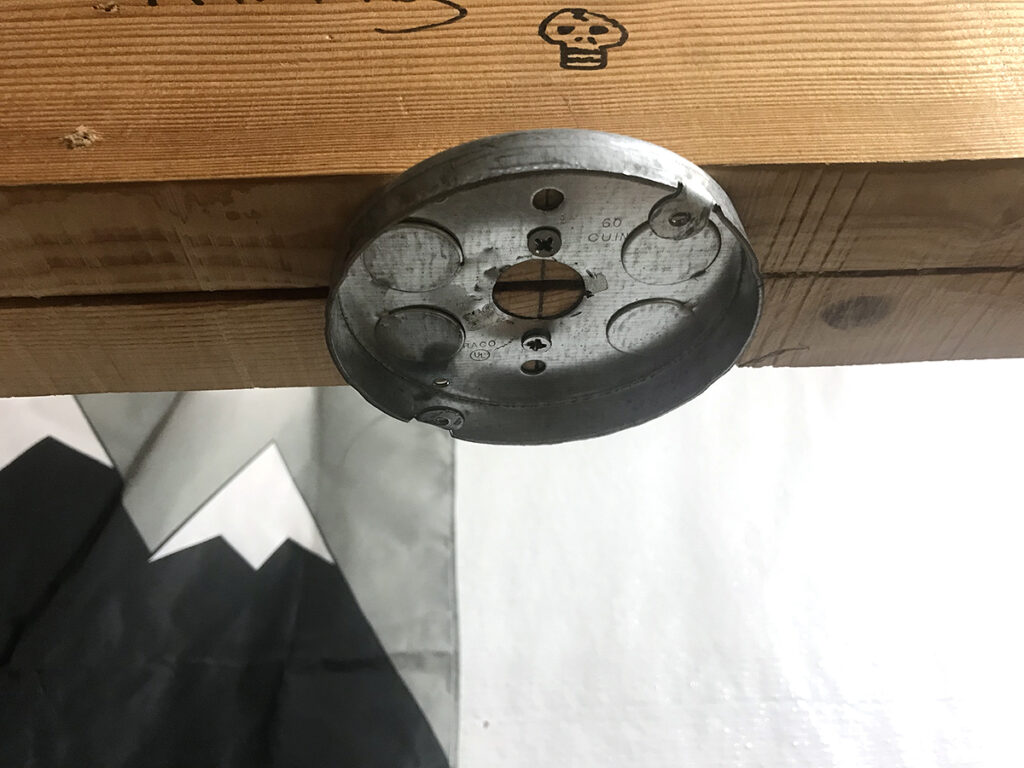
7. Attach the metal electrical box to the header.
Find the dead-center of your header and screw in the metal circle or electrical box. This serves as a ram cup for your press so it does not dig into the wood over time.
8. Cut a piece of plywood for the platen pressboard.
Make sure the platen press board is the same size as your plywood base.
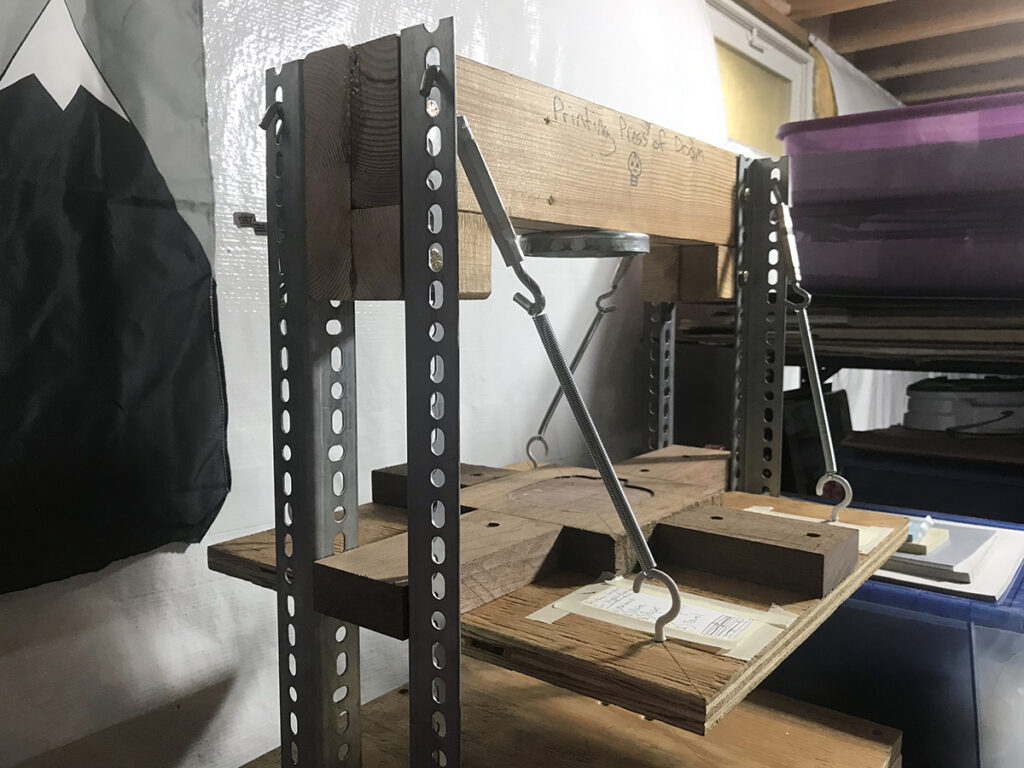
9. Screw 4 eye hooks onto the platen pressboard. Then attach bungee cords or turnbuckles and springs to the header and eye hooks.
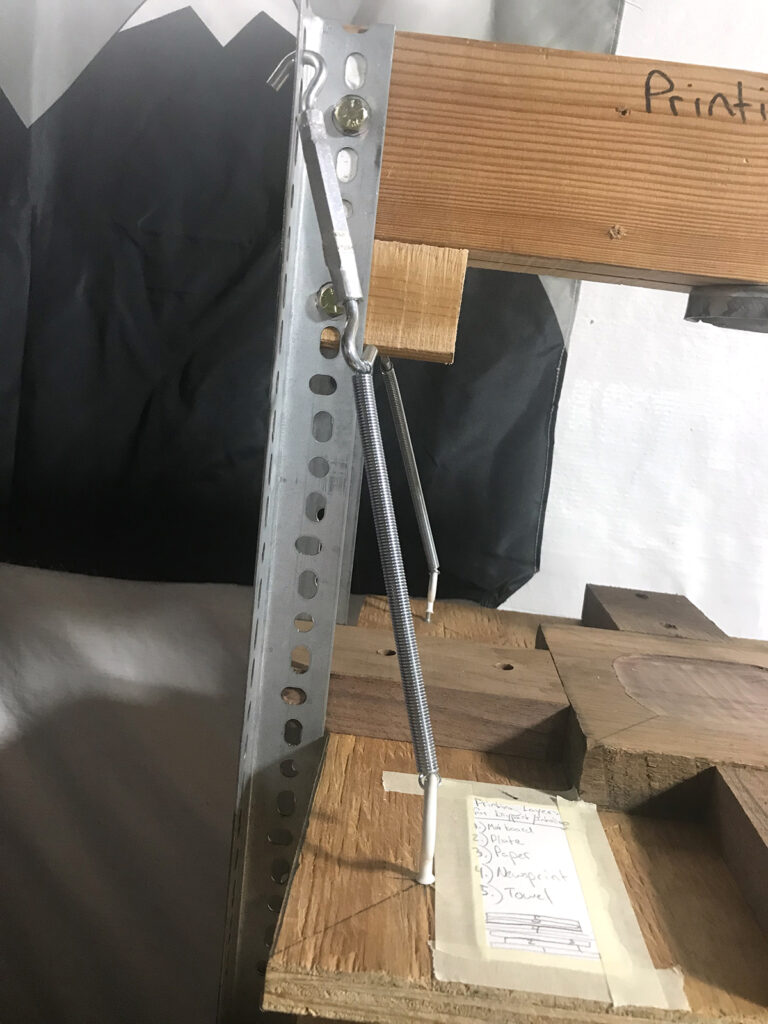
10. Find the dead-center of the platen board and place the bottle jack in the center.
It is advisable to make some sort of base for the bottle jack so it does not slide around during use.
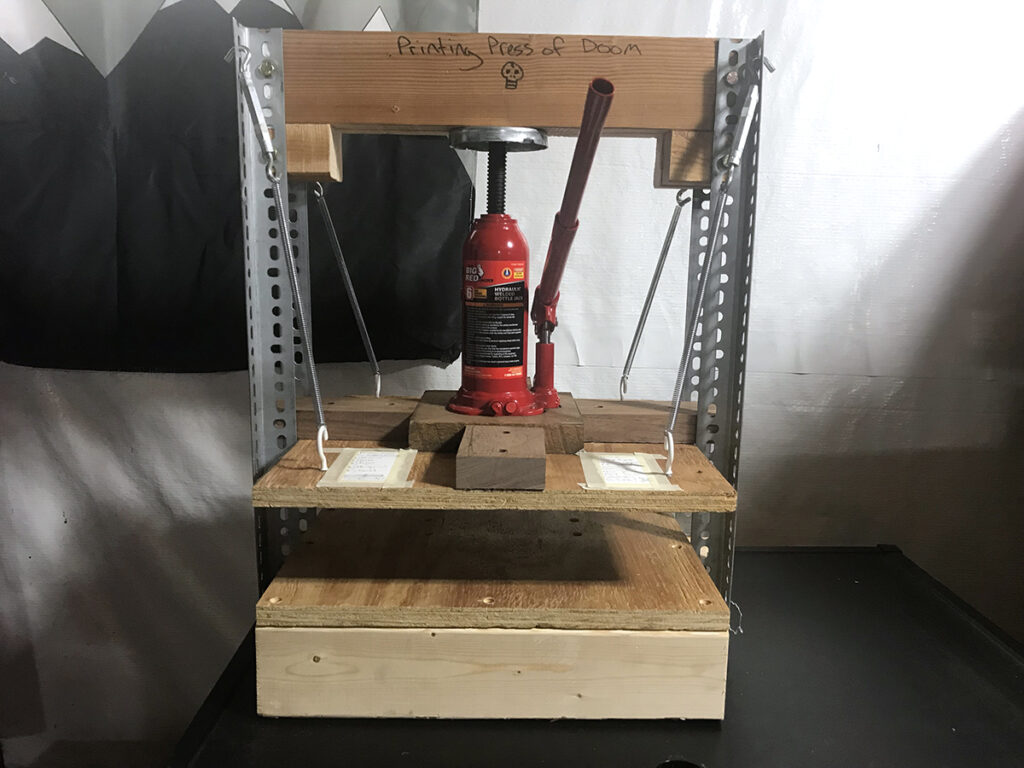
Let’s look at the operation of the press.
- Place your jack on the center of your platen board.
- Set up your print. It may look slightly different depending on what type of print you are making.
For linocut prints, place a piece of tagboard on the base, the inked block, then the paper.
For etching or intaglio prints, place a piece of tagboard on the base, the inked block, printing paper, butcher paper, then a folded towel. - Operate the jack as normal. (Consult your owner’s manual for your specific model.) Most jacks are the same. Tighten the valve, insert the handle into the piston cup, and pump the piston to raise the jack. In this case, raising the jack closes the gap between the platen board and the base.
- Pump the jack until the platen or top board fully meets your print, and you cannot pump anymore. Be cautious not to overpump your jack, or a catastrophic failure can occur, such as your header board cracking. Remember, these jacks lift cars, so it has more than enough pressure to make your prints!
- After you cannot pump the press anymore, release the valve on your press, which should cause the platen board to rise. Slide out your print and admire it!
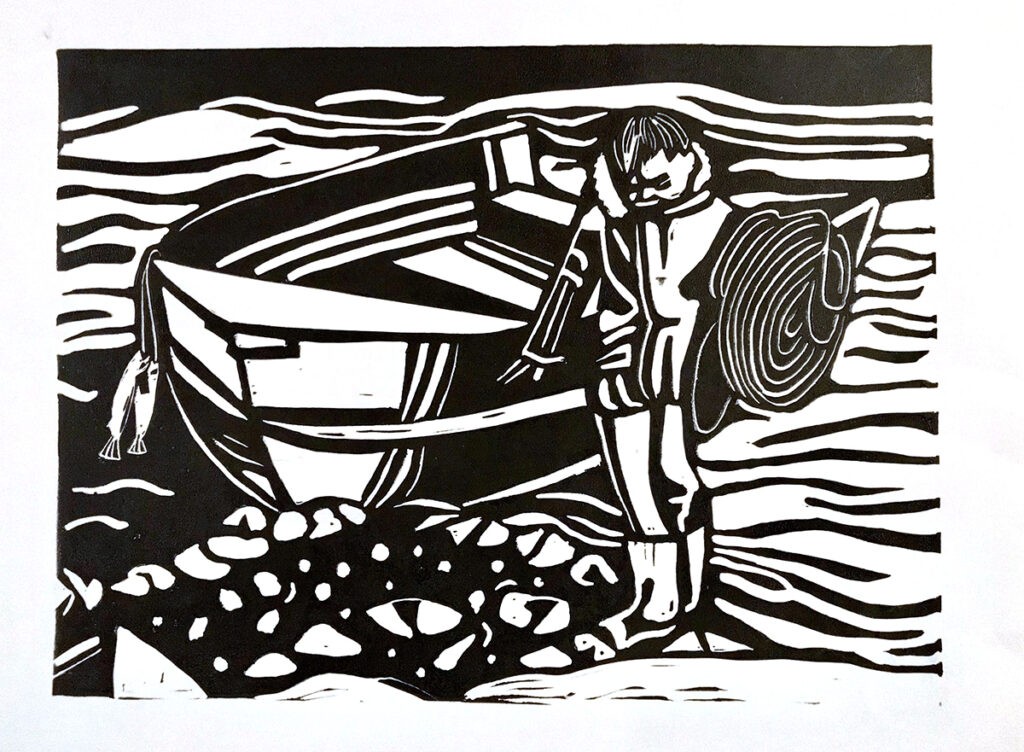
This homemade press does take some practice to use and fine-tune. Use it as a teacher-guided station or for demonstrations in an elementary setting. In middle or high school, consider showing your students how to use the press and center it around a printmaking project of your choice. This press can also handle some bookmaking or embossing projects. Grab some tools and get started building this bottle jack press. The sooner you build it, the sooner you and your students can use it!
If you are looking for printmaking lessons and resources, look no further!
- Classroom Lithography Pack found in PRO Learning
- Drypoint Etching Pack found in PRO Learning
- Elementary Printmaking with Simple Materials Pack found in PRO Learning
- Experimenting with Monoprinting Collection found in FLEX Curriculum
How can you see yourself using this DIY press in your classroom?
Do you have any modifications or changes you would make to this build? If so, what are they?
Magazine articles and podcasts are opinions of professional education contributors and do not necessarily represent the position of the Art of Education University (AOEU) or its academic offerings. Contributors use terms in the way they are most often talked about in the scope of their educational experiences.
