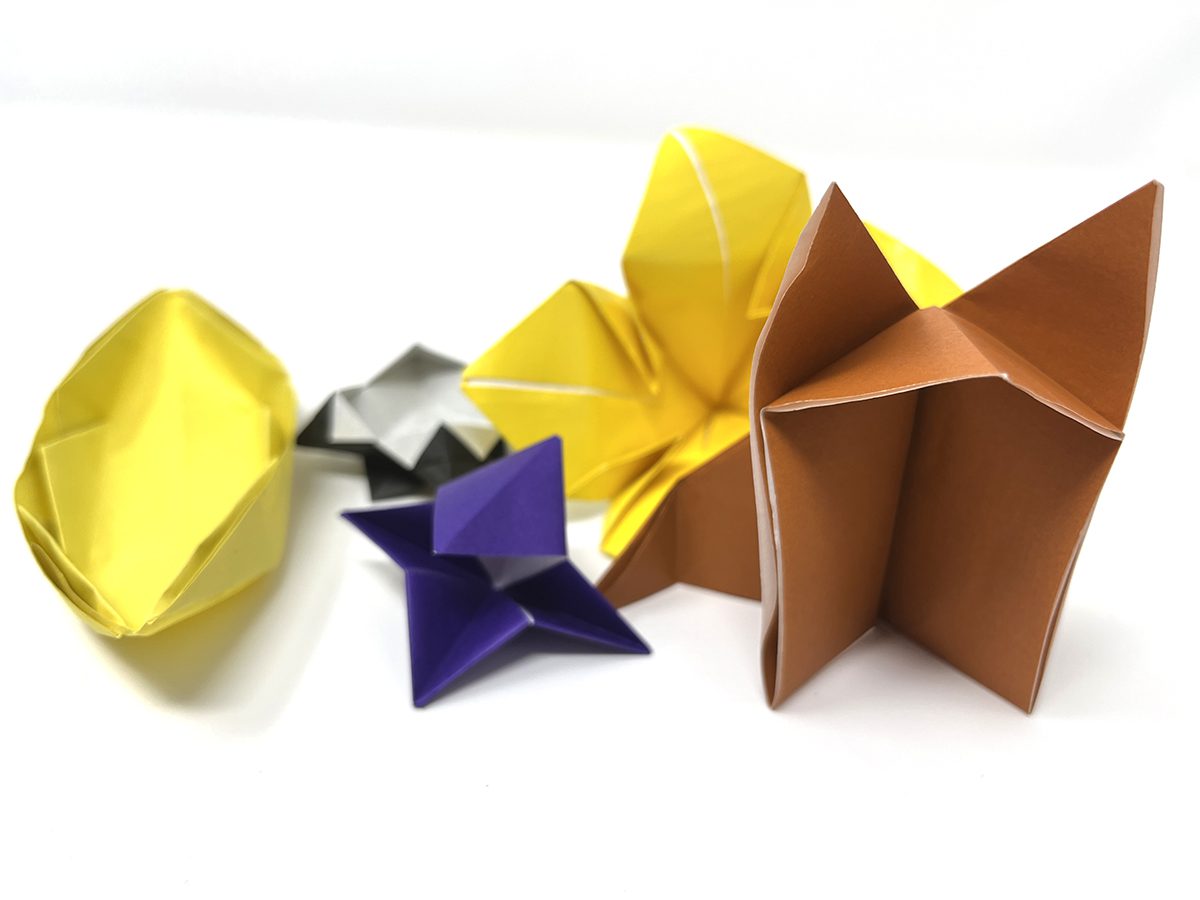
One of the beauties of teaching origami is setup and cleanup are a breeze. It does take a little prep and memorization, but it’s been a student favorite over the years! There are many interdisciplinary tie-ins. Plus, it’s perfect as a one or two-day project, making it easy to sneak in at peak times of the year or when attention spans are running low!
In order to make origami, you need the four Ps:
- Prep
- Patience
- Positive Attitude
- Paper
Let’s take a closer look at the four P’s of origami so you can teach this to your artists with confidence!

1. Prep
Origami can be a quick filler activity between projects or before a break. It can also serve as a fun early finisher activity or a longer unit with interdisciplinary connections. Tie in math concepts like fractions, angles, ratios, and symmetry. Touch on biology with origami critters in their habitats, like endangered animals, flowers, or dinosaurs. Think about how airbags fold or how satellites work with an engineering or reverse engineering mindset. Make origami structures while looking at architecture for inspiration. There are so many possibilities!
Show students origami artists such as Robert Lang, Eric Joisel, or Akira Yoshizawa. These master origami makers will be sure to capture your students’ fascination! These artists are also featured in the documentary Between the Folds. Watch for a more in-depth look at their work and this medium.
Here are some additional prep tips to ensure your lesson will be the best it can be:
- Cut or buy premade squares of paper; 6″–8″ is a great size! (More paper tips below.)
- Determine whether you will perform this lesson via direct instruction or choice-based. With direct instruction, you will teach the model step by step. With choice-based, students will decide what to make while you provide support.
- Choose models appropriate for your students’ ages or skill levels.
- Consider how you will display the creations after. Students can add a fun surface design, mount their animal on a drawn background, or suspend paper cranes from the ceiling so they’re “flying!”
2. Patience
Give your students a pep talk on patience, trying their best, never giving up, and continuing to practice until they get it right. This is especially the case with younger students and first-time folders. Origami has a learning curve, but this is where choosing more age-appropriate models can help artists succeed. Frederick Froebel said children who fold origami improve their dexterity and cognitive skills.
3. Positive Attitude
Hand in hand with patience is a positive attitude. Some students grasp origami quickly, and others struggle through the steps. Whatever level your students are at, remind them it will take persistence and positivity to get through. Be open to learning, ask for help, assist others, and encourage friends. Origami, like all artmaking, is a process. Enjoy the process by being present and optimistic. Before students know it, art class will fly by!

4. Paper
Origami could not have existed without paper. The Chinese discovered a means of papermaking in 105 AD that is similar to the process used today. They originally used hemp plants, tree bark, old rags, and fishing nets. Today, we use a mold and deckle instead of rags and nets. Through various wars and transgressions, the Chinese method of papermaking eventually found its way to Japan. The Japanese found a way to make paper affordable and decorative by, you guessed it, folding it!
There are many origami papers out there to purchase. Here are the top three premade origami papers to add to your next supply order:
- Washi
This paper is colorful with patterns. Its soft feel is perfect for first-time folders. - Kami
This paper has the option of color on one side and white on the other. There are also versions with dual-sided colors. This paper is generally stiffer or crisper, so it’s more suited to experienced folders.
- Duo
This is another soft paper and can be wet- or dry-folded. This is best for advanced origami artists.
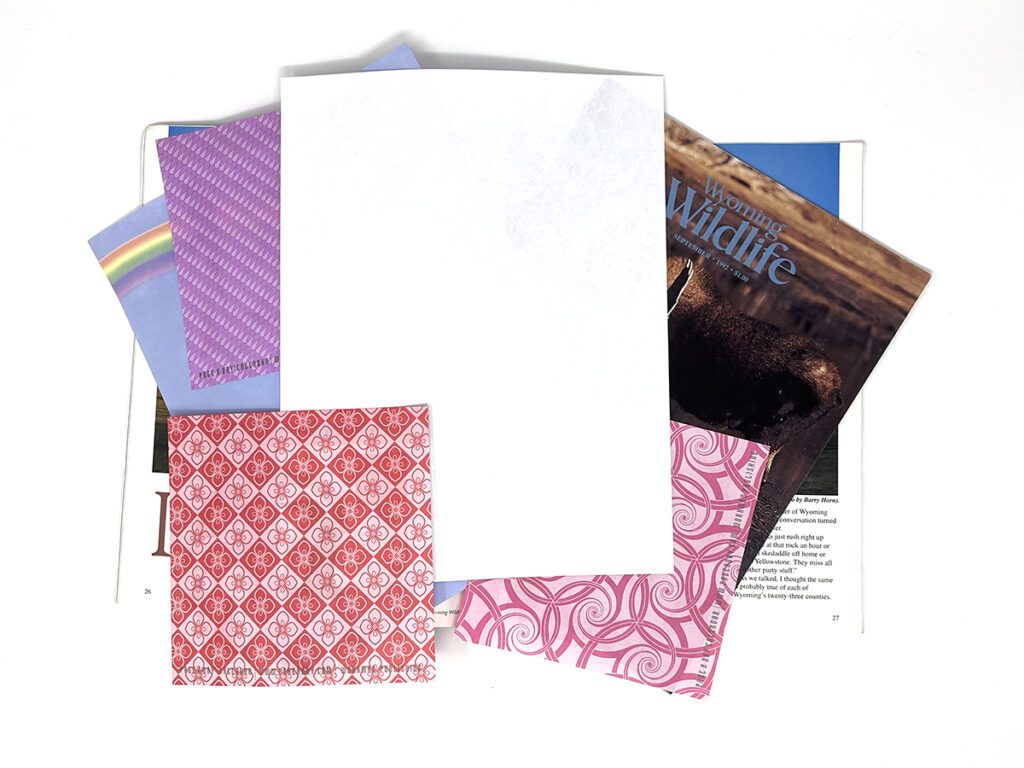
Origami paper can be expensive, especially if you’re on a tight budget. Here are some frugal alternatives:
- Copy paper
- Smooth drawing paper
- Recycled paper (Such as junk mail, flyers, etc.)
- Dollar bills (This is best for high school students who can bring in their own money, and it does not require cutting.)
- Stiffer magazine pages
Some papers can make origami more complicated than it needs to be! Avoid using construction paper, tissue paper, foil, newspaper, or cardstock. Thicker papers will not fold cleanly (especially those smaller folds!), and more fragile papers will tear.
Origami is a wonderful art form that can connect to many disciplines like science, math, engineering, and more. Students can explore the microcosms of this world by exposing them to an origami artist or two. Origami also has a rich origin that brings in art history, geography, and social studies. Use origami as a one- or two-day lesson or a whole unit of study. The flexible possibilities for this medium are endless for any teaching style and classroom!
What are your best tips and tricks for teaching origami?
How do you connect origami to other content areas?
Magazine articles and podcasts are opinions of professional education contributors and do not necessarily represent the position of the Art of Education University (AOEU) or its academic offerings. Contributors use terms in the way they are most often talked about in the scope of their educational experiences.