As art teachers, we have certain art processes we love to teach and others that make us think twice. For many of us, printmaking falls into that latter category. It’s just so messy. In fact, it’s enough to give some art teachers so much anxiety they skip printmaking altogether!
But it doesn’t have to be this way! Sure, printmaking can be a messy process, but it becomes a whole lot more manageable with the right supplies.
Here are ten everyday items to help manage the mess of printmaking.
1. Newspaper
Newspaper has so many uses in the art room, but have you ever thought of using it for printmaking? One idea is to cover your tables with newspaper before printing starts. It’s an easy way to cut down on the mess because students won’t need to wash the tables.
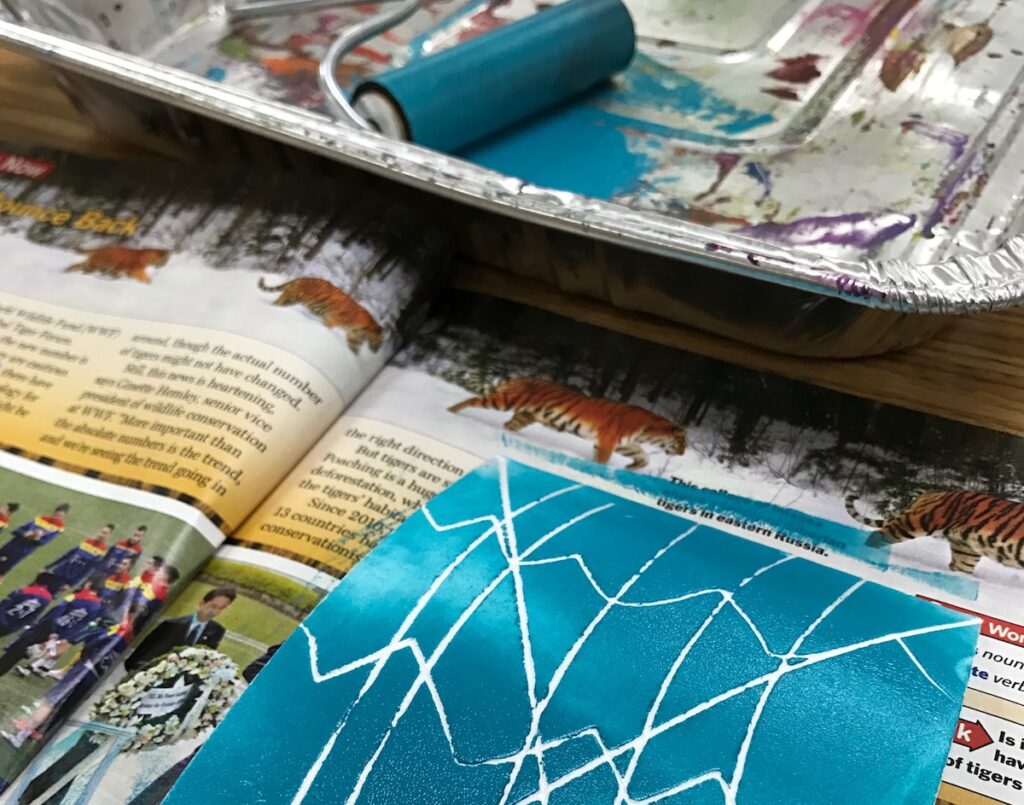
You can also use newspaper for inking. Instead of an inking tray, have students load their brayers on a section of newspaper. When finished, simply throw it away, no washing is required!
2. Aluminum Trays
Similar to newspaper, you can find shallow aluminum trays at your local grocery store or dollar store to use instead of more expensive inking trays. The only thing to keep in mind is that the bottom must be flat. You may even want to ask your cafeteria manager if they have something similar you could have for free! Technically, these are a disposable option as well, but you can wipe them out and reuse them.
3. Baby Wipes
Baby wipes are a great cleanup tool for printmaking. They can be used for cleaning brayers, foam plates, Gelli plates, and tables if you choose not to cover them. Baby wipes can get expensive, however, so look for deals or ask for donations to cut down on the cost.
4. Spray Bottle and Paper Towels
If baby wipes are outside of your budget, purchase a few spray bottles and use the paper towels provided by your school for the same purpose.
This method works well to empower your students in helping to care for the art room and the materials they’re using. Make sure you model how to use the spray bottle, so you are left with clean items instead of extra messes.
5. Construction Paper
Another great way to manage the mess with printing is to have your students wipe their brayers onto 12″ x 18″ sheets of construction paper. This is a great way to use up scrap paper you have laying around. Butcher paper also works well. At the end of the class period, the brayers will be much easier to wash.
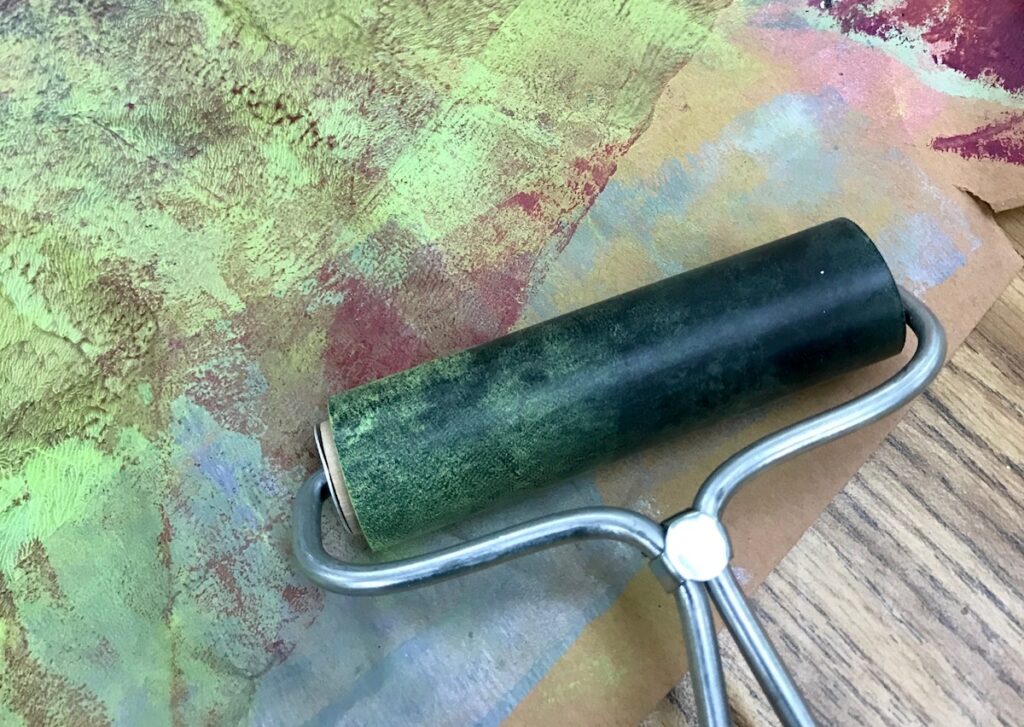
This cleaning tip not only removes the majority of ink or paint from the brayer, but the textures and colors turn the construction paper into painted paper for future collages! Simply have students put the full sheets on the drying rack at the end of the class period.
If you’re looking for even more tips and tricks about teaching printmaking in the art room, be sure to check out the course Studio: Printmaking. The course breaks down various printmaking processes you can use with your students at any age level without fancy equipment and with all of the safety and developmentally appropriate information you need!
6. Old Magazines
We always think of magazines as being great for collage, but they also work well for printmaking. The pages make a great foundation for inking. Students just have to flip the page when they are done, and another student can begin inking on a clean page.
7. Large Plastic Containers
Check your local big box stores or dollar stores for large plastic containers. You can sometimes find these for as little as a dollar apiece. These containers are great for storing your printing supplies but can also be filled with a little soap and water to soak stencils, stamps, plates, brayers, and more. If you work with very young students or find yourself with inadequate cleanup time, have students place their items in the tubs to soak and rinse everything when you have time.
8. Disposable Plates
Whether you use styrofoam or paper, disposable plates are a simple and cost-effective supply to use during printmaking. Many stores have large packages of styrofoam plates for a great price. These are another great idea for inking trays (simply toss them when finished), but can also be carved into to create simple relief blocks or be cut up and used for collagraphs.
9/10. Aluminum Foil and Wax Paper
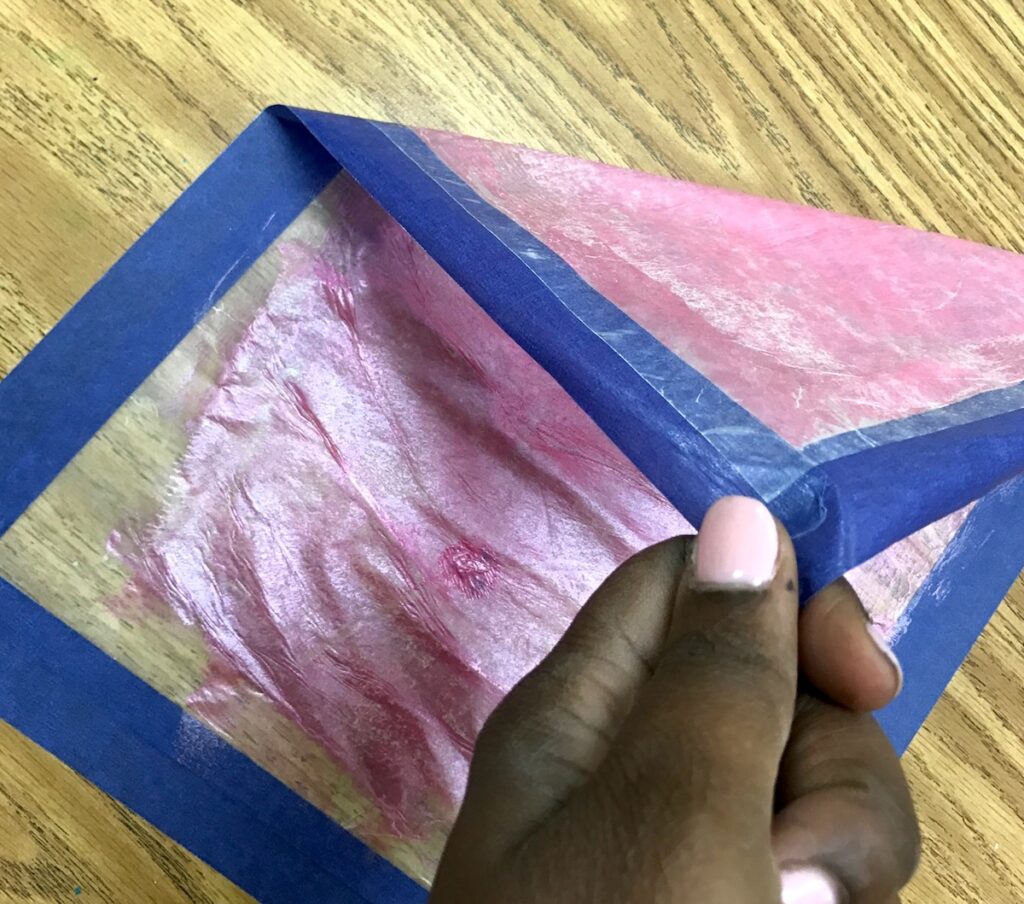
Teachers use various methods to teach monoprinting. Some of those processes include using a variety of printing plates. However, you can also use aluminum foil or waxed paper taped to the table. Apply some tempera paint and have students roll the paint evenly on the surface with a brayer. Then, allow students to draw on the surface with Q-tips and place a sheet of paper on top to make monoprints.
When they are done, just lift up the painted surface and toss it.
No matter which materials you use, make sure you share the cleanup responsibilities with your students by designating jobs. I know art teachers are superheroes and try to do it all, but there is nothing wrong with getting a little help! Find a system that works for you and your students, and stick to it.
What tips and tricks do you have to help reduce the mess with printmaking?
How do you plan ahead before beginning a printmaking unit?
Magazine articles and podcasts are opinions of professional education contributors and do not necessarily represent the position of the Art of Education University (AOEU) or its academic offerings. Contributors use terms in the way they are most often talked about in the scope of their educational experiences.


