In the world of education, the winter months can be hard. Sickness, testing, schedule changes, and weather complications throw curveballs into your days. Pep rally schedules and student absences halt your perfectly planned lessons. In addition, you observe an increase in mental checkouts from students. One-day art lessons are lifesavers for these times of the year! While many think of these activities as time-wasters, they are a prime way to inspire new ideas in your students. Even the AP Art seniors who have been deep in inquiry-based artmaking need a break from time to time. Whether you are new to teaching in the art room or a veteran, one-day lessons are a lifeline!
Here are 12 fun and interesting one-day art lesson ideas for the secondary classroom.
Note: Be sure to review all resources and preview all artists before determining if they are appropriate to share with your students.
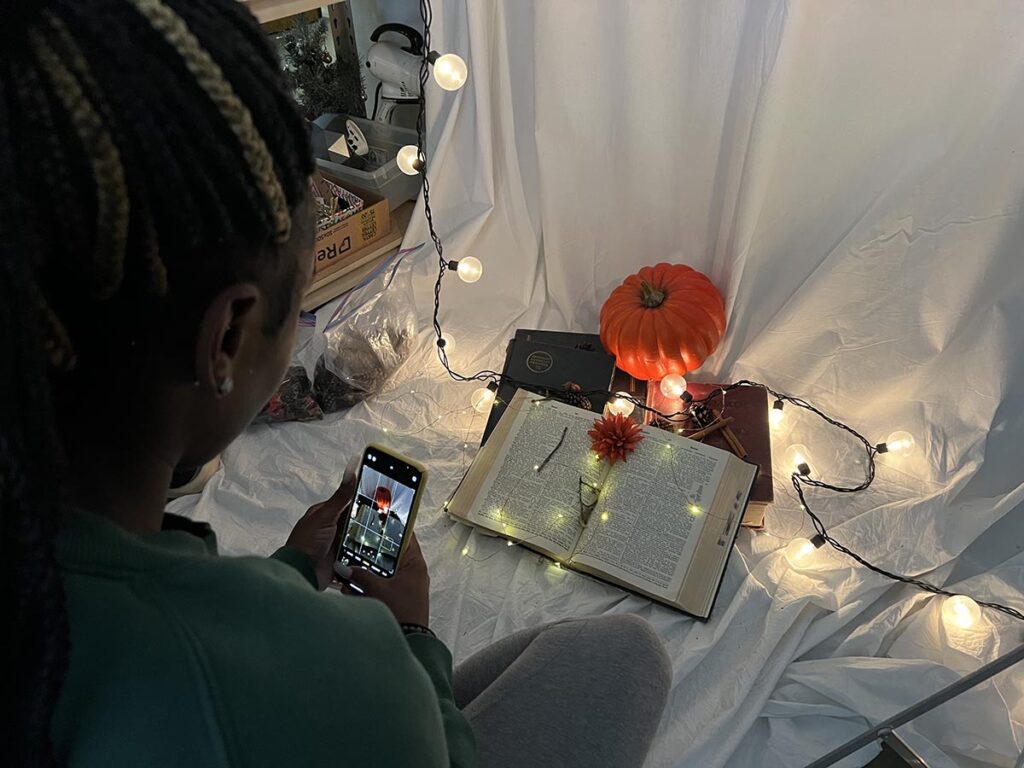
1. Photography Scavenger Hunt
Create a list of prompts for students to photograph to spark creativity and visual storytelling. This activity provides an innovative way to use students’ observational and narrative skills. Photography prompts also offer a fresh perspective on everyday subjects within an environment. This no-mess and little-prep art lesson idea encourages autonomy and creativity for your students.
Procedures and Steps:
- Distribute a list of prompts.
- Set a time limit.
- Students explore the classroom environment and take images that creatively capture the prompts.
- Share images with an end-of-the-period critique.
Tip:
- Challenge students to take only one photograph per prompt to mirror shooting with film. Students must frame their images carefully before pressing the shutter!
2. Round-Robin Drawing
This is a group-based drawing activity that allows students to draw without pressure. Students find this process fun and engaging while providing them with an opportunity to practice collaboration.
Procedures and Steps:
- Pass out paper and pencils.
- Students write their names on the back of their paper.
- Students draw on their sheets of paper for 1-2 minutes.
- Students rotate their papers to another artist.
- The next person continues or adds to the previous drawing or artwork.
- Continue rotating until each student has contributed to all of the artworks.
- Pass the papers back to the original artist.
Tips:
- Provide students with prompts or found imagery to jumpstart their ideas.
- Use colored paper or various art materials.
- Apply this activity to digital drawing! Instead of paper, students carefully pass digital devices to one another or rotate seats.
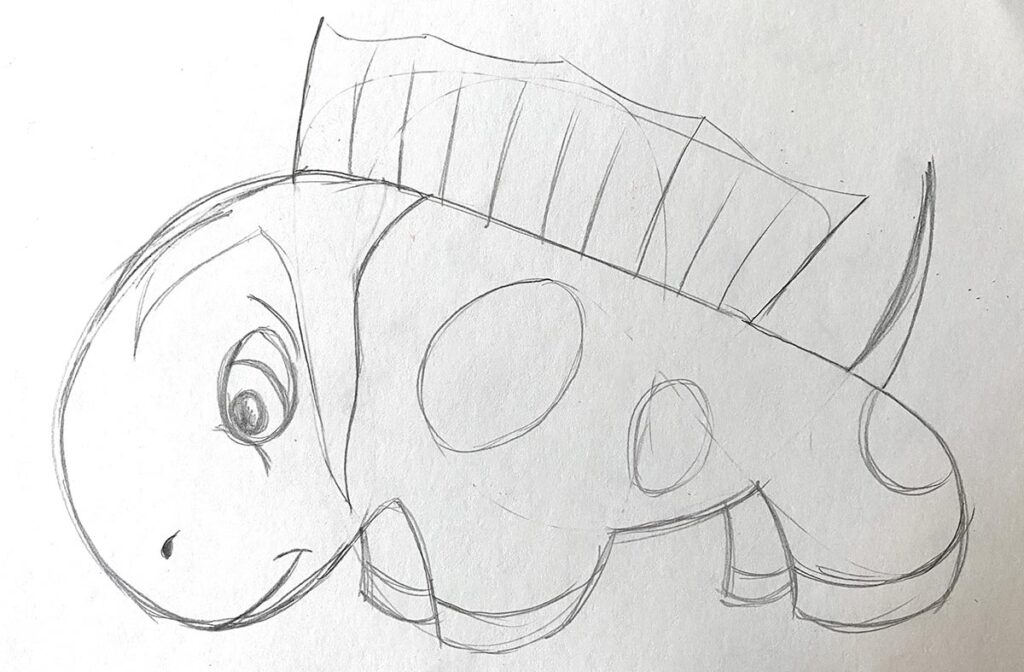
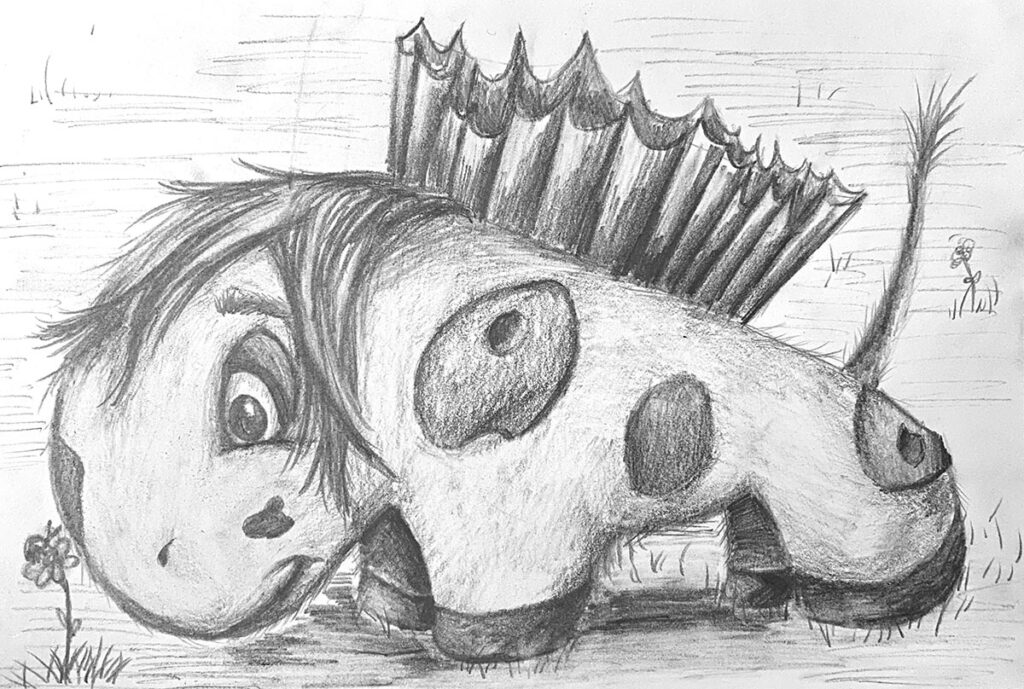
3. Exquisite Corpse
Explore the intriguing world of Exquisite Corpse drawings. Surrealist artists adopted this activity to generate collaborative artworks. Students love this game because it stimulates the imagination. Just as in the Round-Robin drawing exercise above, students contribute to one another’s artwork. However, there is a fun final reveal at the end!
Check out the steps to Exquisite Corpse, plus other Surrealism games for the art room.
Tips:
- Increase or decrease the duration of drawing time.
- Encourage students to draw and add details for the entire amount of time for each round.
- Redraw favorite final creatures in their own style!
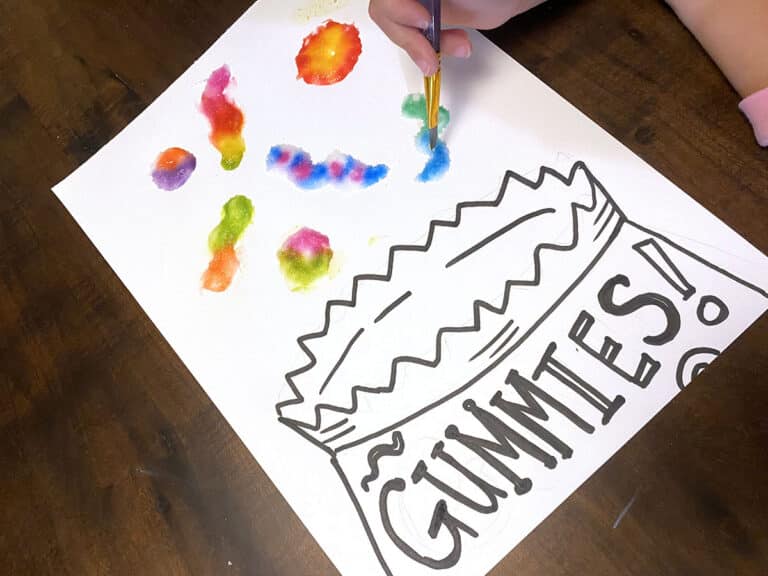
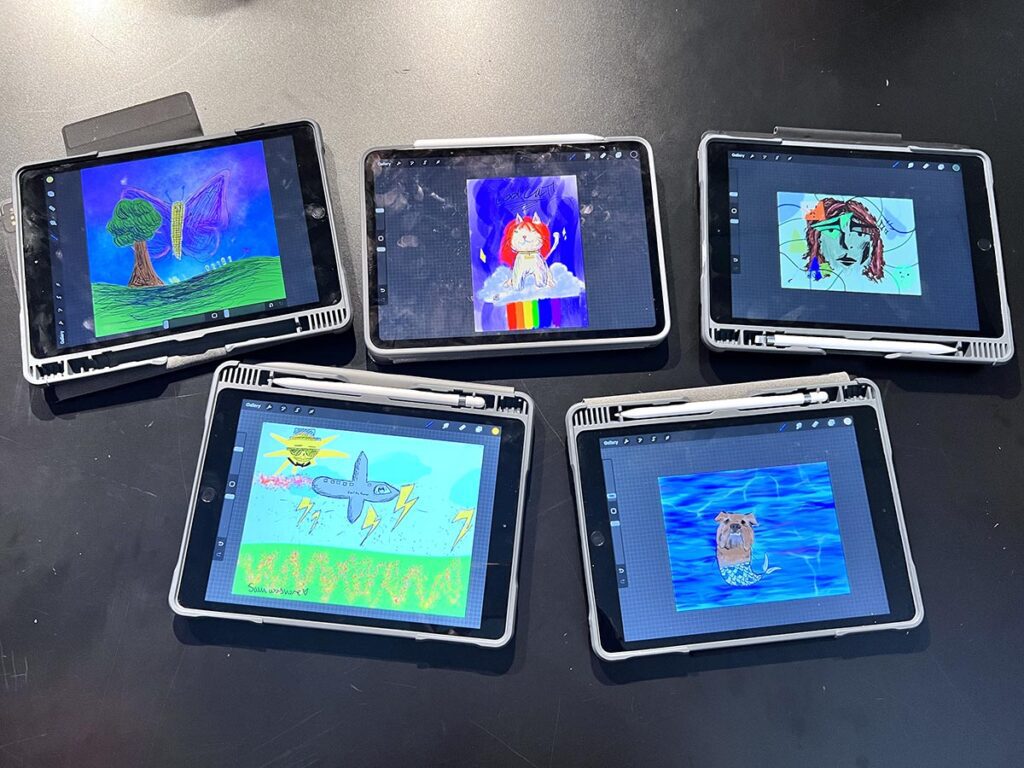
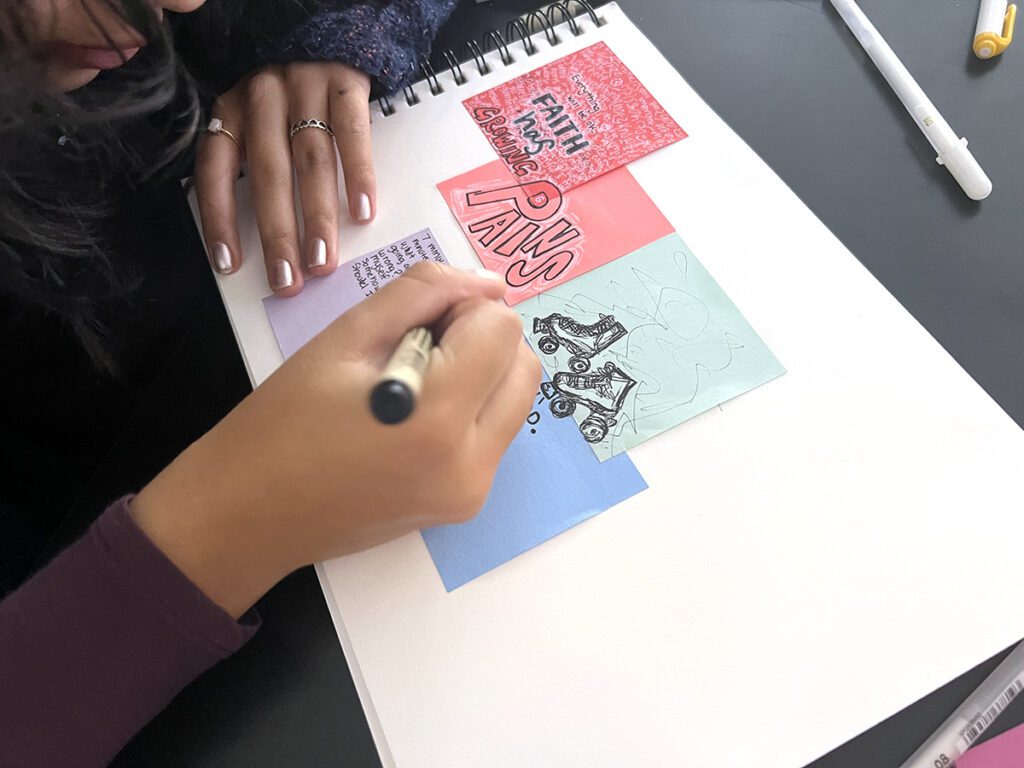
4. Visual Journaling
Visual journals are an excellent way for students to explore their thoughts and ideas in one place. Visual journal pages in the secondary art room are perfect for documenting students’ artistic processes. Check out various visual journaling lessons and prompts, such as Guided Mindfulness and Visual Storytelling in FLEX Curriculum. Each lesson includes step-by-step examples with several supplemental resources to boost skills, brainstorm, and reflect.
Procedures and Steps:
- Introduce the practice of visual journaling.
- Provide a list of text or visual prompts to use as a starting point.
- Give students a time limit to create in their visual journals.
- Use a gallery walk critique to present students’ spreads.
Tips:
- Use washable markers to prevent page bleeding.
- Old newspapers, magazines, or scrap paper provide fantastic collage materials.
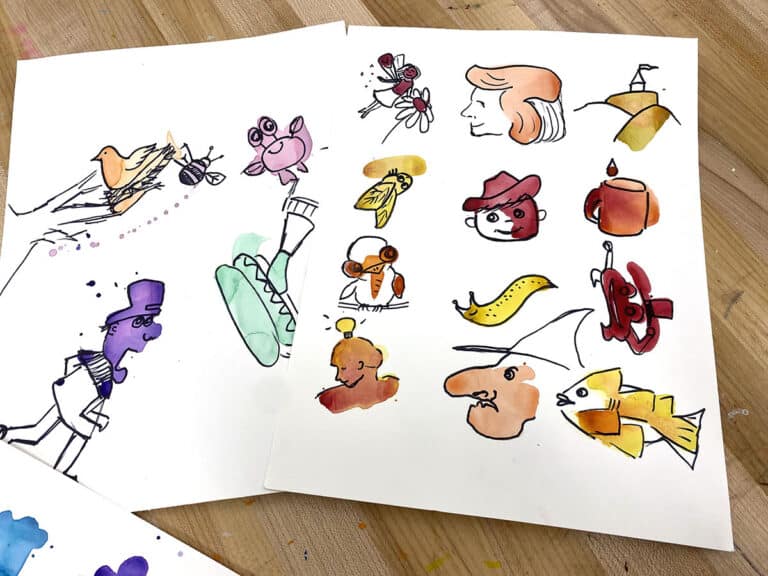
5. Sunday Sketches by Christoph Niemann
Sunday Sketches is a fun and imaginative art lesson idea by author, artist, and animator Christoph Niemann. His illustrations are in The New Yorker, National Geographic, and The New York Times Magazine. This exercise is about creating images from simple objects. Use it as a one-day lesson or a bell-ringer to stimulate visual connections with objects around us.

Procedures and Steps:
- Provide paper and drawing materials.
- Place random objects in front of each student.
- Students observe the object from different angles.
- Students create a drawing that incorporates the object.
- Photograph the final illustrations.
- Rotate objects and repeat for multiple rounds.
Tips:
- Encourage students to look at the objects as basic shapes and forms to help create connections.
- Transfer this activity to digital drawing and photograph an object and then digitally draw on top of the photograph.
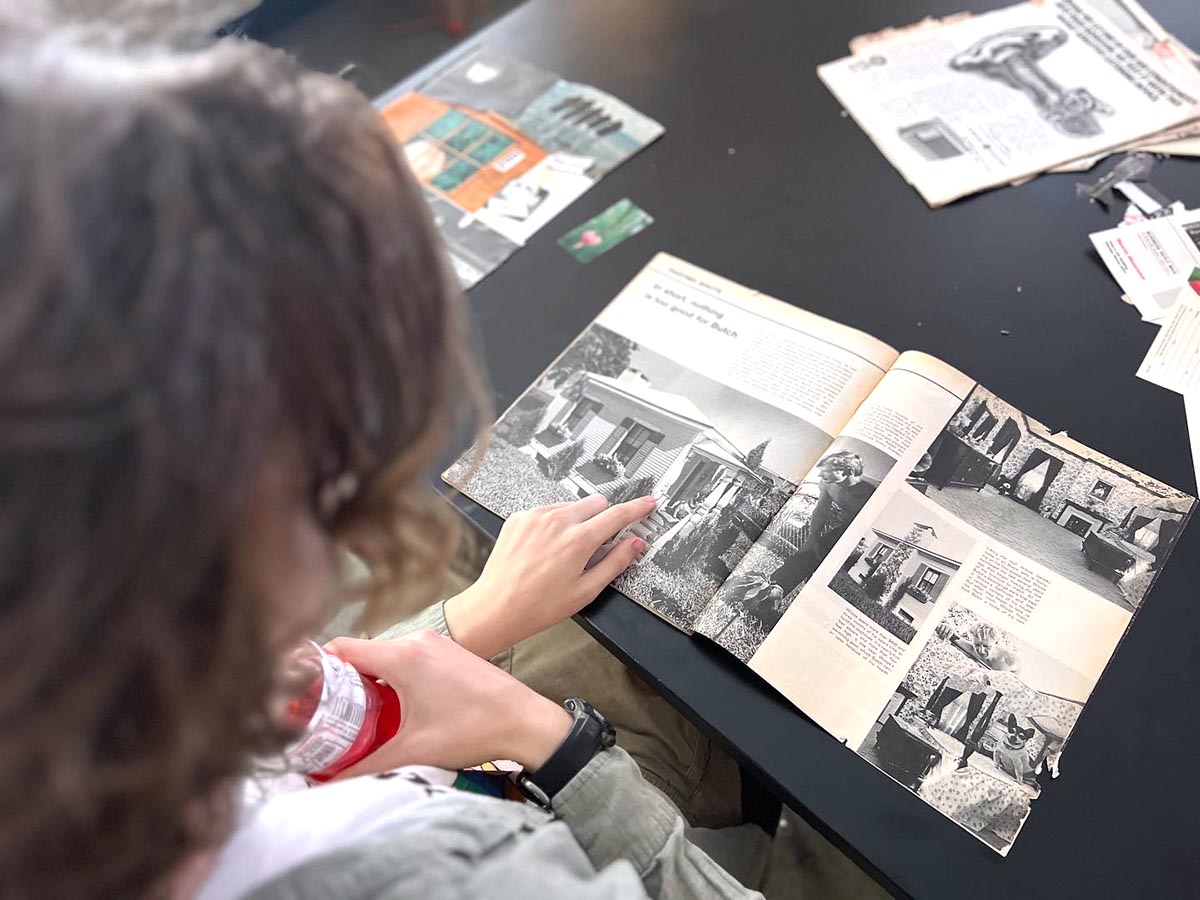
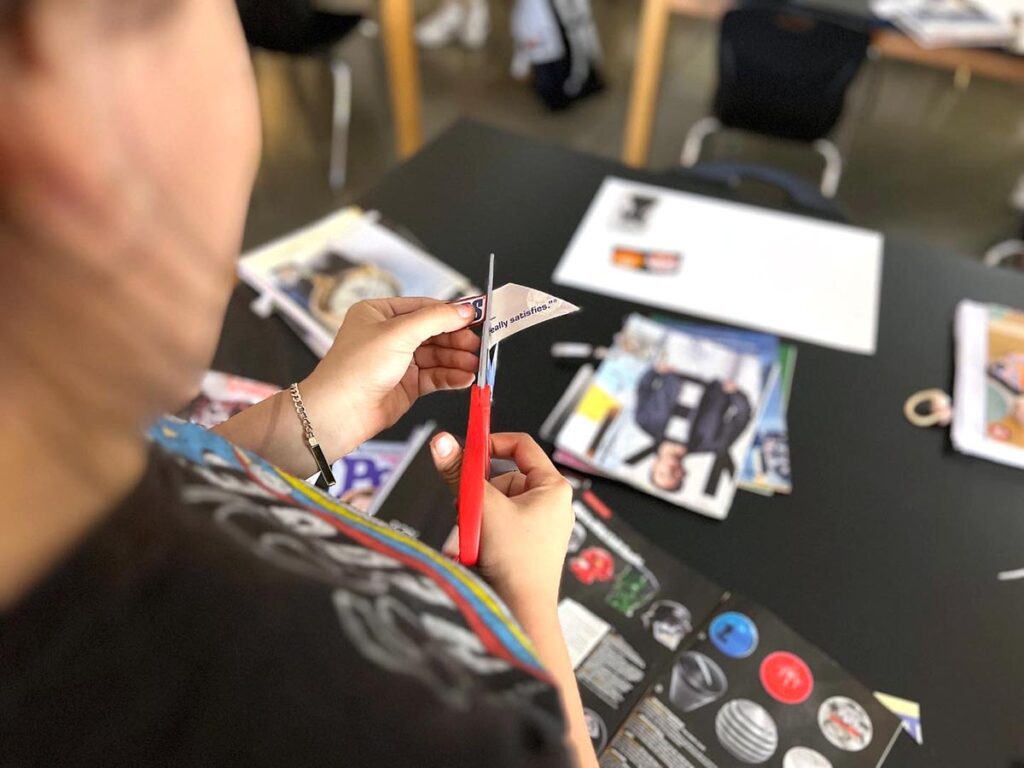
6. Mystery Magazine Clippings
Are you looking for an opportunity to use those old magazines collecting dust? In this activity, students create a completed environment around a magazine clipping. This Mystery Magazine Clippings activity takes the overthinking out of creating! At the end of the lesson, students love to see what environments their peers concocted.
Procedures and Steps:
- Pass out magazines.
- Students cut out a small image from a magazine page such as a dog or a soda can.
- Collect all clippings into a container.
- Without looking, students select one magazine clipping from the container.
- Students glue the clipping to a piece of paper.
- Use different drawing materials to create a complete environment around the magazine clipping.
Tips:
- Use it as a bell-ringer or icebreaker for class.
- Repurpose random scraps of construction paper if magazines are not available.
7. Telephone Pictionary
Get ready for a collaborative drawing activity with guaranteed laughs. Telephone Pictionary is a drawing game that illustrates images from phrases. The final reveal of the text and phrases is worth the setup and preparation!
Procedures and Steps:
- Provide each student with the same amount of papers as students playing. For example, 20 students equal 20 pieces of paper per student.
- Students number the bottom right corner of each paper. For example, students number each page 1-20 for 20 students playing.
- On the first sheet, students write a phrase, poem, or sentence.
- Students pass their stack of papers clockwise to the next person.
- Students read the phrase, flip page one to the back of the stack, and illustrate the phrase on page two with a timer set to 1-2 minutes.
- Keep the illustration on top and pass the stack of papers clockwise again.
- The following person will look at the illustration, move that page to the back of the stack, and write a phrase that captures the illustration on page three.
- Repeat this process until all pages are complete.
- Lay out the papers to reveal the full series!
Tips:
- Check for understanding during each rotation by announcing the current page number to accommodate the game’s learning curve.
- Provide examples of phrases for students to use that have a subject, action, and environment.
If you’re a high school teacher, you probably teach classes by course or medium instead of grade level. If this sounds like your teaching situation, you won’t want to miss the Curricula feature in FLEX Curriculum. Curricula provides the top-notch FLEX Lessons and instructional materials you love, but in an organized and curated view that’s sequenced for the year. Each curriculum notes the number of hours and units to complete and the aligned standards. Add the curriculum you want to your classes and customize away!

8. Origami
Infuse math and art with origami! This interdisciplinary activity is mess-free and a student favorite. Origami is great for in-between projects or a break from the traditional 2D art lesson. If you’re new to teaching origami, check out this article to discover how to incorporate origami into your classroom with confidence.
Procedures and Steps:
- Discuss the origins of origami and its importance as an artform.
- Show various origami folds starting with simple ones (such as a boat and fortune teller) and moving on to more complex ones (such as a crane.)
- Give students paper options to fold.
Tips:
- Provide students with step-by-step printouts or video demonstrations.
- Instruct students to create patterns and designs on their paper before folding if origami paper is unavailable.
- Create origami out of non-traditional materials and papers.
- Use the origami forms as still-life subjects for the next unit.
9. Paper Airplane Competition
An innovative extension to origami is a paper airplane competition. Check out this website for resources on various paper airplane folds. Incorporate engineering and art by observing how the folds and construction affect hangtime and distance. Students love a good competition, especially with something they would typically get in trouble for making!
Procedures and Steps:
- Pre-fold various paper airplanes to show different flight types.
- Give students paper and the website above to select their paper airplane type.
- Set a timer for 10 minutes of folding time.
- Take students to the hallway or outdoors to test out their airplanes.
- Take turns “flying” airplanes and measure distance or flight time.
Tips:
- Utilize student helpers to record the distance or hang times of each airplane.
- Review safety considerations with students before starting.
10. Scribble Drawings
Create a fully finished artwork from simple scribbles! This activity works well with all ages and doubles as a mindfulness technique.

Procedures and Steps:
- Provide paper and pencils.
- Students create scribbles on their paper.
- Students observe and darken the forms or subjects within the scribbles.
- Use the elements of art, such as value and texture, to complete the drawings to a finished state.
Tips:
- Scribble on other students’ papers instead of their own.
- Add watercolor or various art materials after scribbling.
- Encourage open-ended creation to include both realistic and abstract designs.
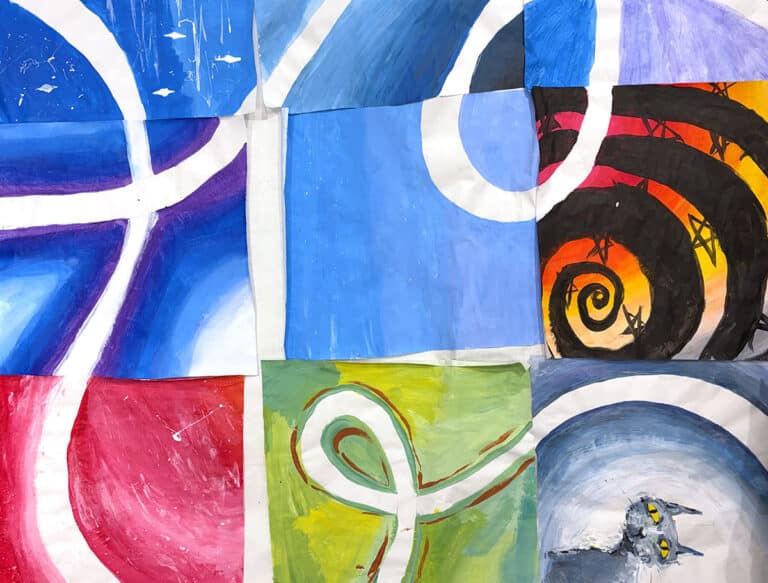
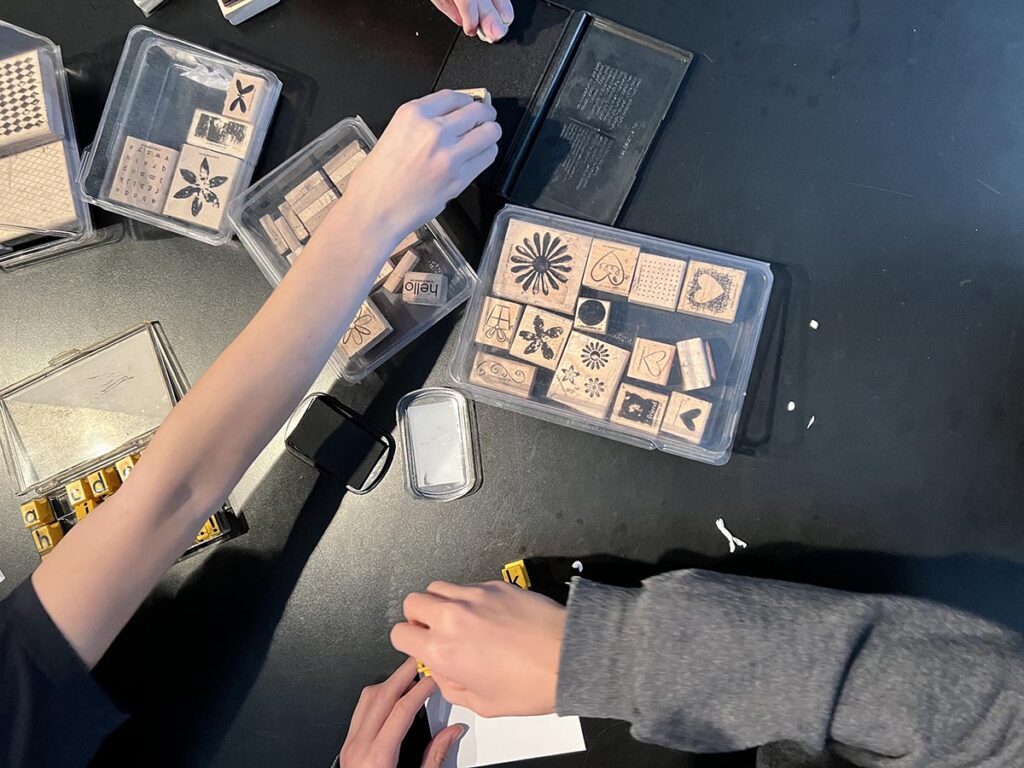
11. Rotation Stations
This student favorite is an excellent way to explore various art mediums outside of everyone’s comfort zone. Introduce students to various mixed-media artists to generate curiosity and ideas!
Procedures and Steps:
- Set up various stations with different art materials in each area such as watercolor paint, stencils, rulers, and ink and stamps.
- Pass out one half-sheet of paper.
- Provide foundational instructions for how to use the art materials at each station.
- Remind students that the order of the stations will dictate how they may use each art medium. For instance, adding a full watercolor wash on their paper for the first rotation may prevent them from using other mediums as they wait for their paper to dry.
- Divide students into small groups and assign each group to a station.
- Students experiment with the art materials at each station with a timer set for 2-3 minutes.
- Rotate and repeat until each group has visited each station.
Tips:
- Allow students to revisit a station of their choice after completing the activity.
- Reflect on experiences using various art materials.
- Provide hairdryers or fans at the wet stations to speed up drying.
12. Job and Career Investigation
What’s a better way to show the real-world application of art than highlighting REAL art jobs? Incorporate artmaking and research by having students dig into real-time job opportunities. Websites like Upwork have a database of full-time and contract freelance jobs for artists. The listings provide pay ranges, the experience needed, and other job details. The website also allows artists to show their portfolios to possible employers. Researching these art jobs shows students how to apply their art skills outside of the classroom and see what’s possible for their futures. This activity also allows teachers to stay in tune with the ever-evolving art landscape!
Procedures and Steps:
- Discuss various art careers such as illustrators, animators, graphic designers, and more.
- Discuss careers that interest your students.
- Demonstrate how to find jobs on search engines or career websites.
- Students explore jobs and note pay, experience, and location details.
- Divide students into small groups to discuss their findings.
Tips:
- Transition into how to construct a resume and portfolio.
- Check out the Local Art Investigators Lesson in FLEX Curriculum to explore, identify, and analyze the careers and works of local artists.
One-day lessons provide an opportunity to create without pressure while stepping away from routine. Whether it’s drawing wacky creatures for Exquisite Corpse or folding aircraft for a paper airplane competition, these activities offer flexibility when plans fall through or a much-needed break. There are a variety of ways students benefit from these activities; students can practice techniques, explore new ideas, and prepare for upcoming units. When choosing a one-day lesson, consider what skills you want your students to learn, review, or explore. Sometimes, these quick lessons can turn into inspiration for bigger projects! The next time you need a lesson for one day, try out one of the fun ideas listed above.
What is your go-to one-day secondary lesson?
How have you extended a one-day lesson into a longer-term project?
To chat about one-day secondary art lesson ideas with other art teachers, join us in The Art of Ed Community!
Magazine articles and podcasts are opinions of professional education contributors and do not necessarily represent the position of the Art of Education University (AOEU) or its academic offerings. Contributors use terms in the way they are most often talked about in the scope of their educational experiences.